DIY Retro 70s Flower Power Three Tier Stand
This post may contain affiliate links where I earn a small commission at no additional cost to you. If you purchase anything through the linked website you will be supporting my small blog. Thanks!
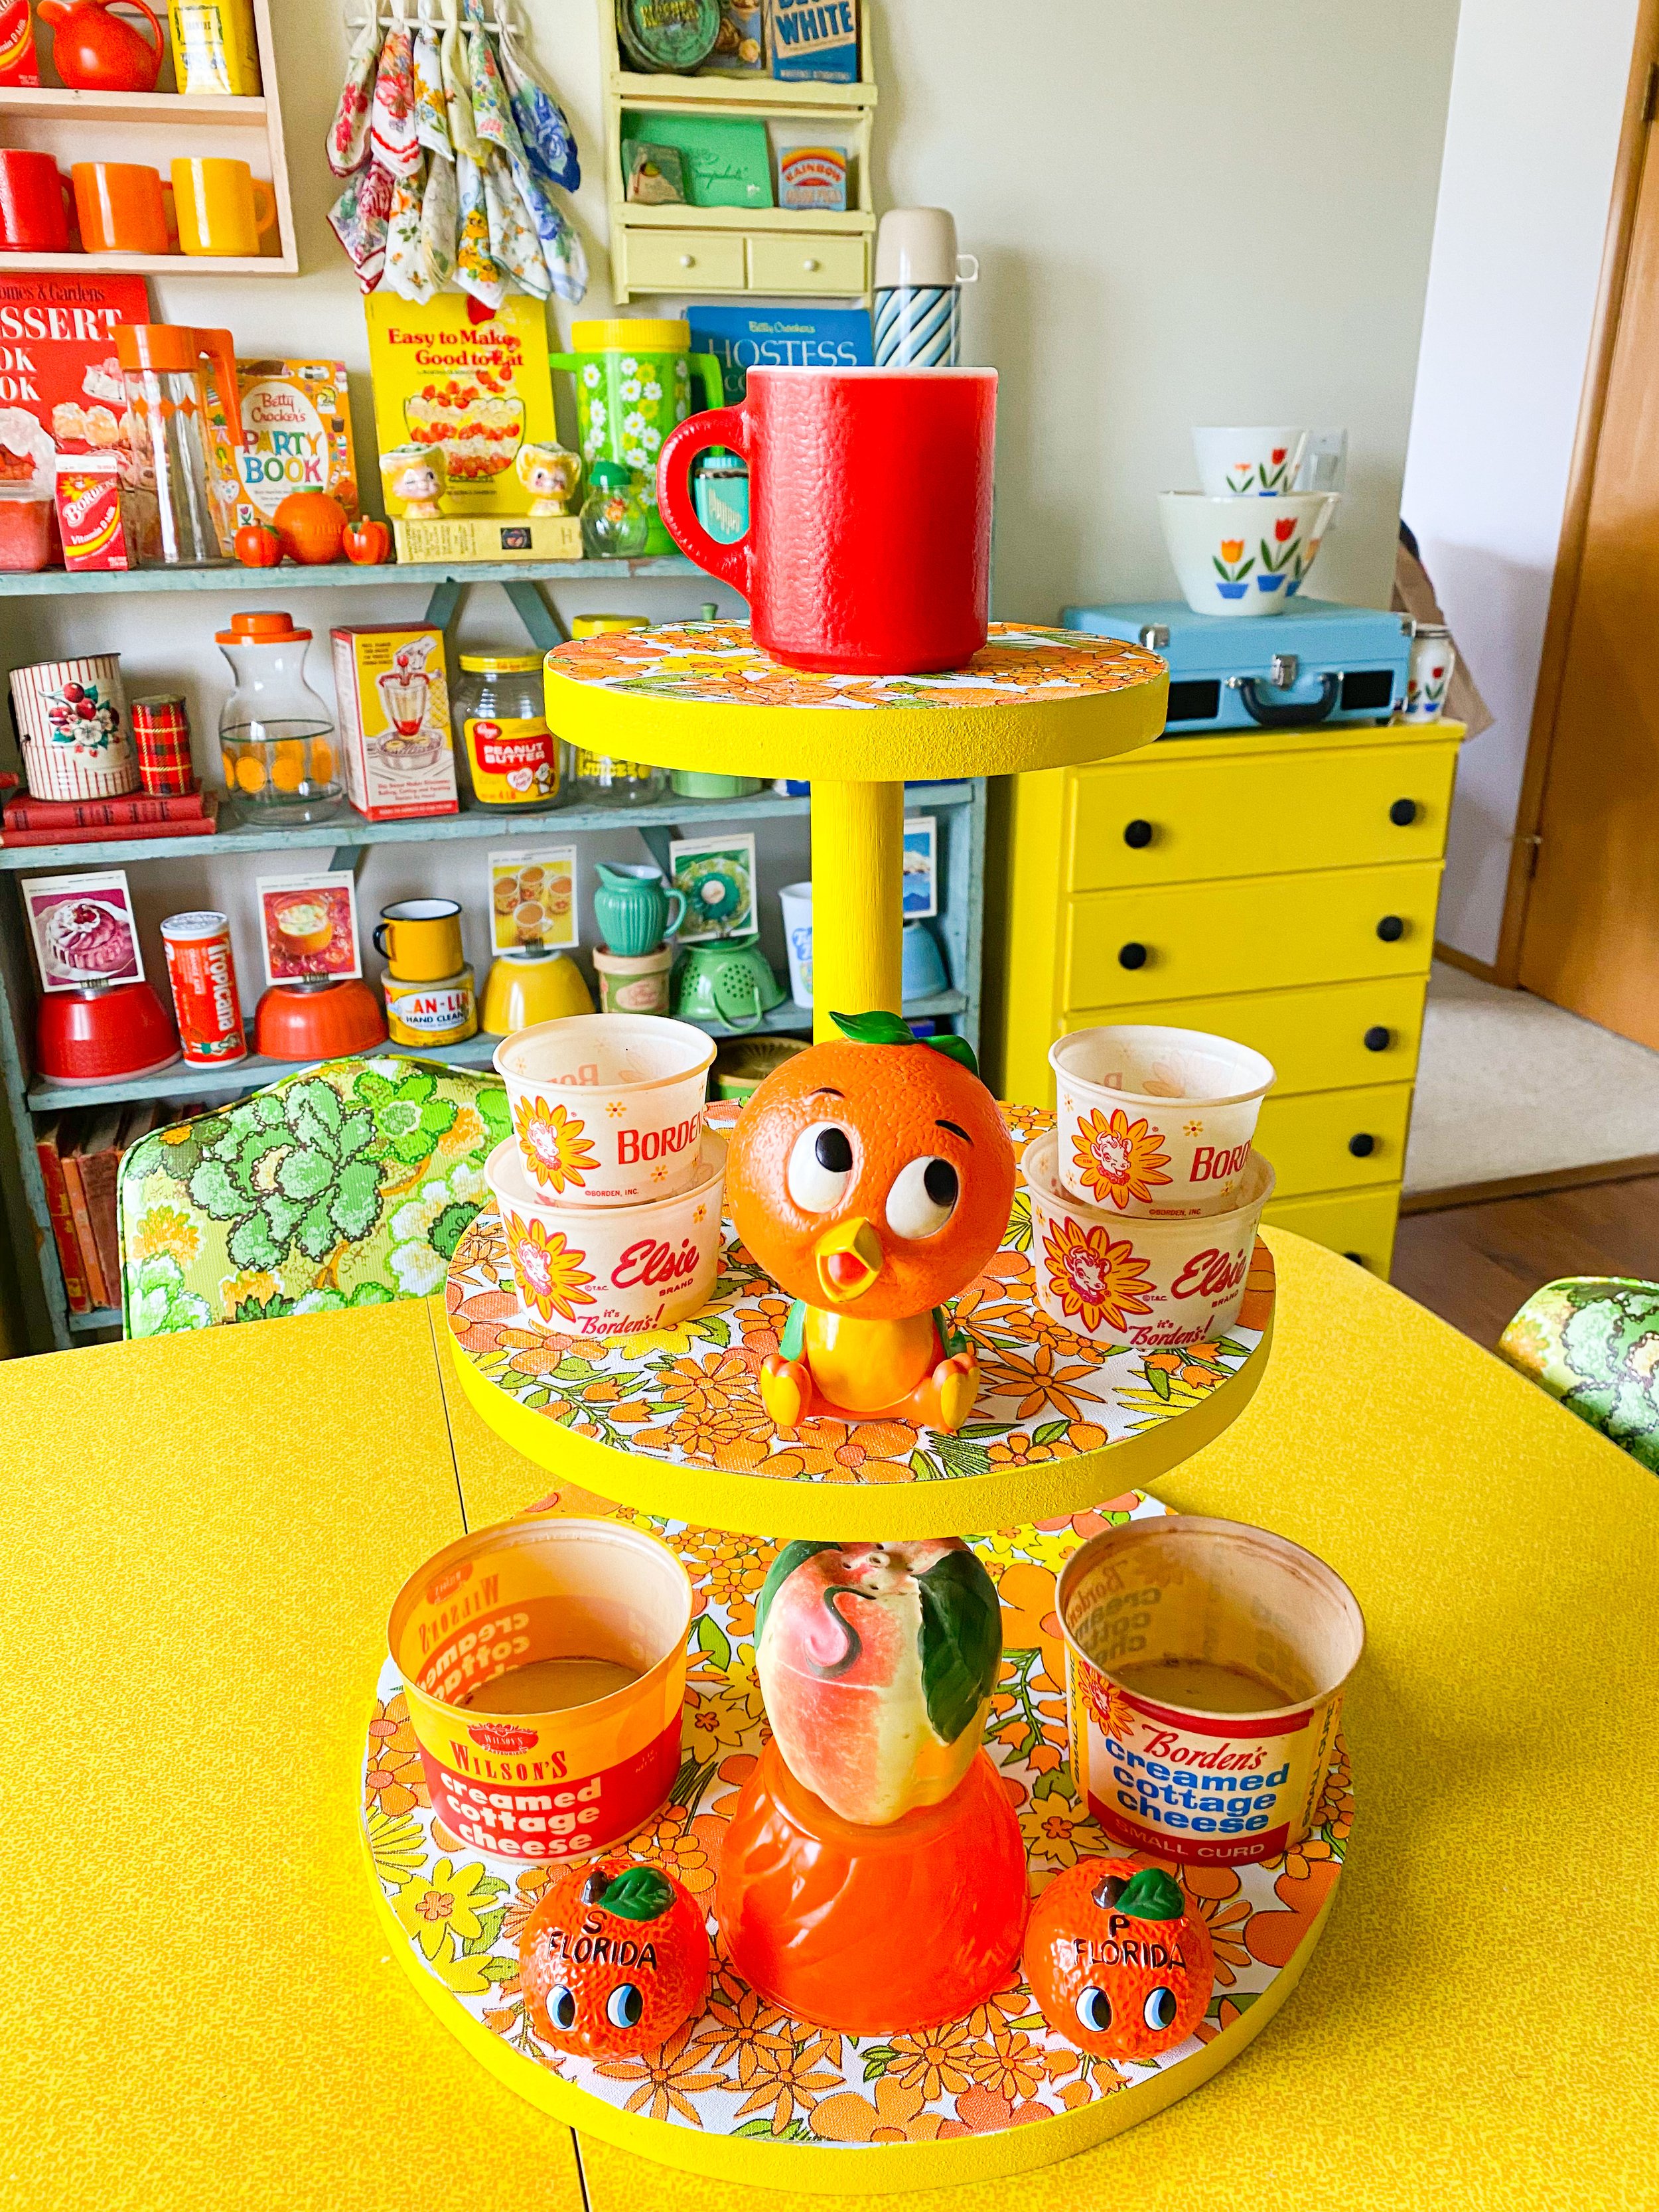
This has got to be the cutest craft I’ve ever created. I took a plain, unfinished wood 3 tier stand and turned it into a show stopping retro centerpiece. You can decorate this stand however you want using different kinds of wrapping paper and wallpaper. Here’s your how to step by step guide to creating your very own custom tier tray stand.
Tip: You can watch a video of how I did the shelf makeover on my Instagram.

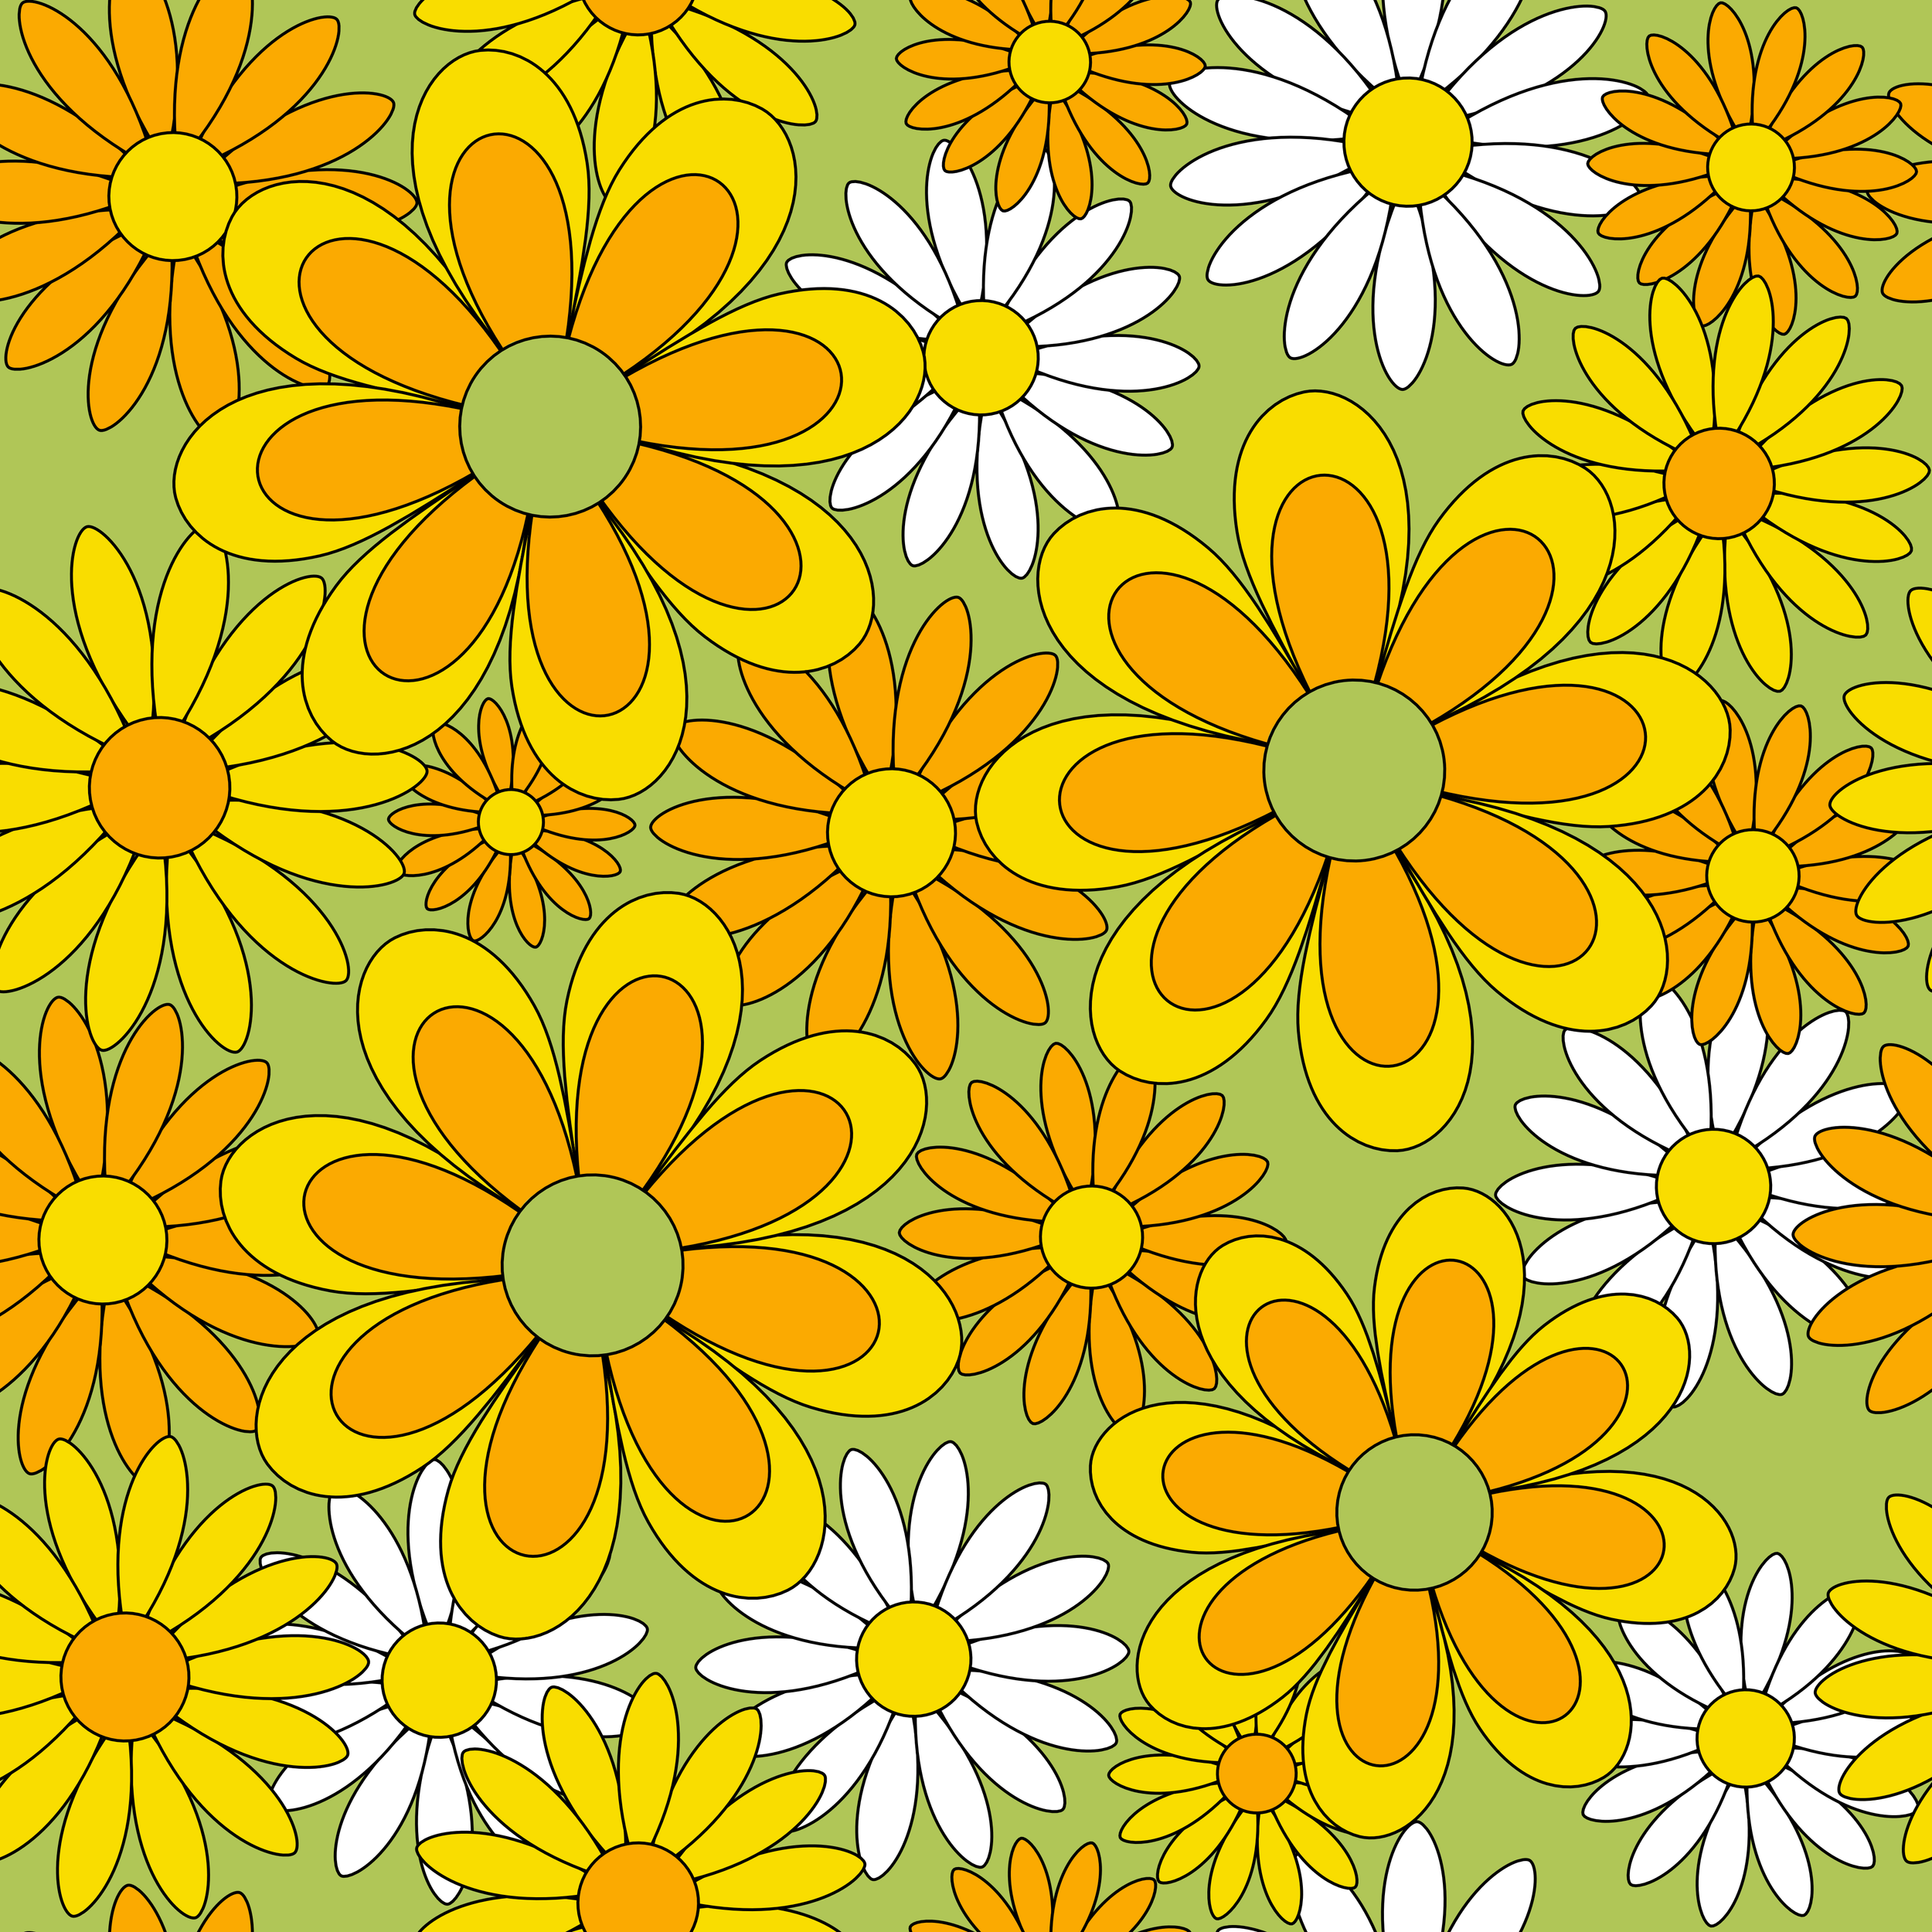
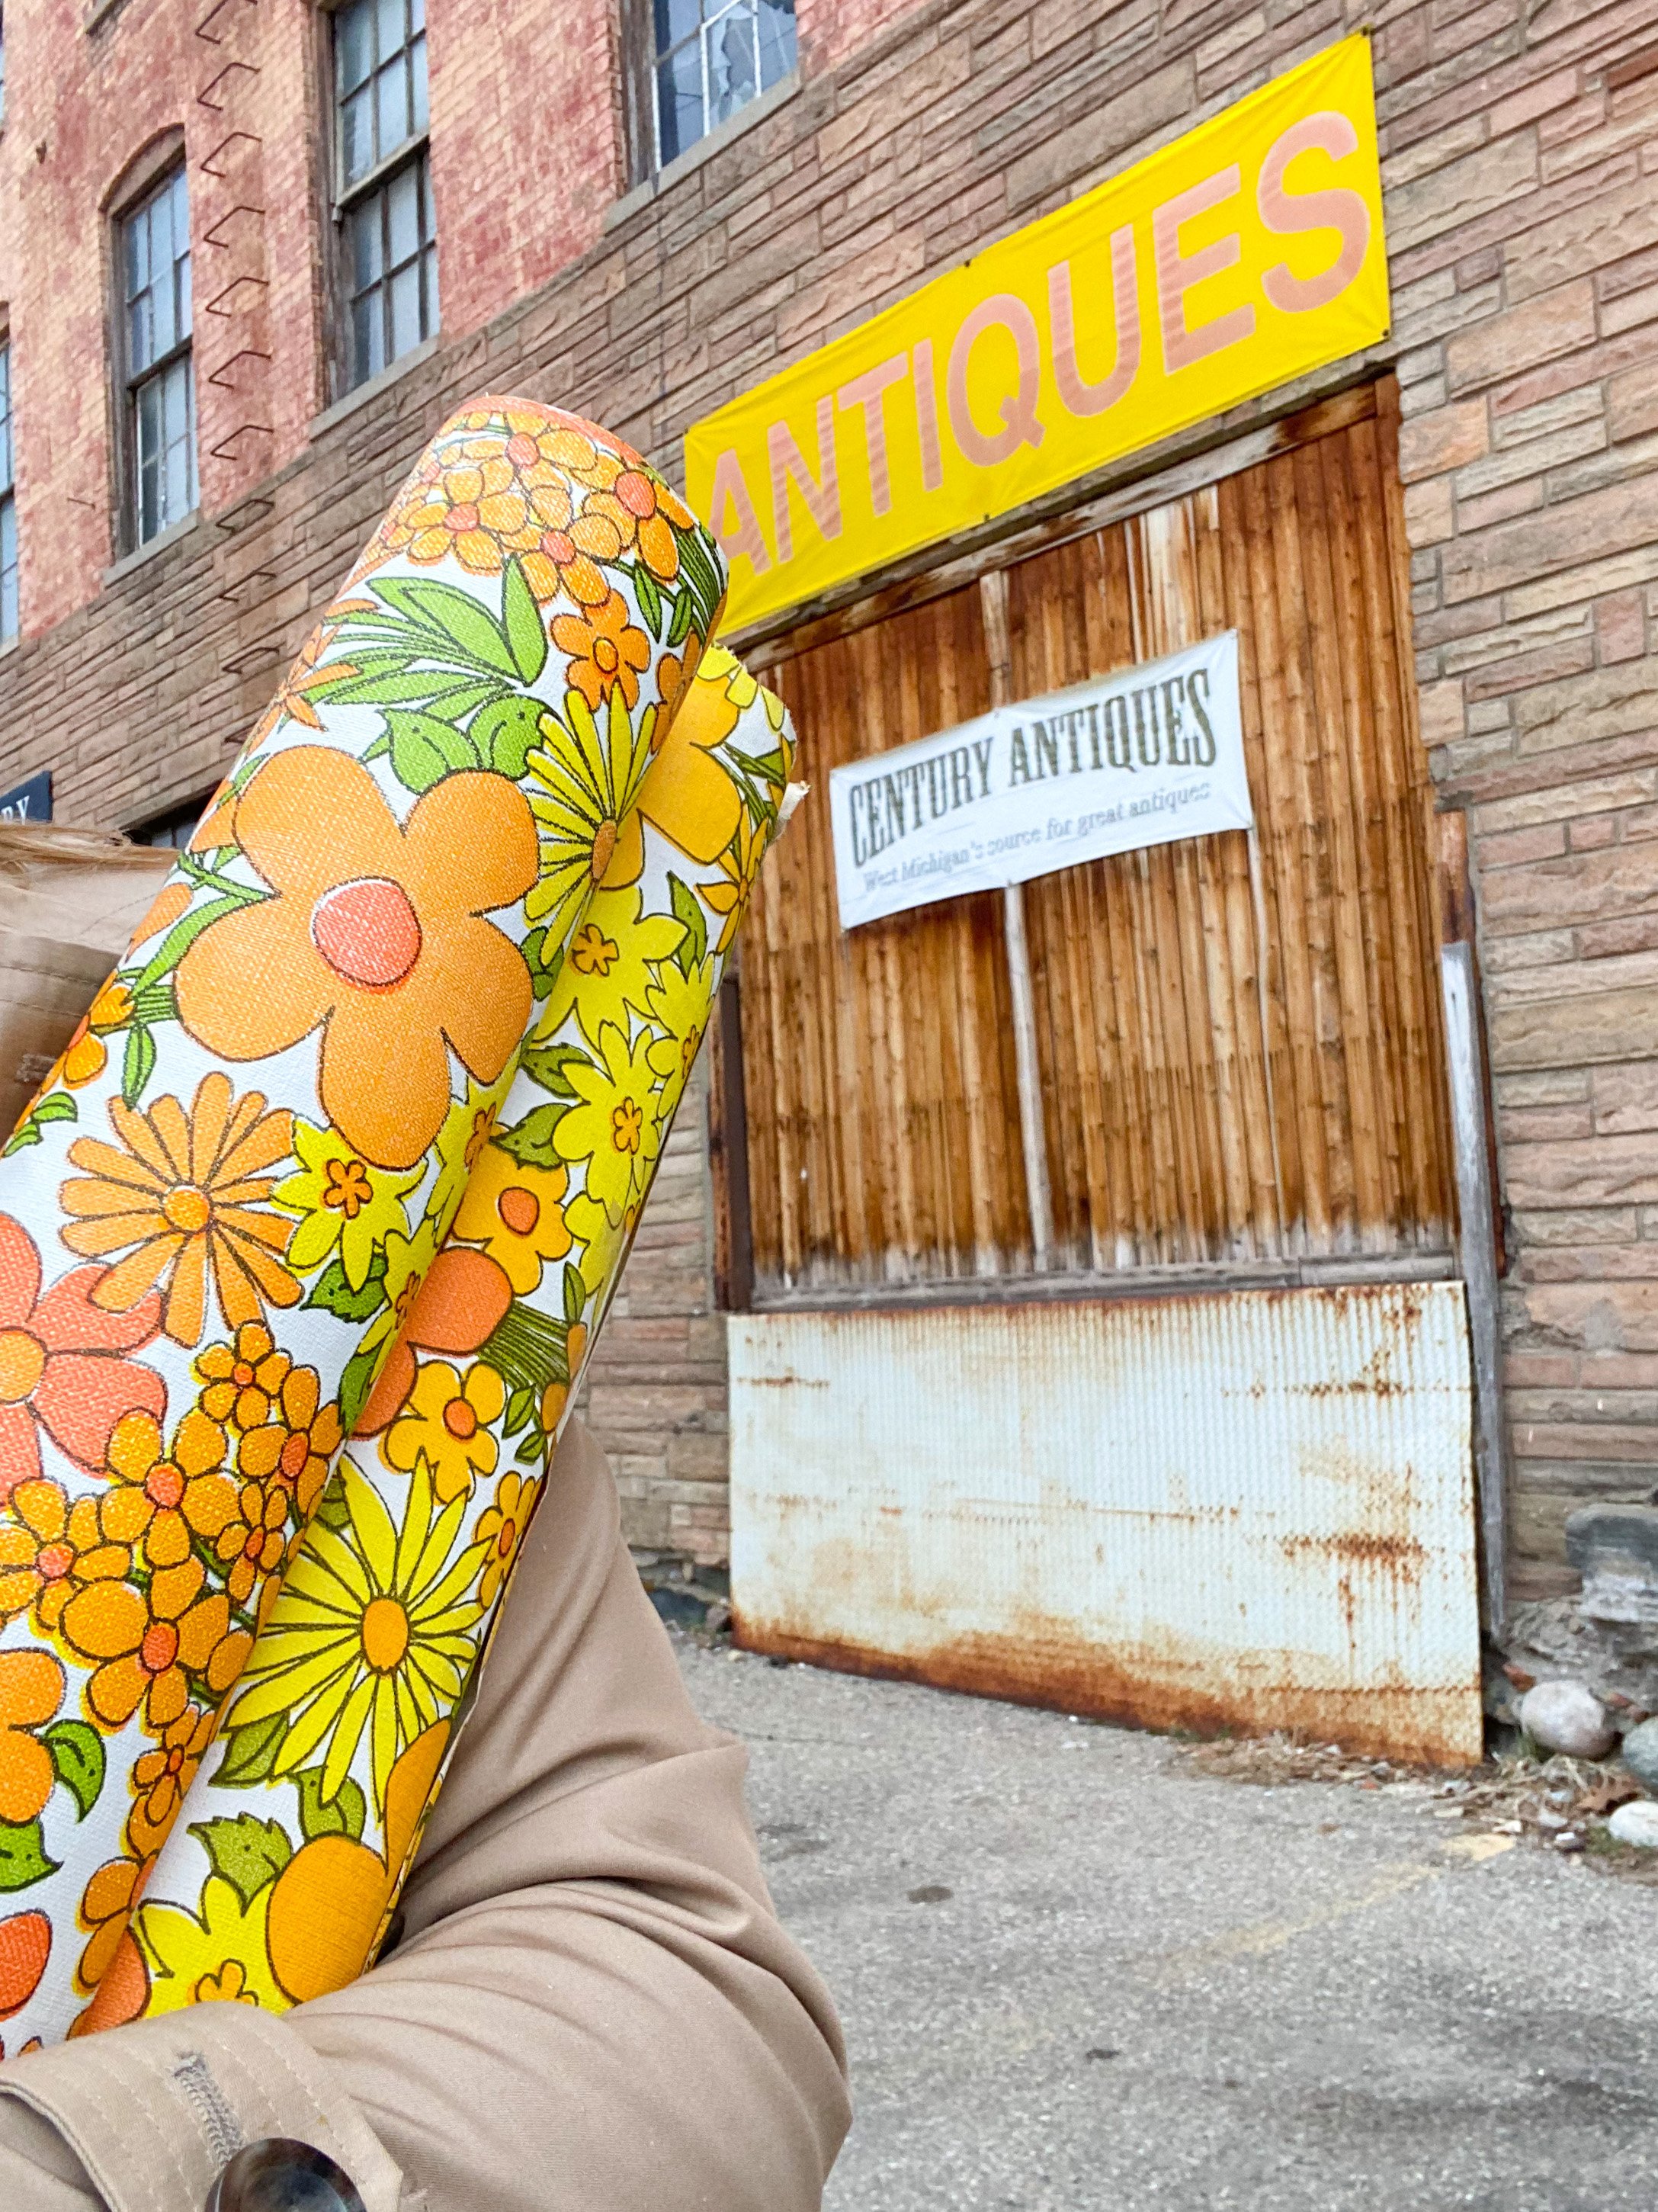
I found the cutest rolls of vintage 70s wallpaper at an antique store for $10. You can shop for your own vintage wallpaper on eBay. Or you can shop my line of vintage inspired wallpaper which are pictured below.

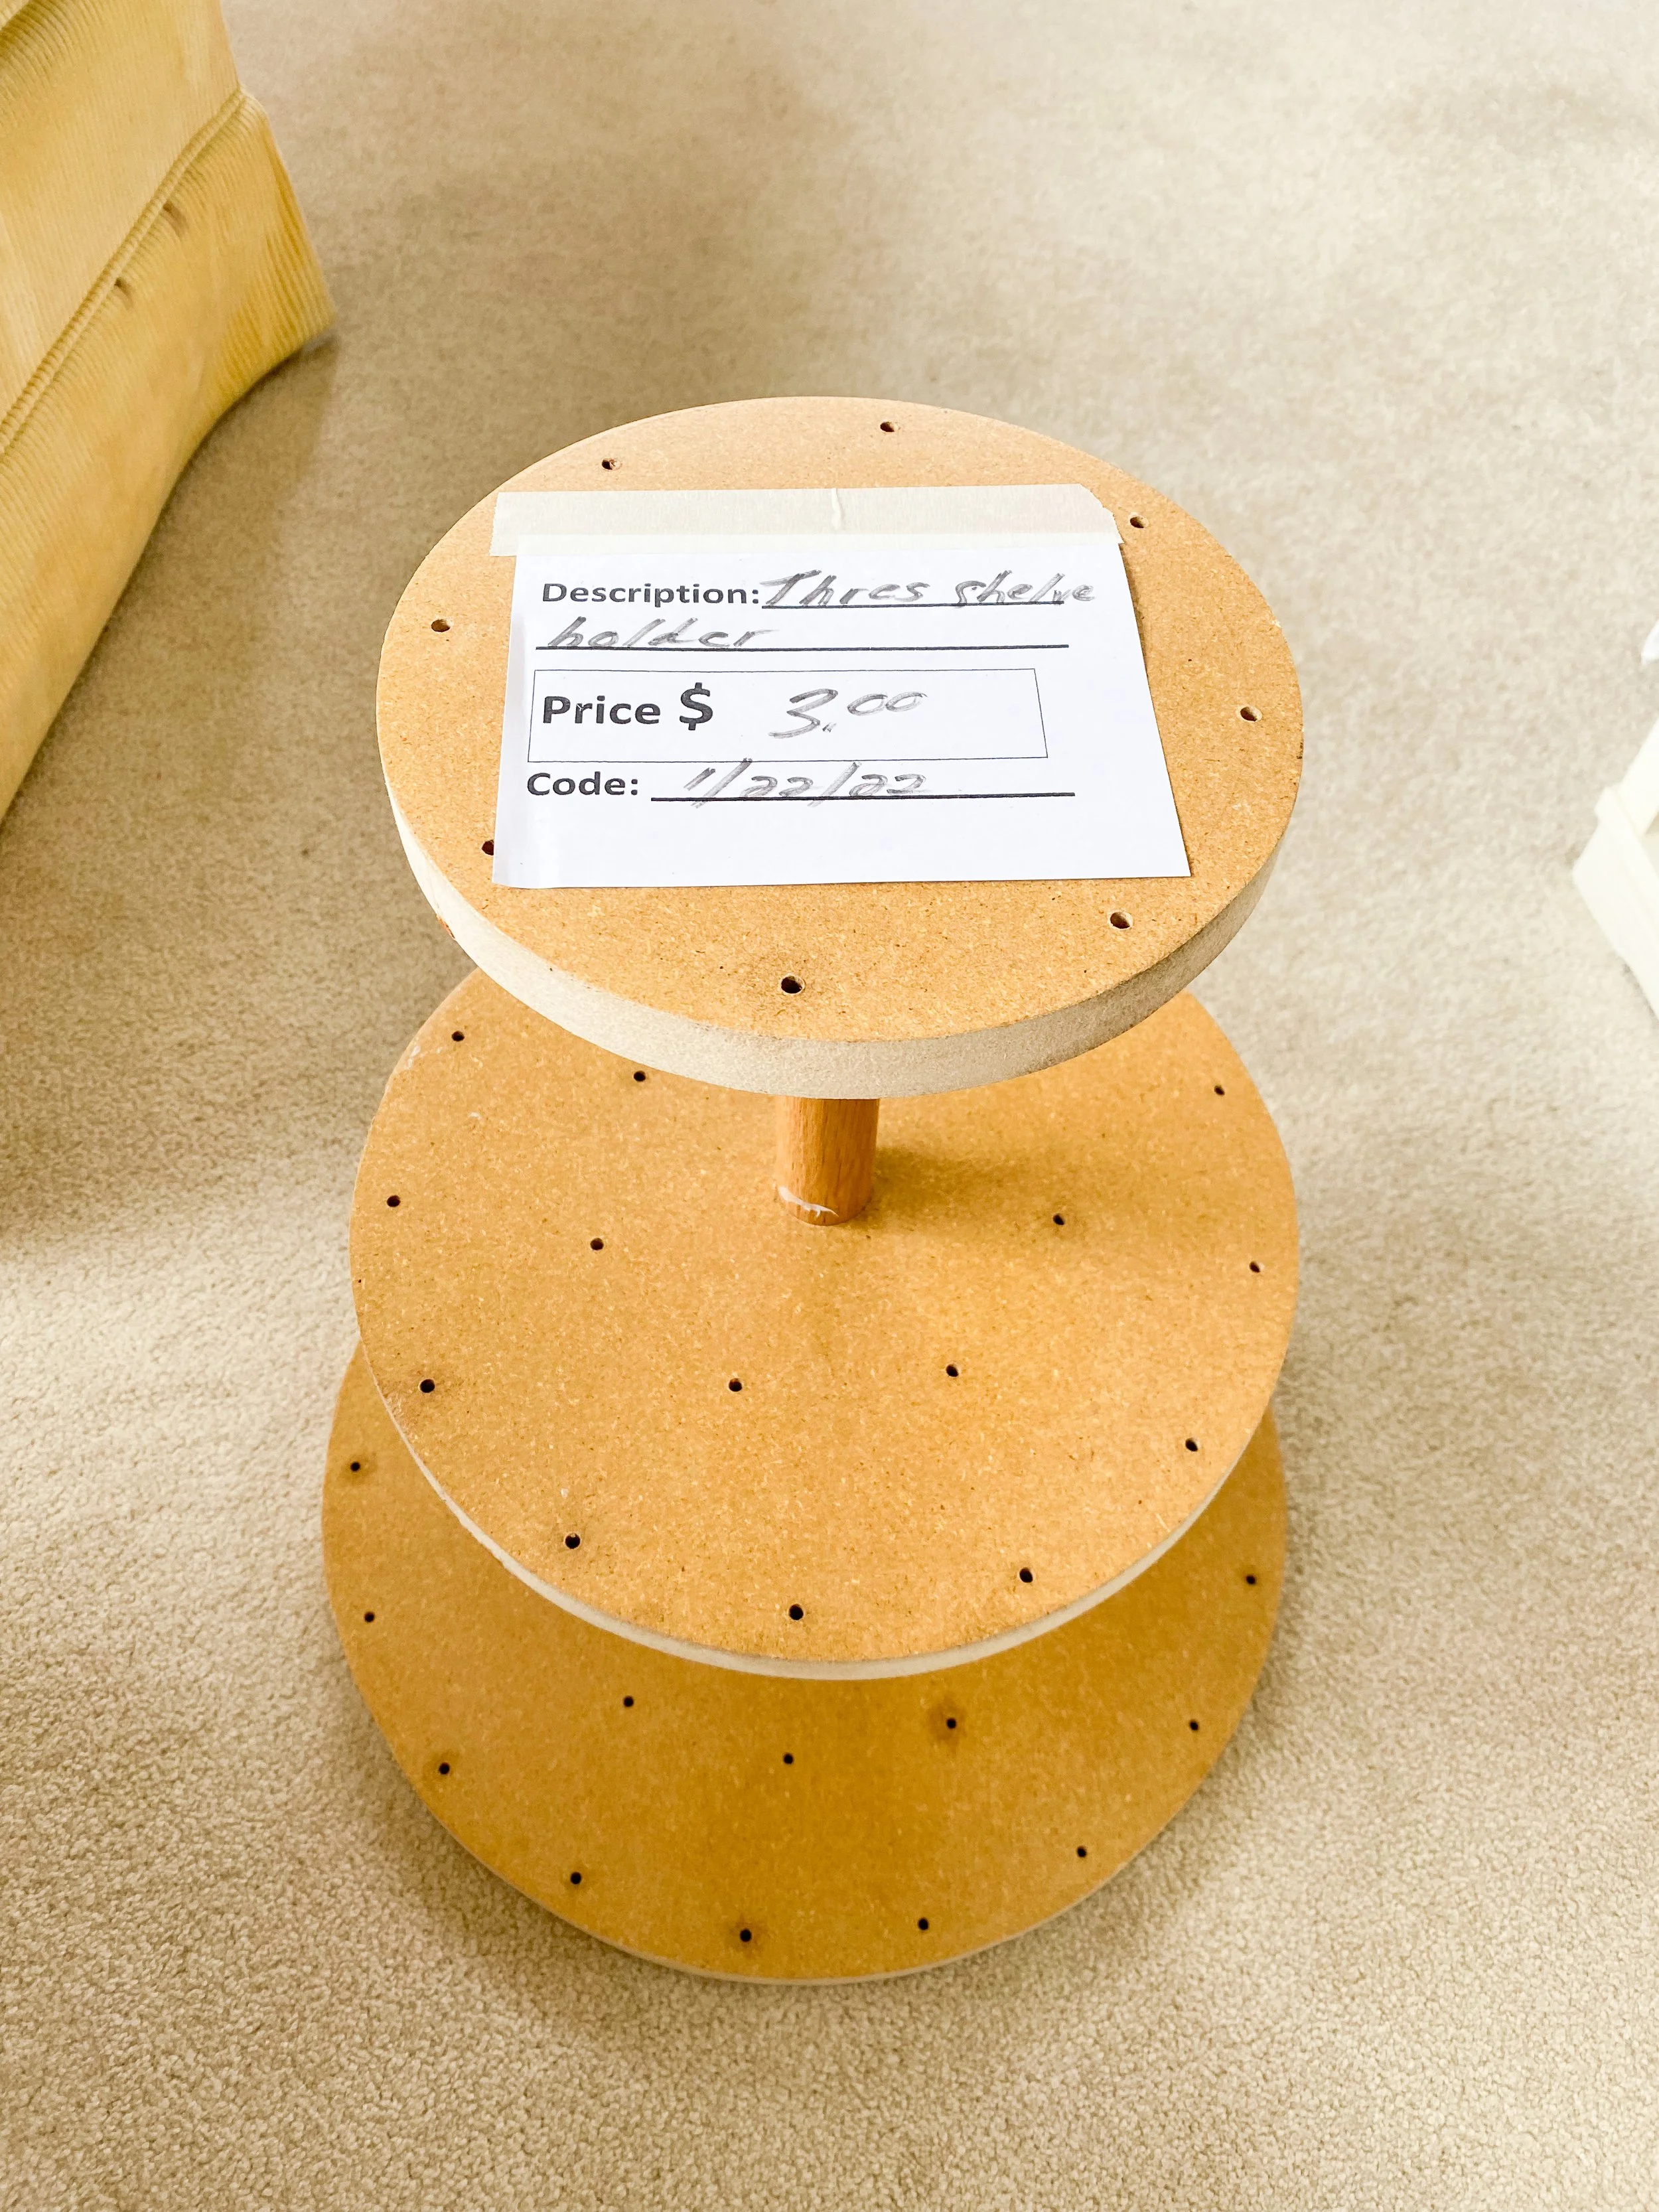
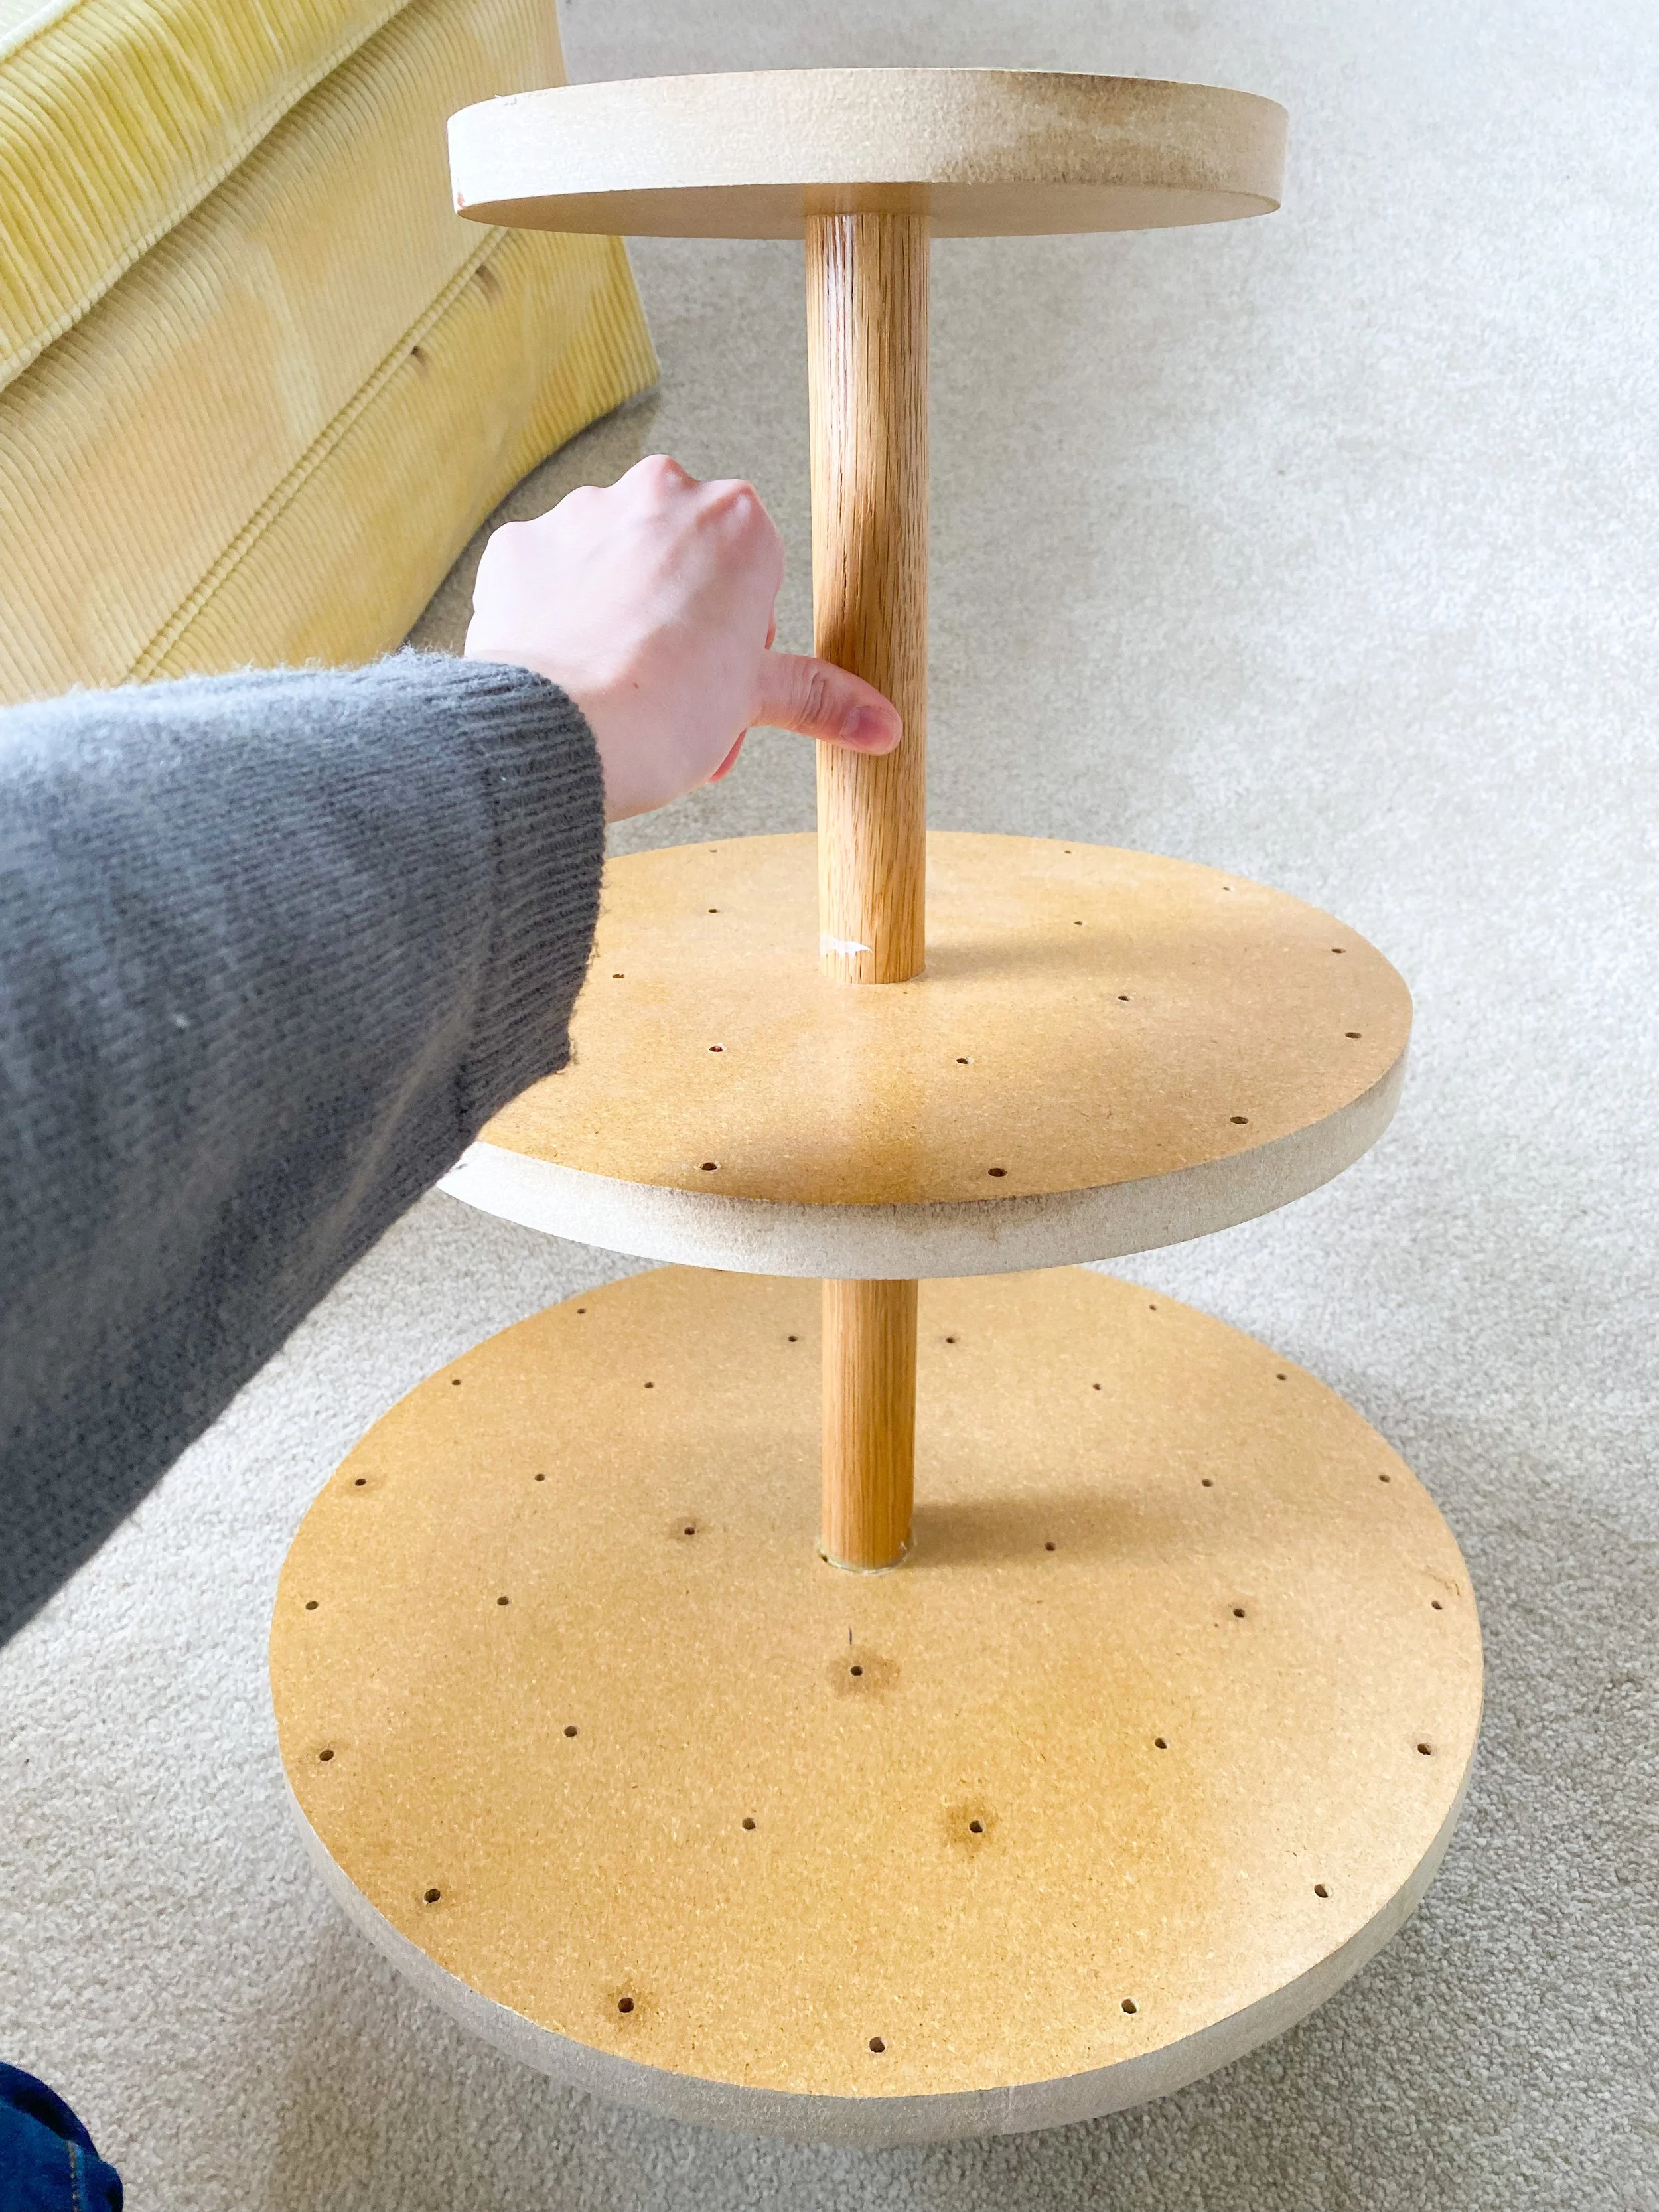
My three tier stand was found at a thrift shop for $3. It was a really lucky find and I knew I wanted to give it a makeover! I did find an unfinished stand at this Etsy shop for you to purchase and make your own. Otherwise you can search at thrift shops for what I found or even an old plant stand would be cool too!
Supply List
Wallpaper or vintage wrapping paper
Scissors
Pencil
3 tier wood stand
Kilz paint (Optional)
Tape measure
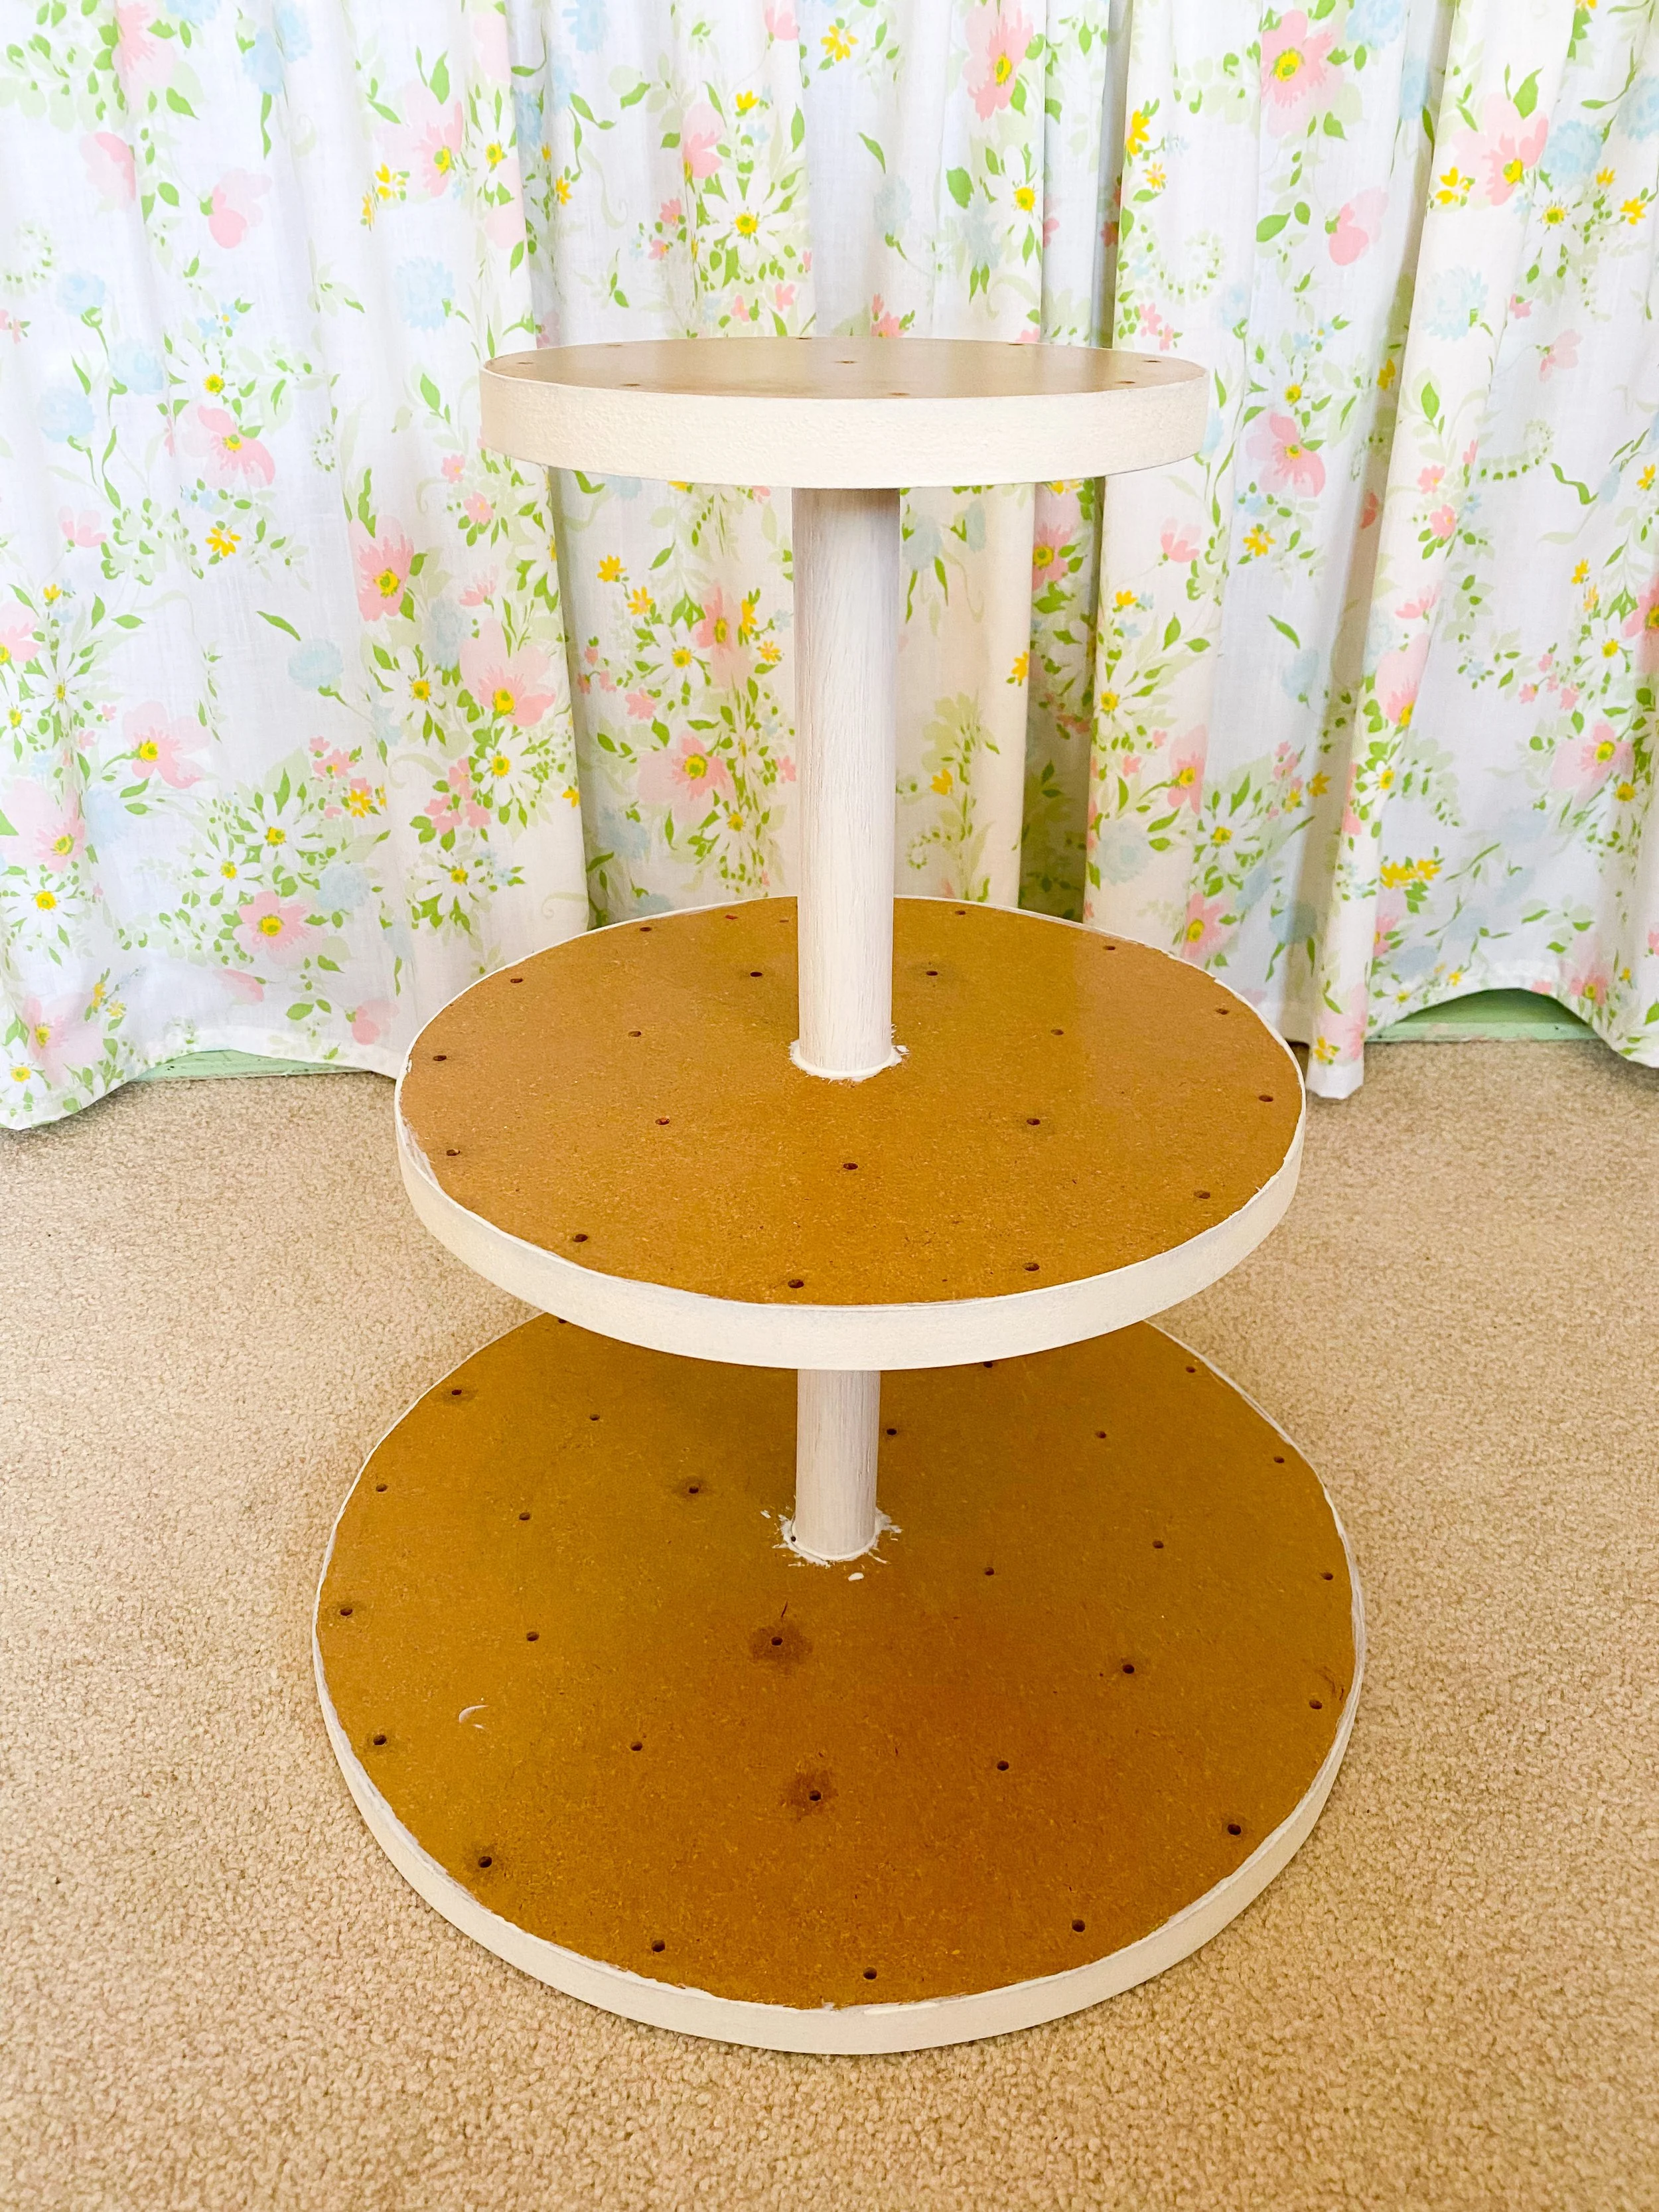
Clean and Prime
Start by cleaning your surface for paint by running a wet rag around the stand to clean off dust. I decided to do a coat of Kilz paint first because I wasn’t sure if the stand was actually unfinished or not and didn’t want anything from the wood bleeding through into the paint. Since you’re covering most of the stand with wallpaper you only need to paint the sides and the dowels. I didn’t paint the underside of the round tiers but you can if you want.
Paint
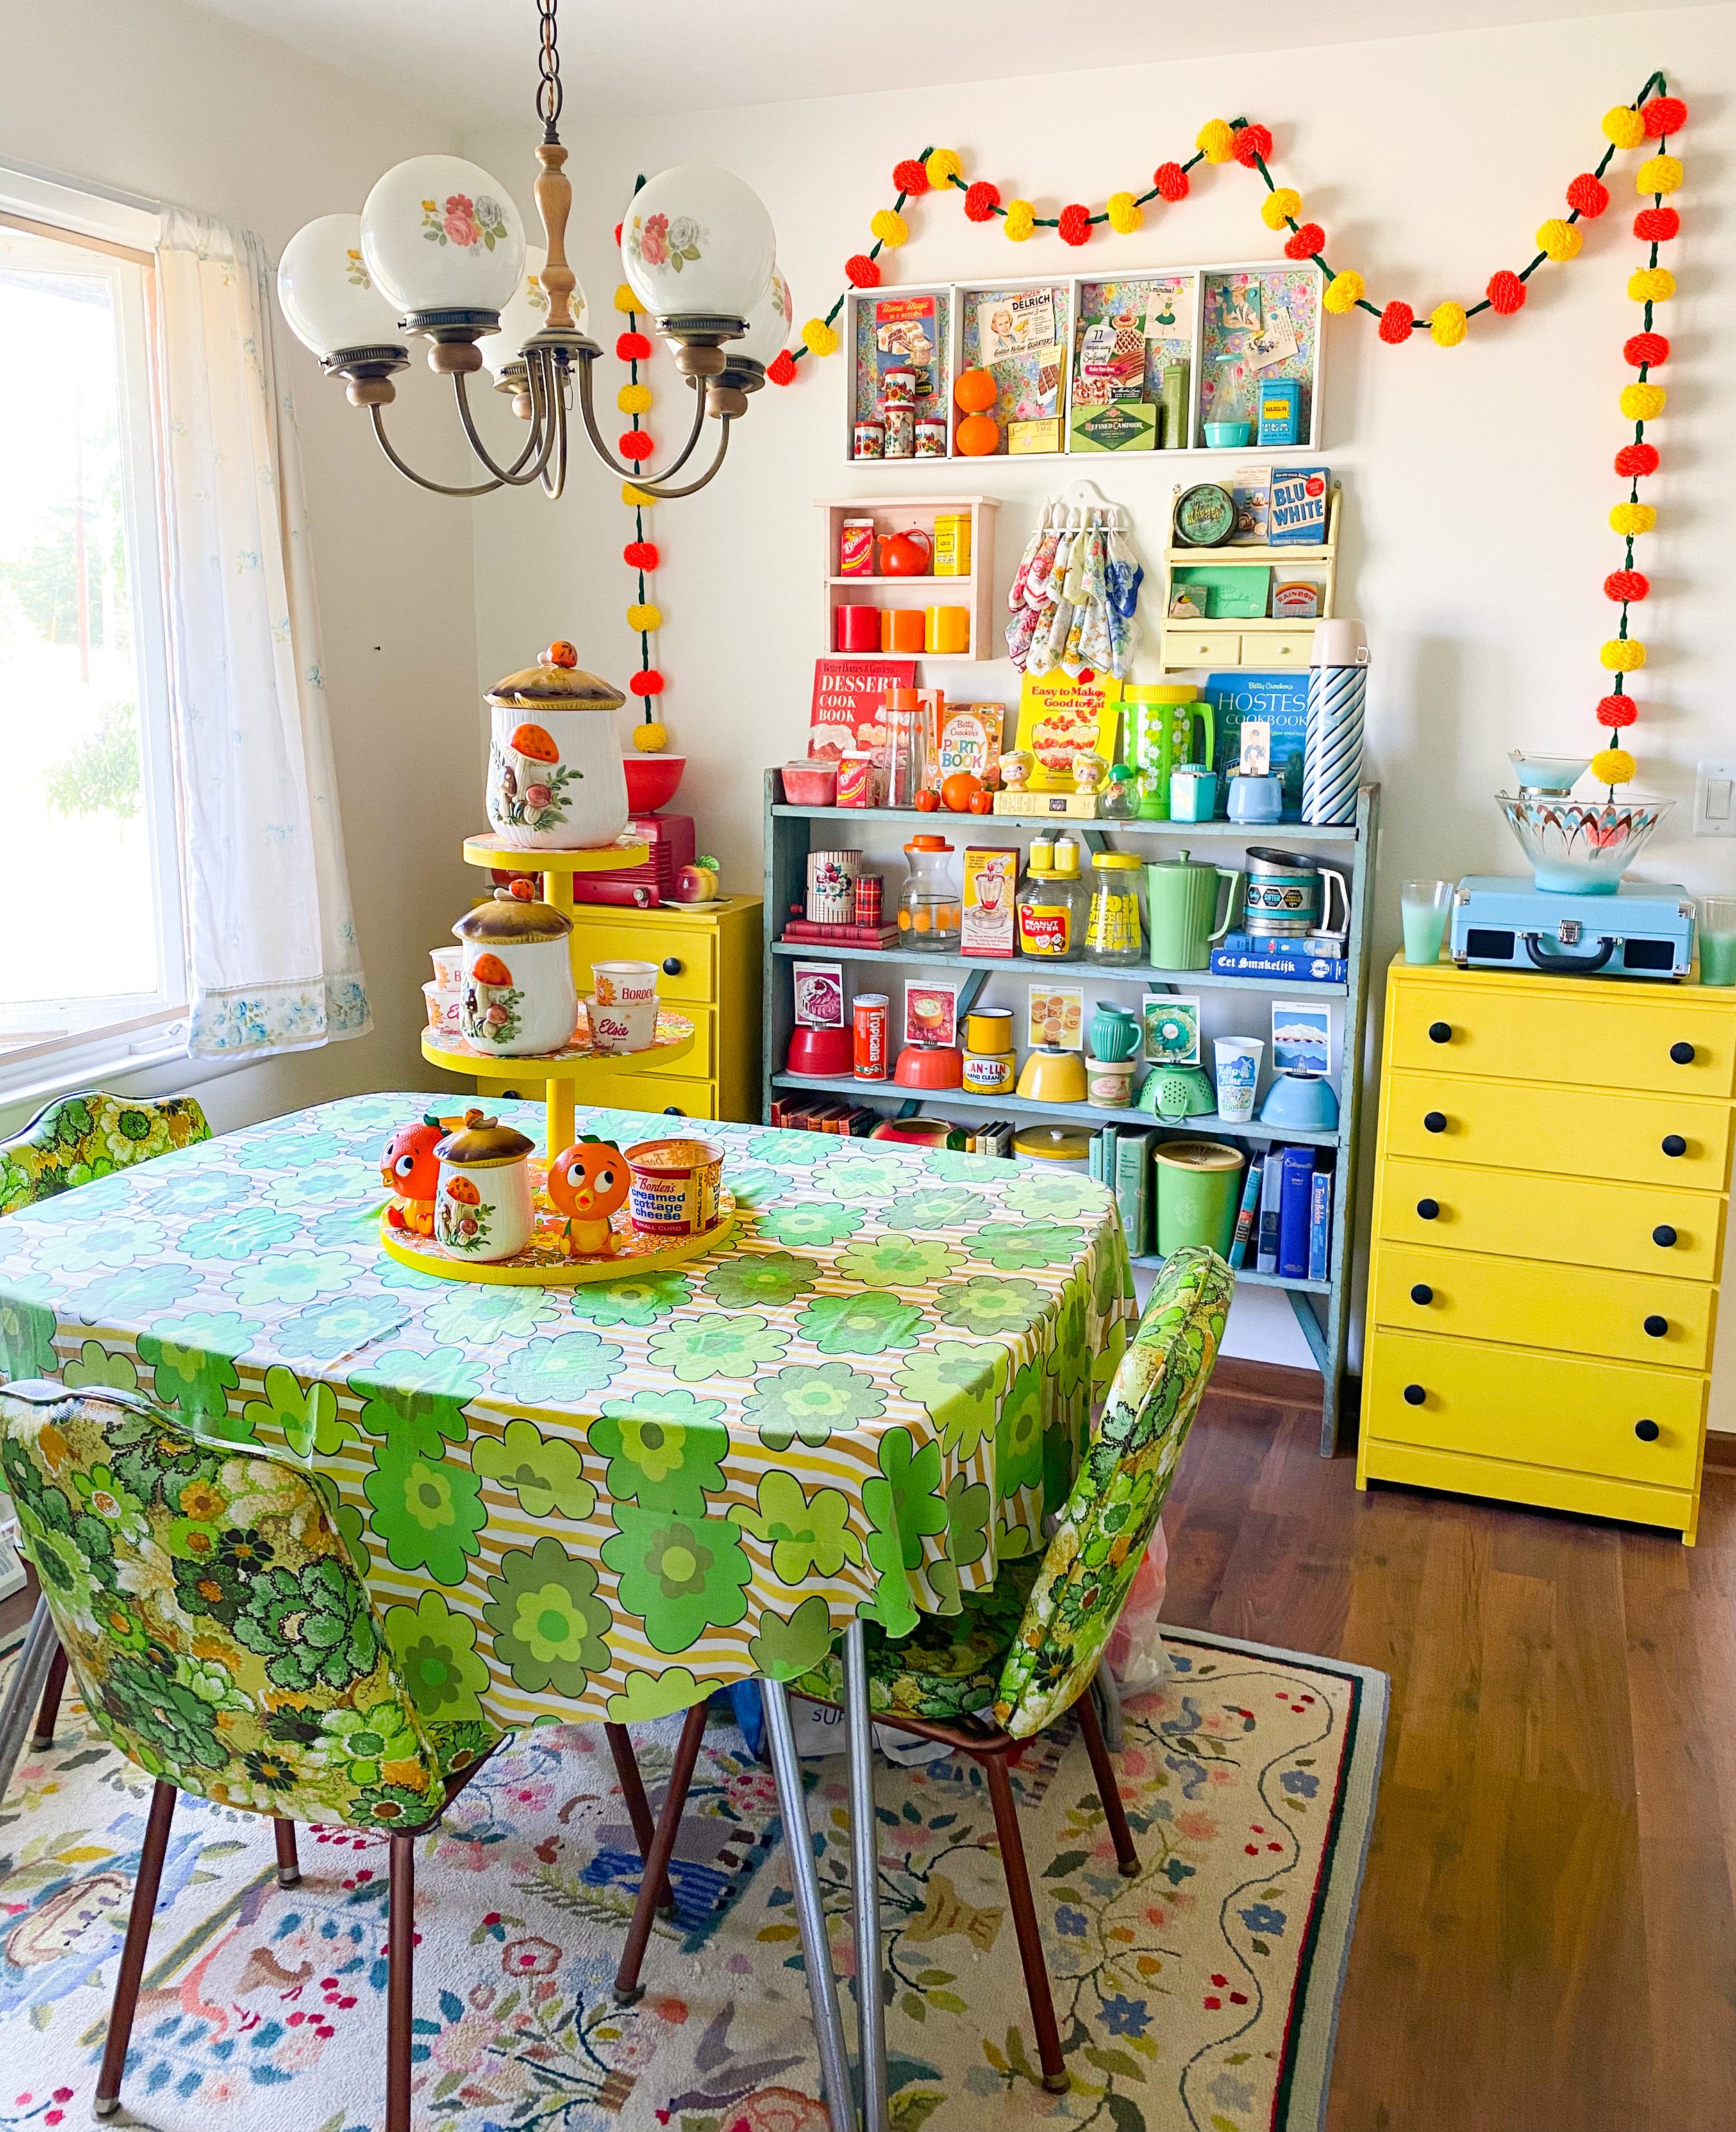
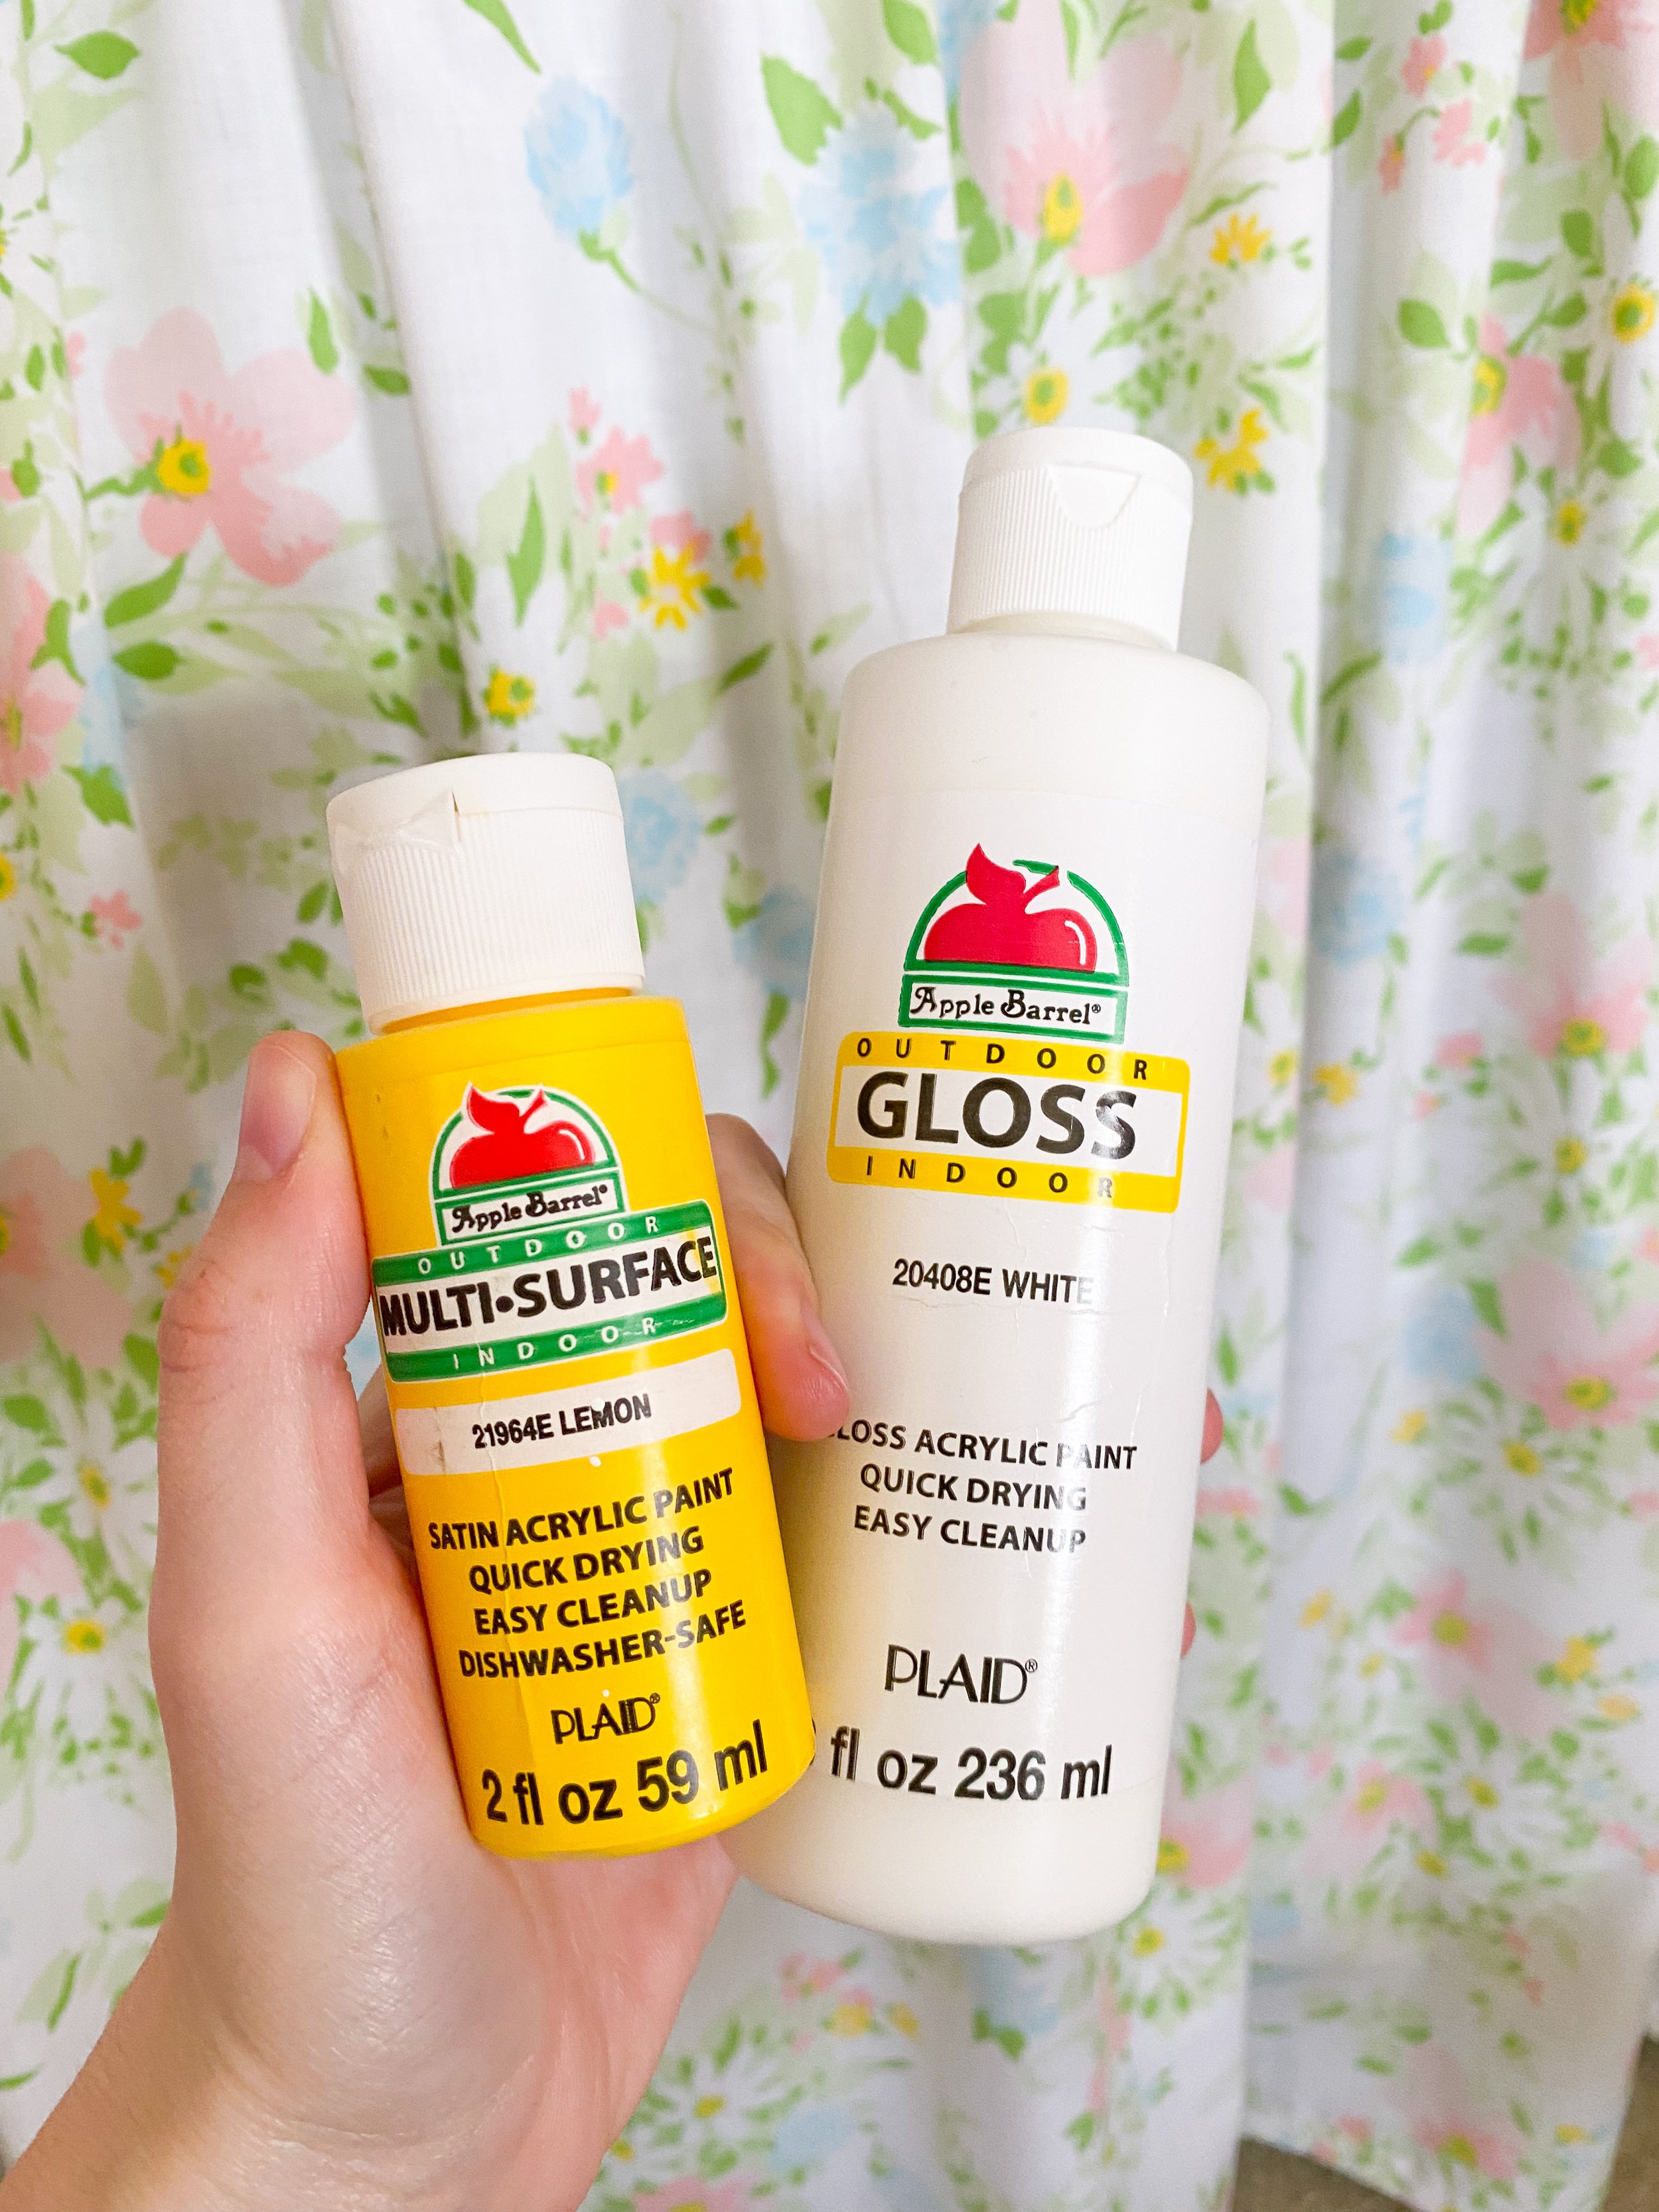
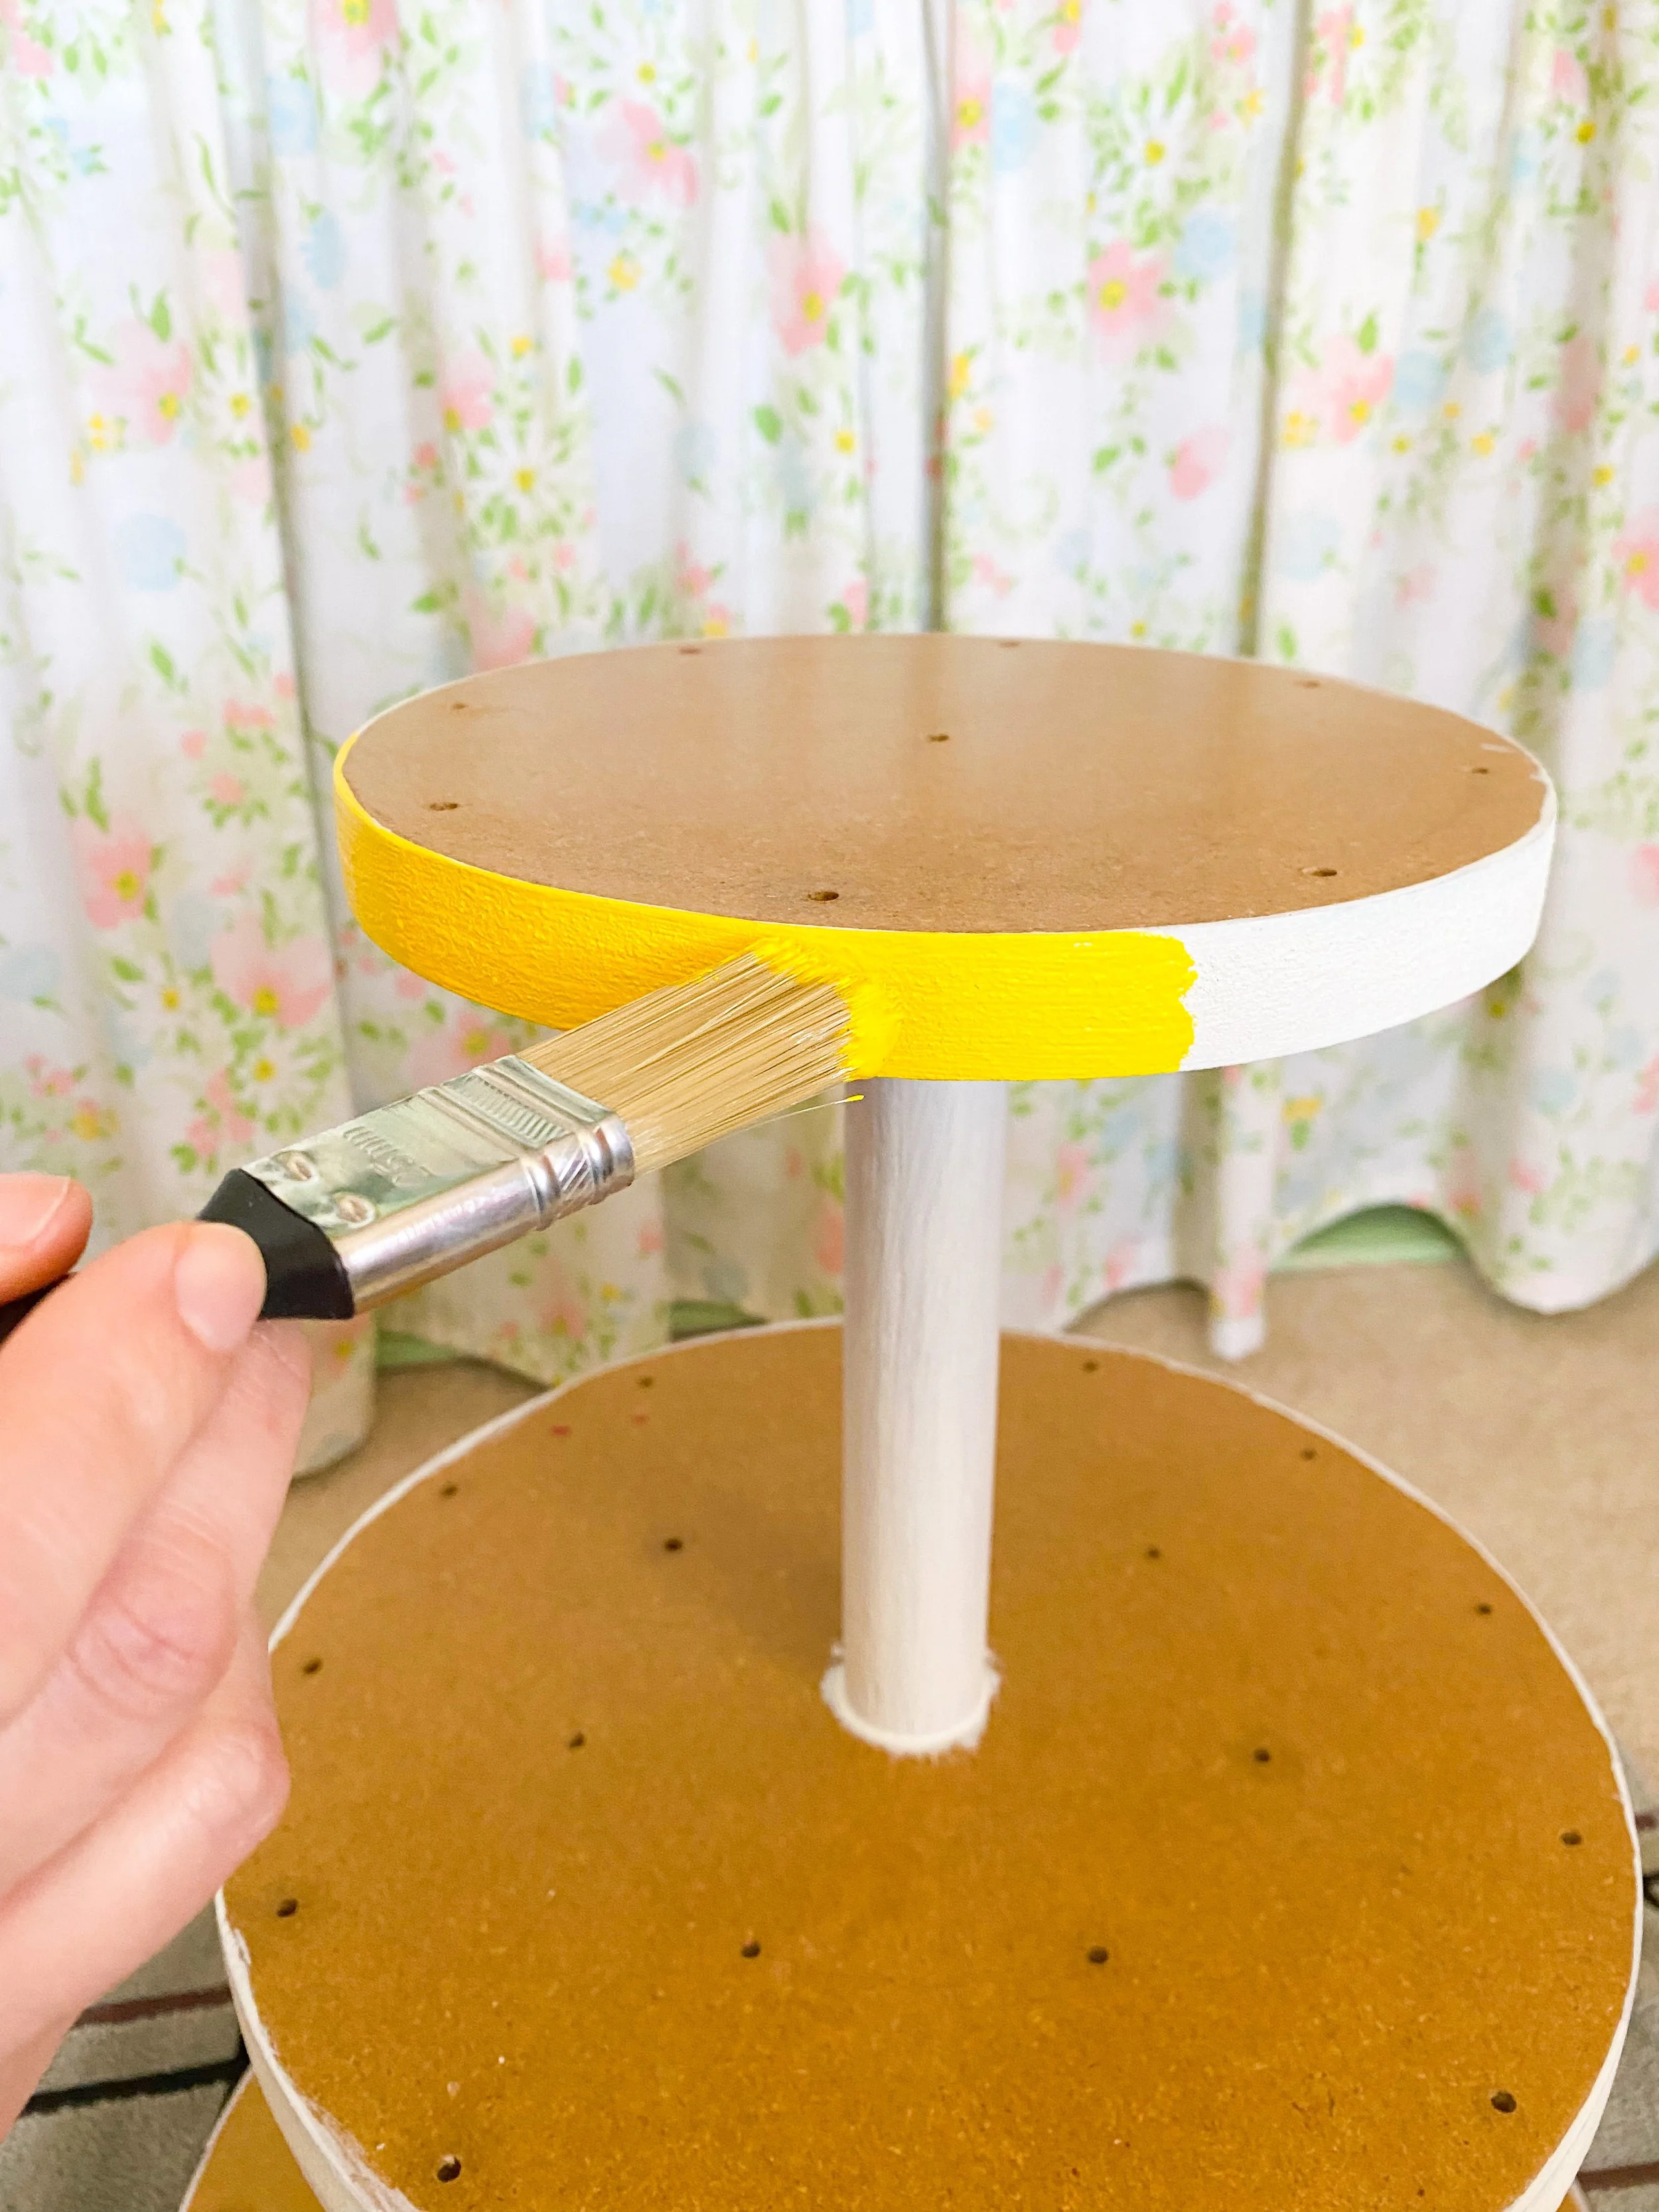
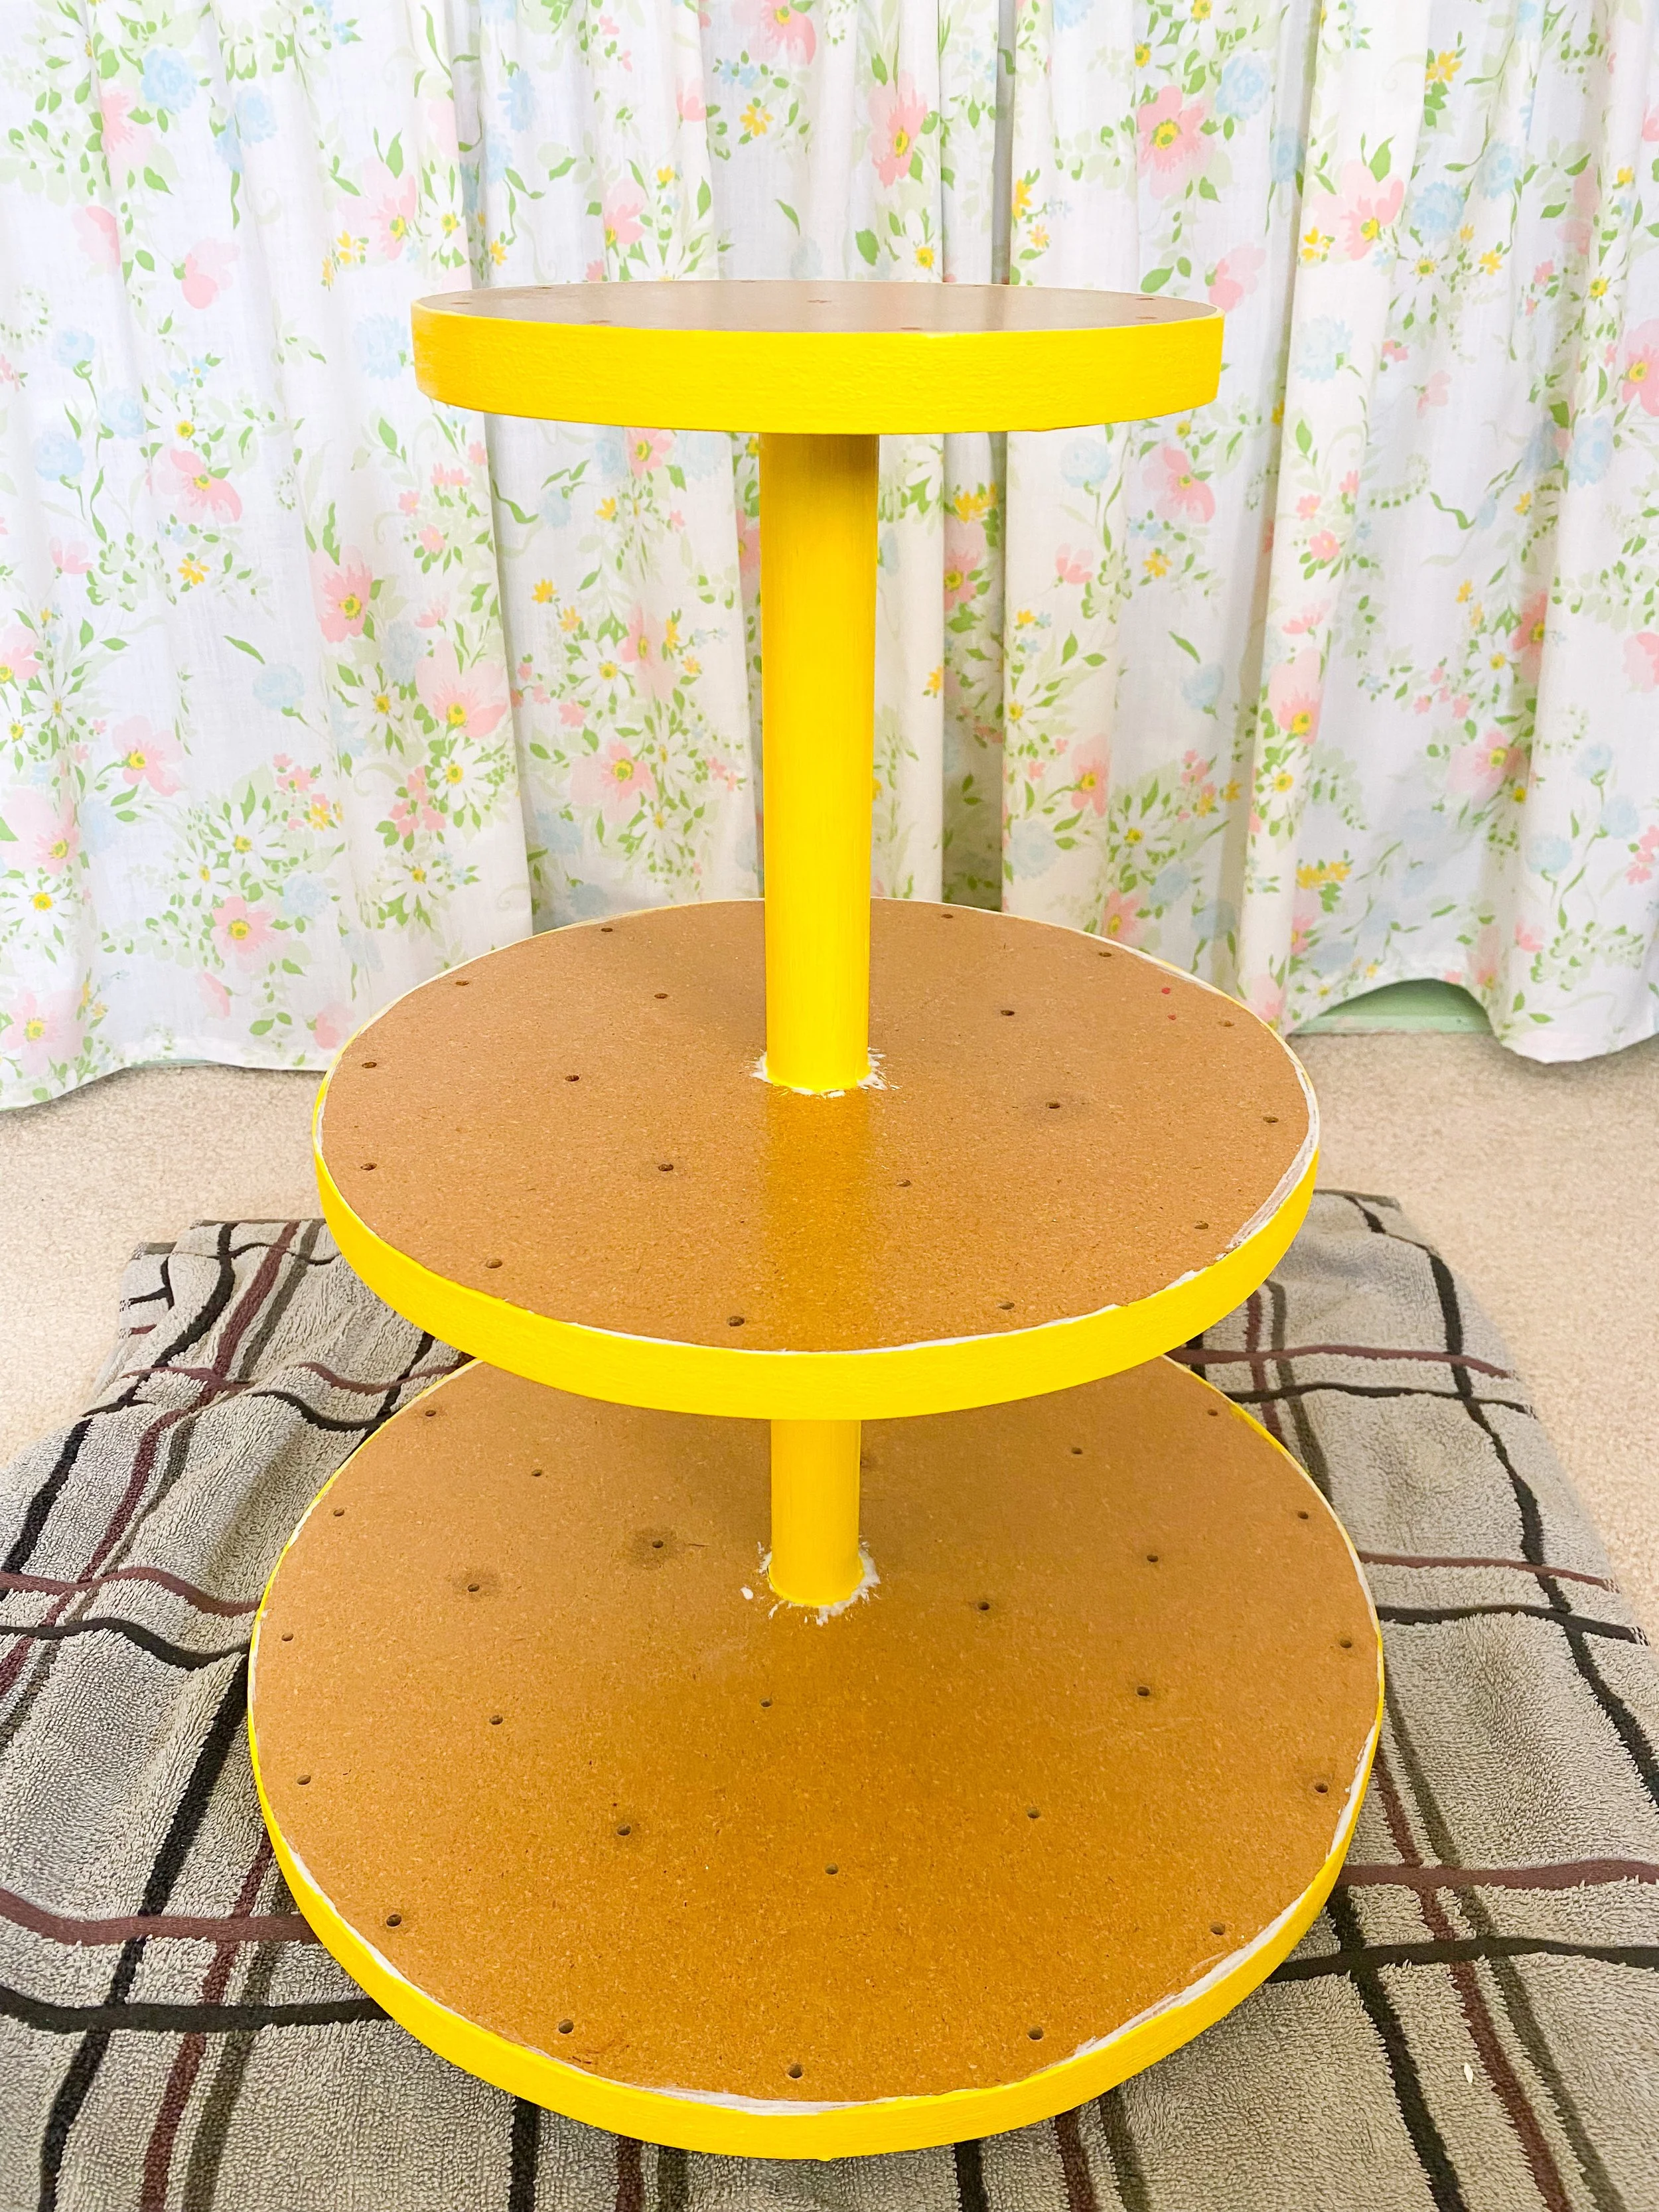
I mixed a lemon color with some white to lighten it up and to match the yellow in the wallpaper. I chose yellow because it will look cute in the fall AND I’m planning on cover the wallpaper with Christmas wrapping paper during the holiday season. Yellow is one of my Christmas colors so I’m planning on using the stand year round. Paint over the Kilz if you did so, otherwise paint on the sides and dowels and you can skip where you are putting your paper.
Tip: Paint a little bit on the edge of each round tier. I didn’t do this and when I started putting my wallpaper on sometimes I didn’t cut exactly right and you could see wood on the edge of the tier. I had to cut new wallpaper pieces and if I had painted a little around the tier edge you wouldn’t have even noticed.
Cut Out Your Wallpaper
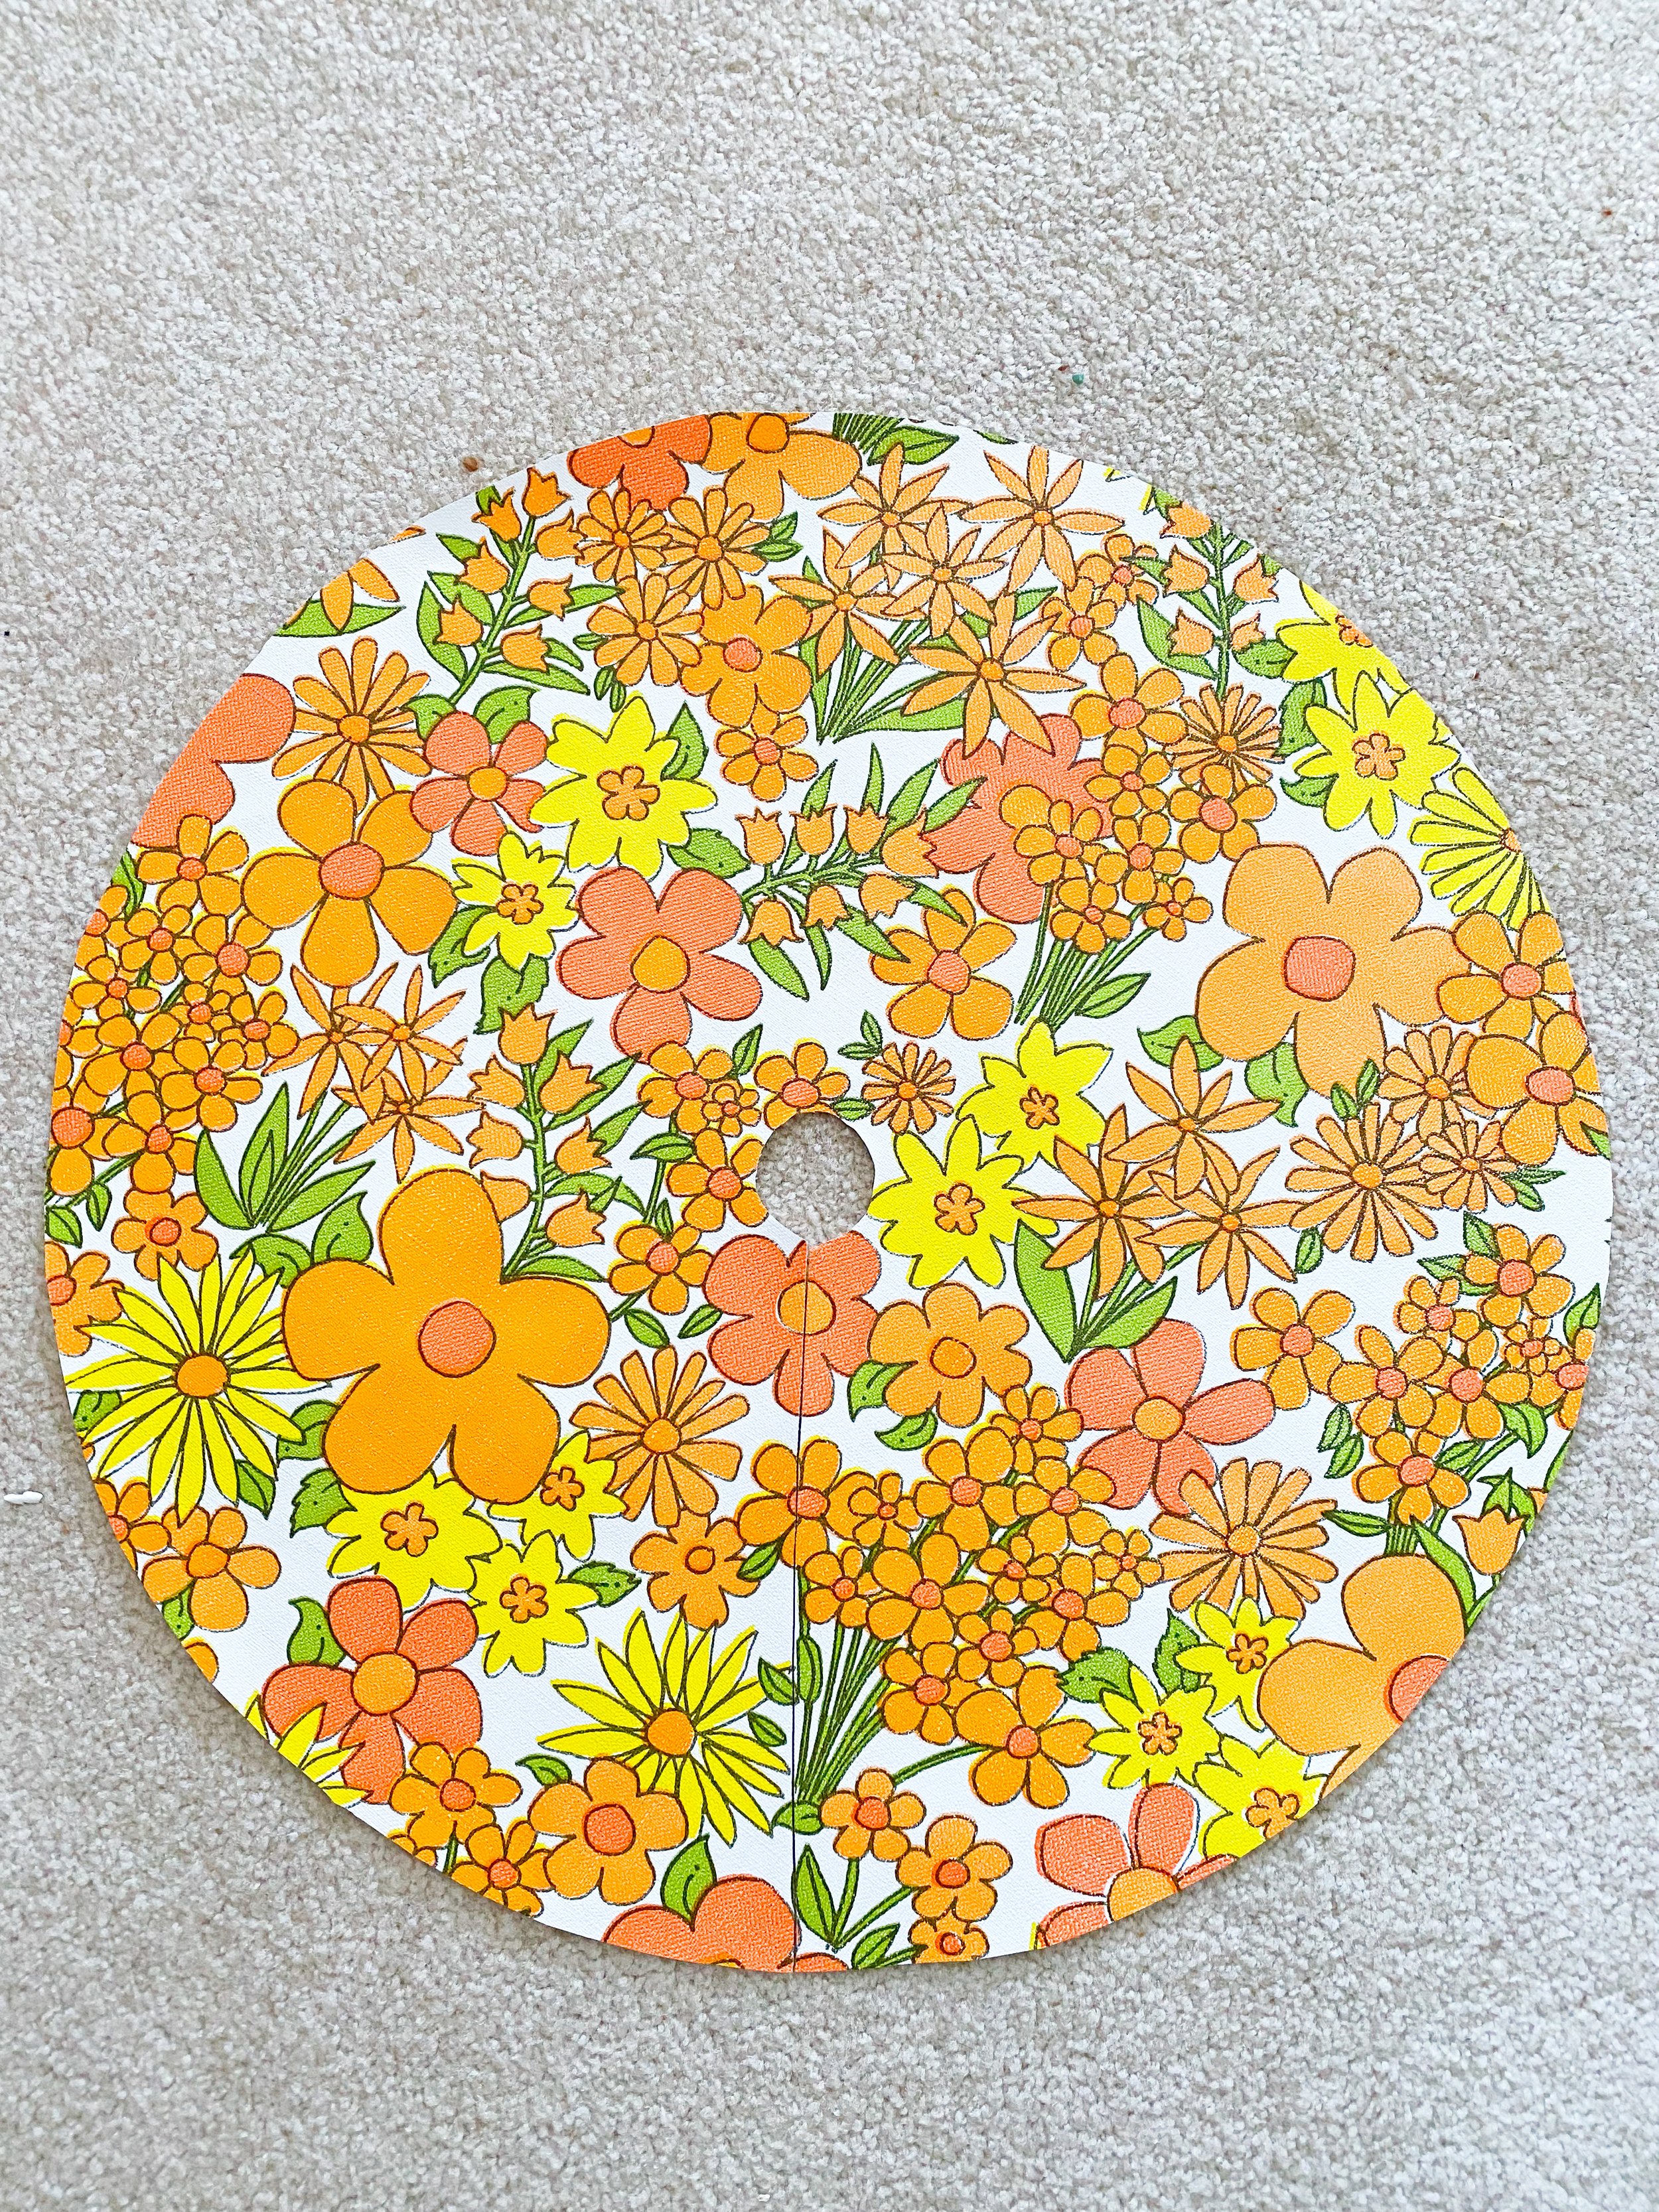
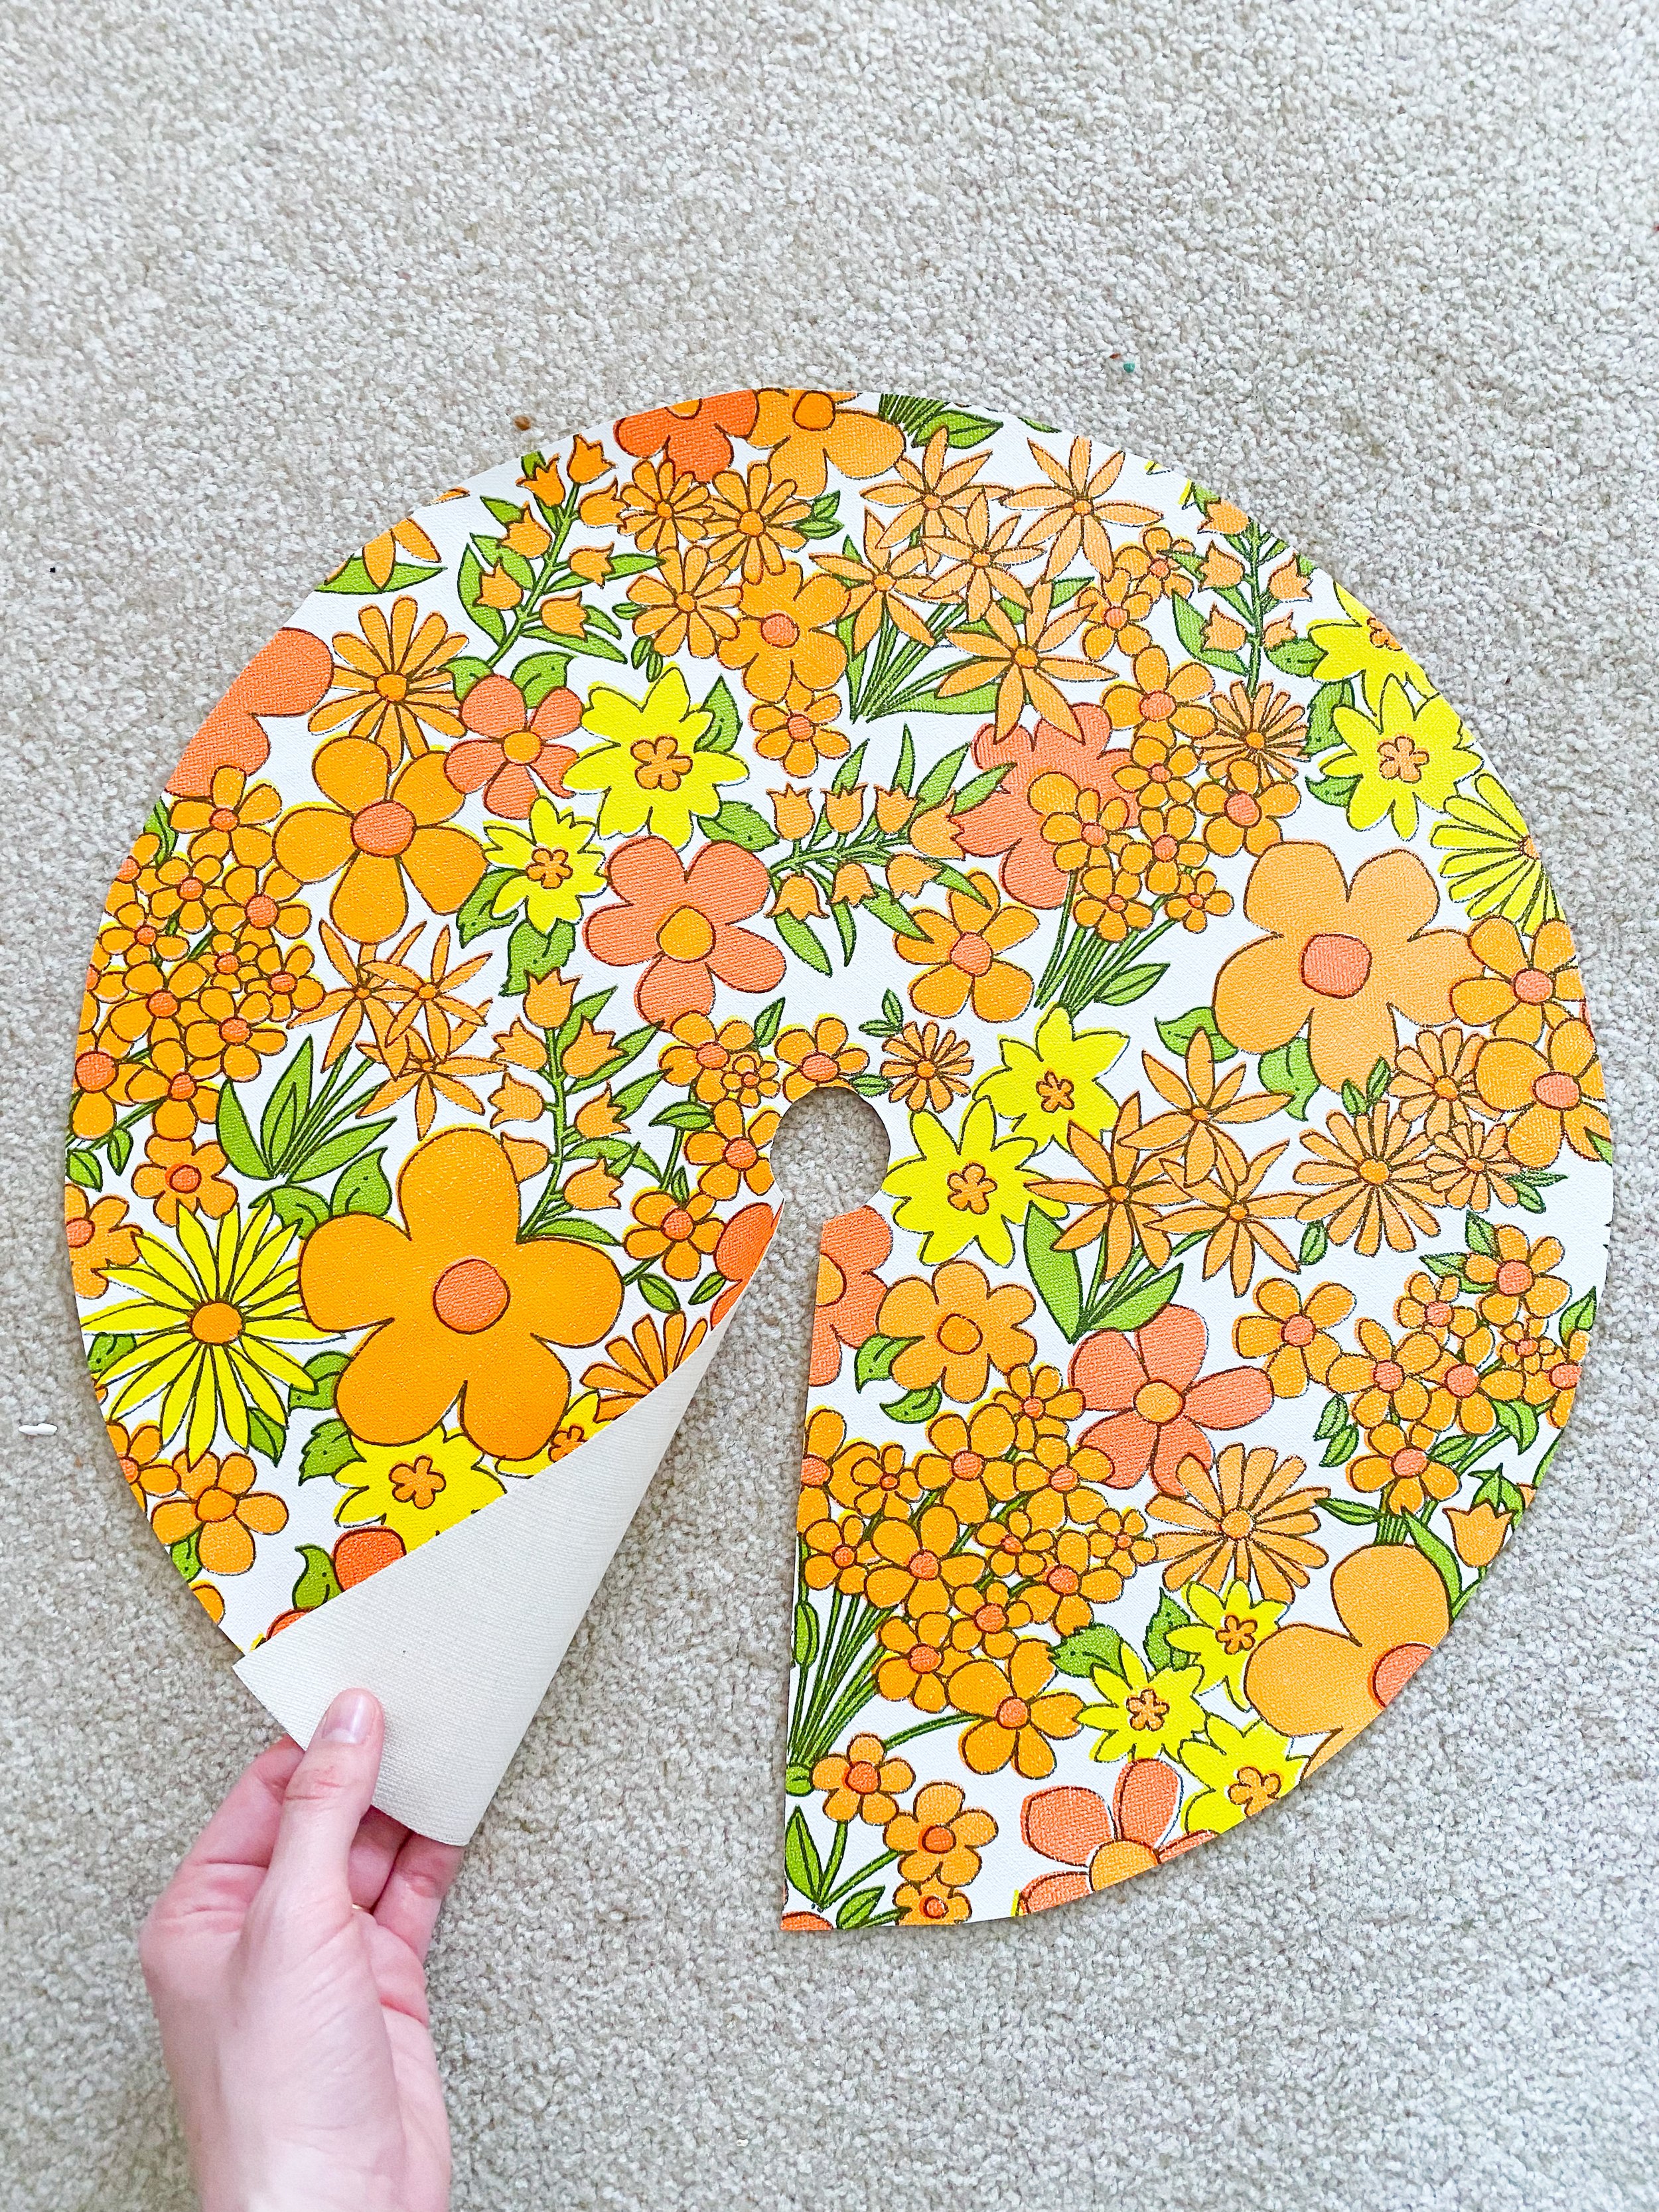
Flip your wallpaper upside down and place the stand on the wallpaper (If you bought the unassembled one on Etsy this step is really easy because you can trace each tier no problem). Trace around the biggest tier. Flip the stand over and you can trace around the top stand also. For the middle one I measured it and eyeballed a circle around that size, so if it’s a 10 inch circle I cut at 12 inch one to give myself space for error. Cut out each circle.

You’ll need to cut an opening to get the wallpaper around the dowels. If your stand is unassembled, again, it will be really easy because you can just cut a small circle in the center for the hardware pieces. If you have a big assembled stand like mine you’ll have to cut a slit down the middle and then cut a circle at the center to fit around the dowel. Cut a straight line towards the center and then cut a small circle. Start with a small circle and you can always cut it bigger to make it fit perfectly around the dowel. Try to fit it on your tier and make some cutting adjustments. It took me a few tries to get it right and I had to start over with a new piece of wallpaper a few times. Once it fits you can trim off any excess wallpaper around the edges of the tier.
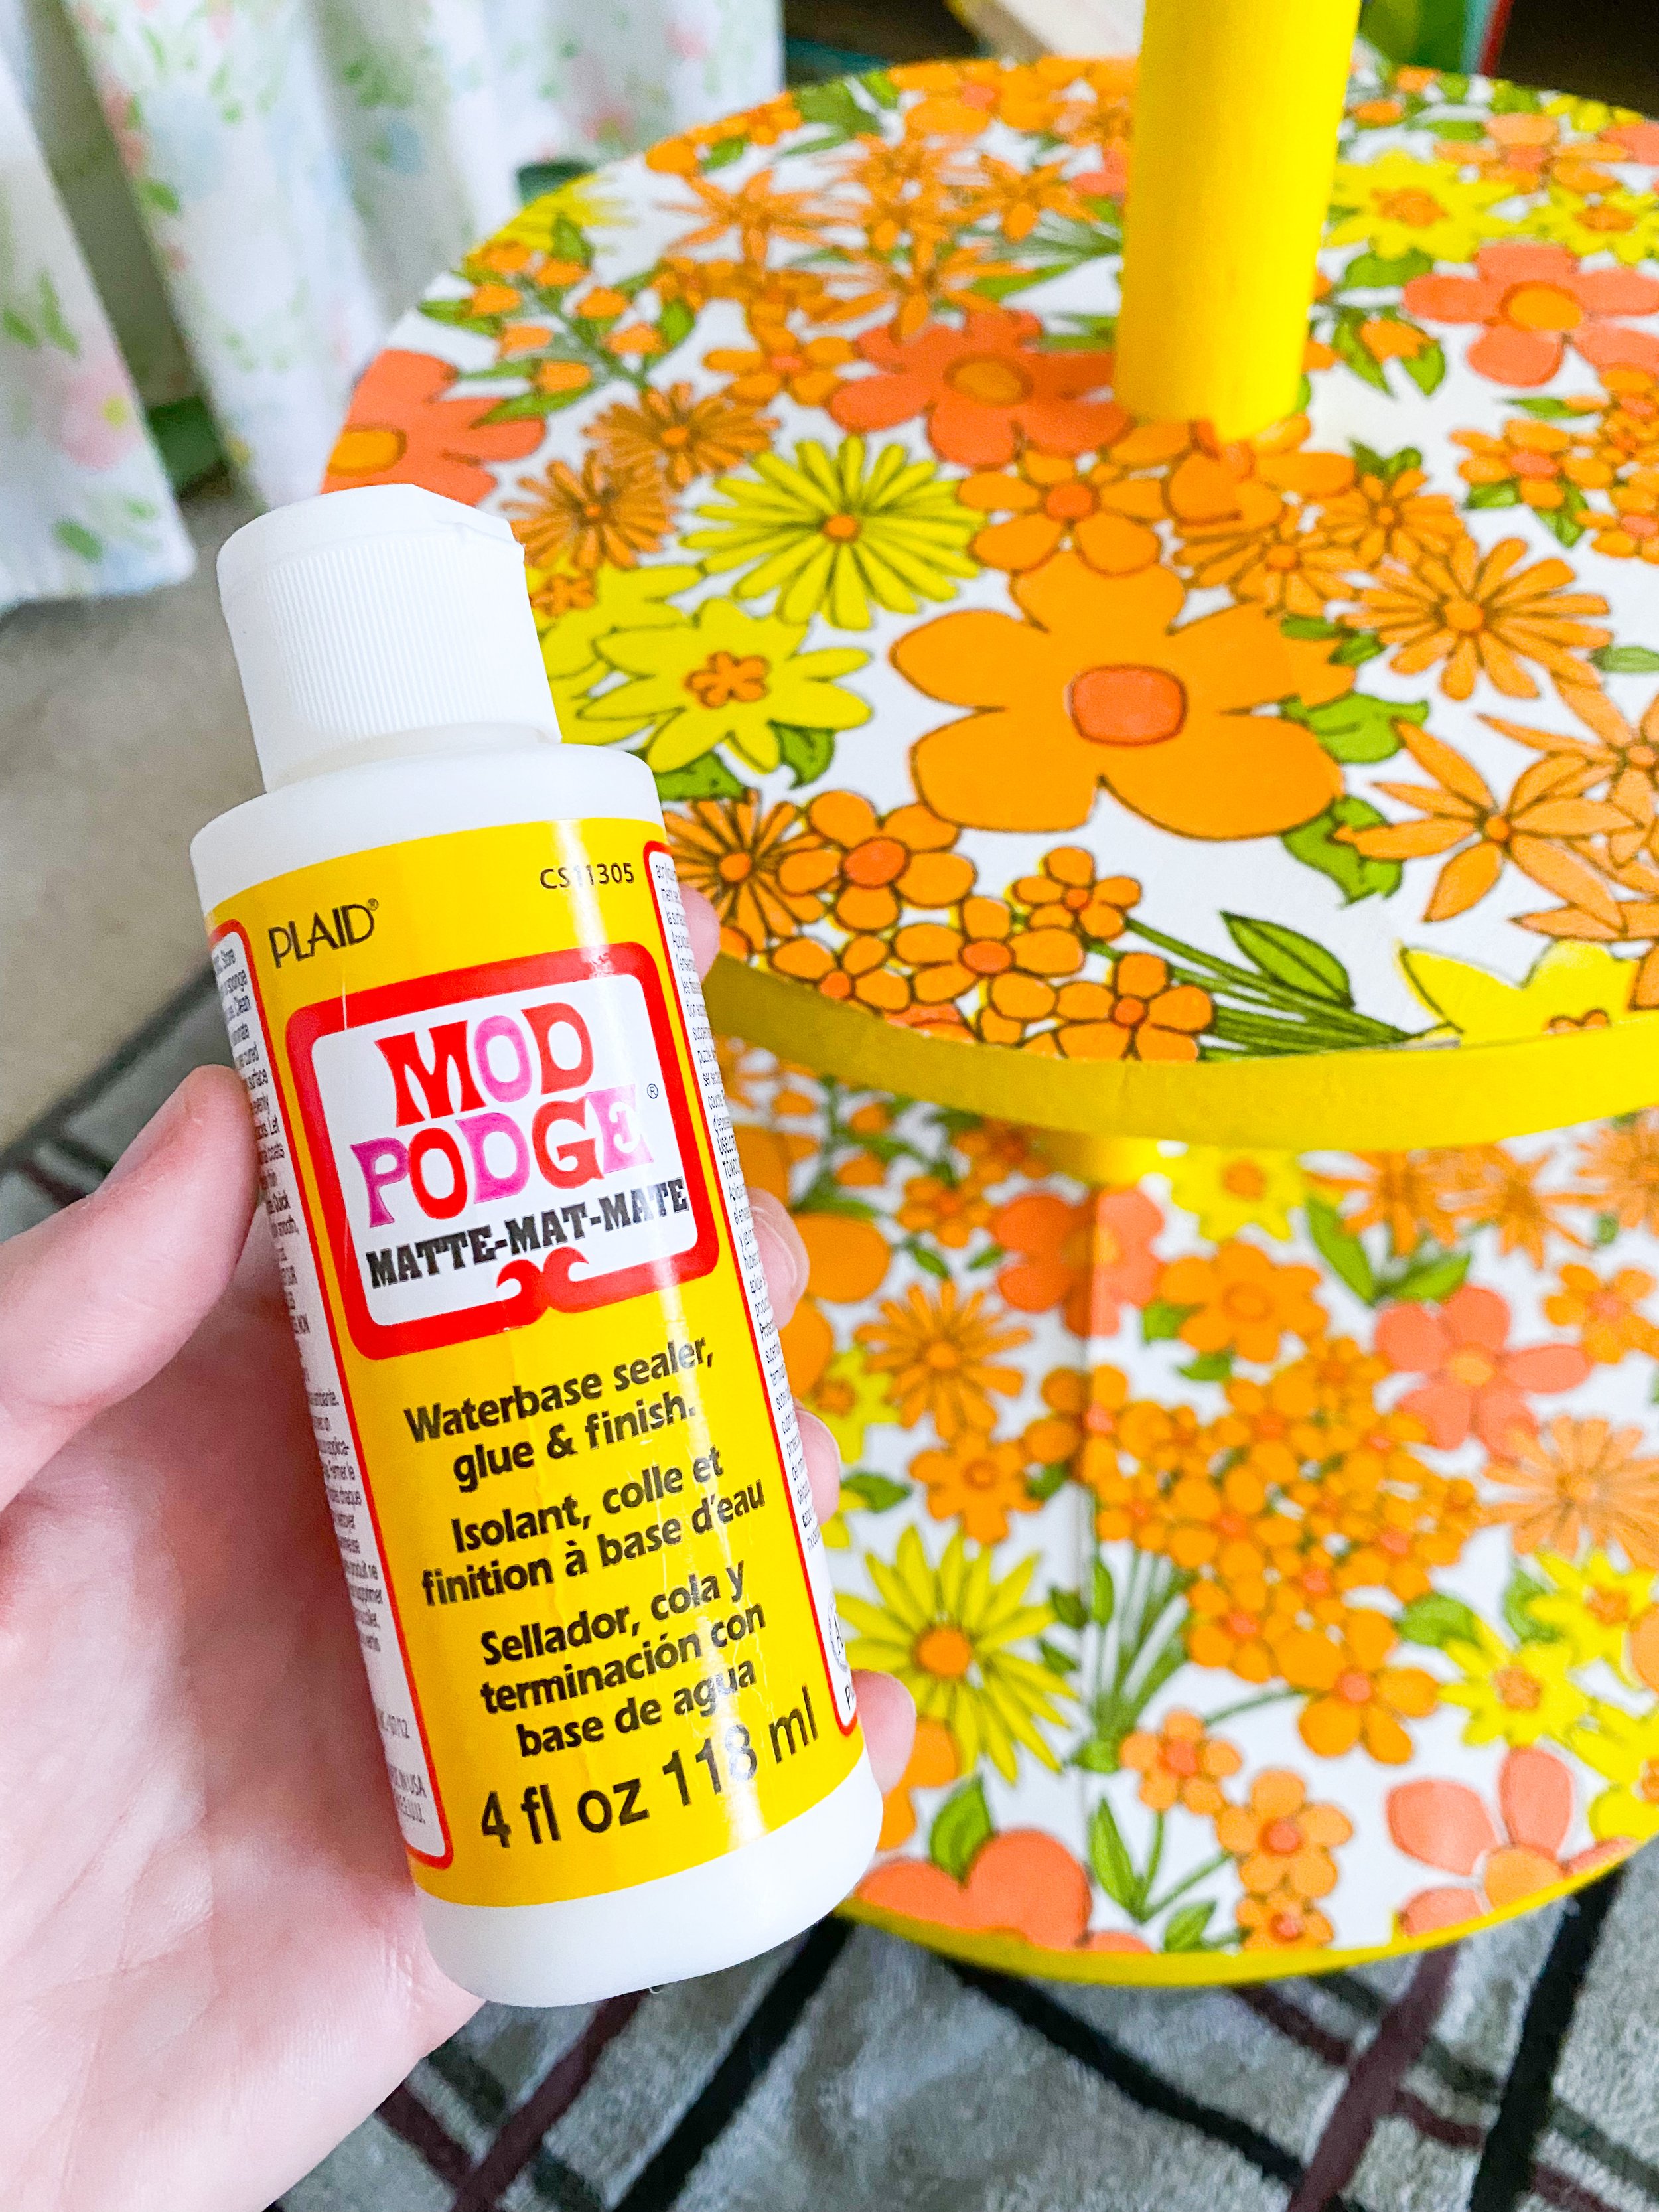
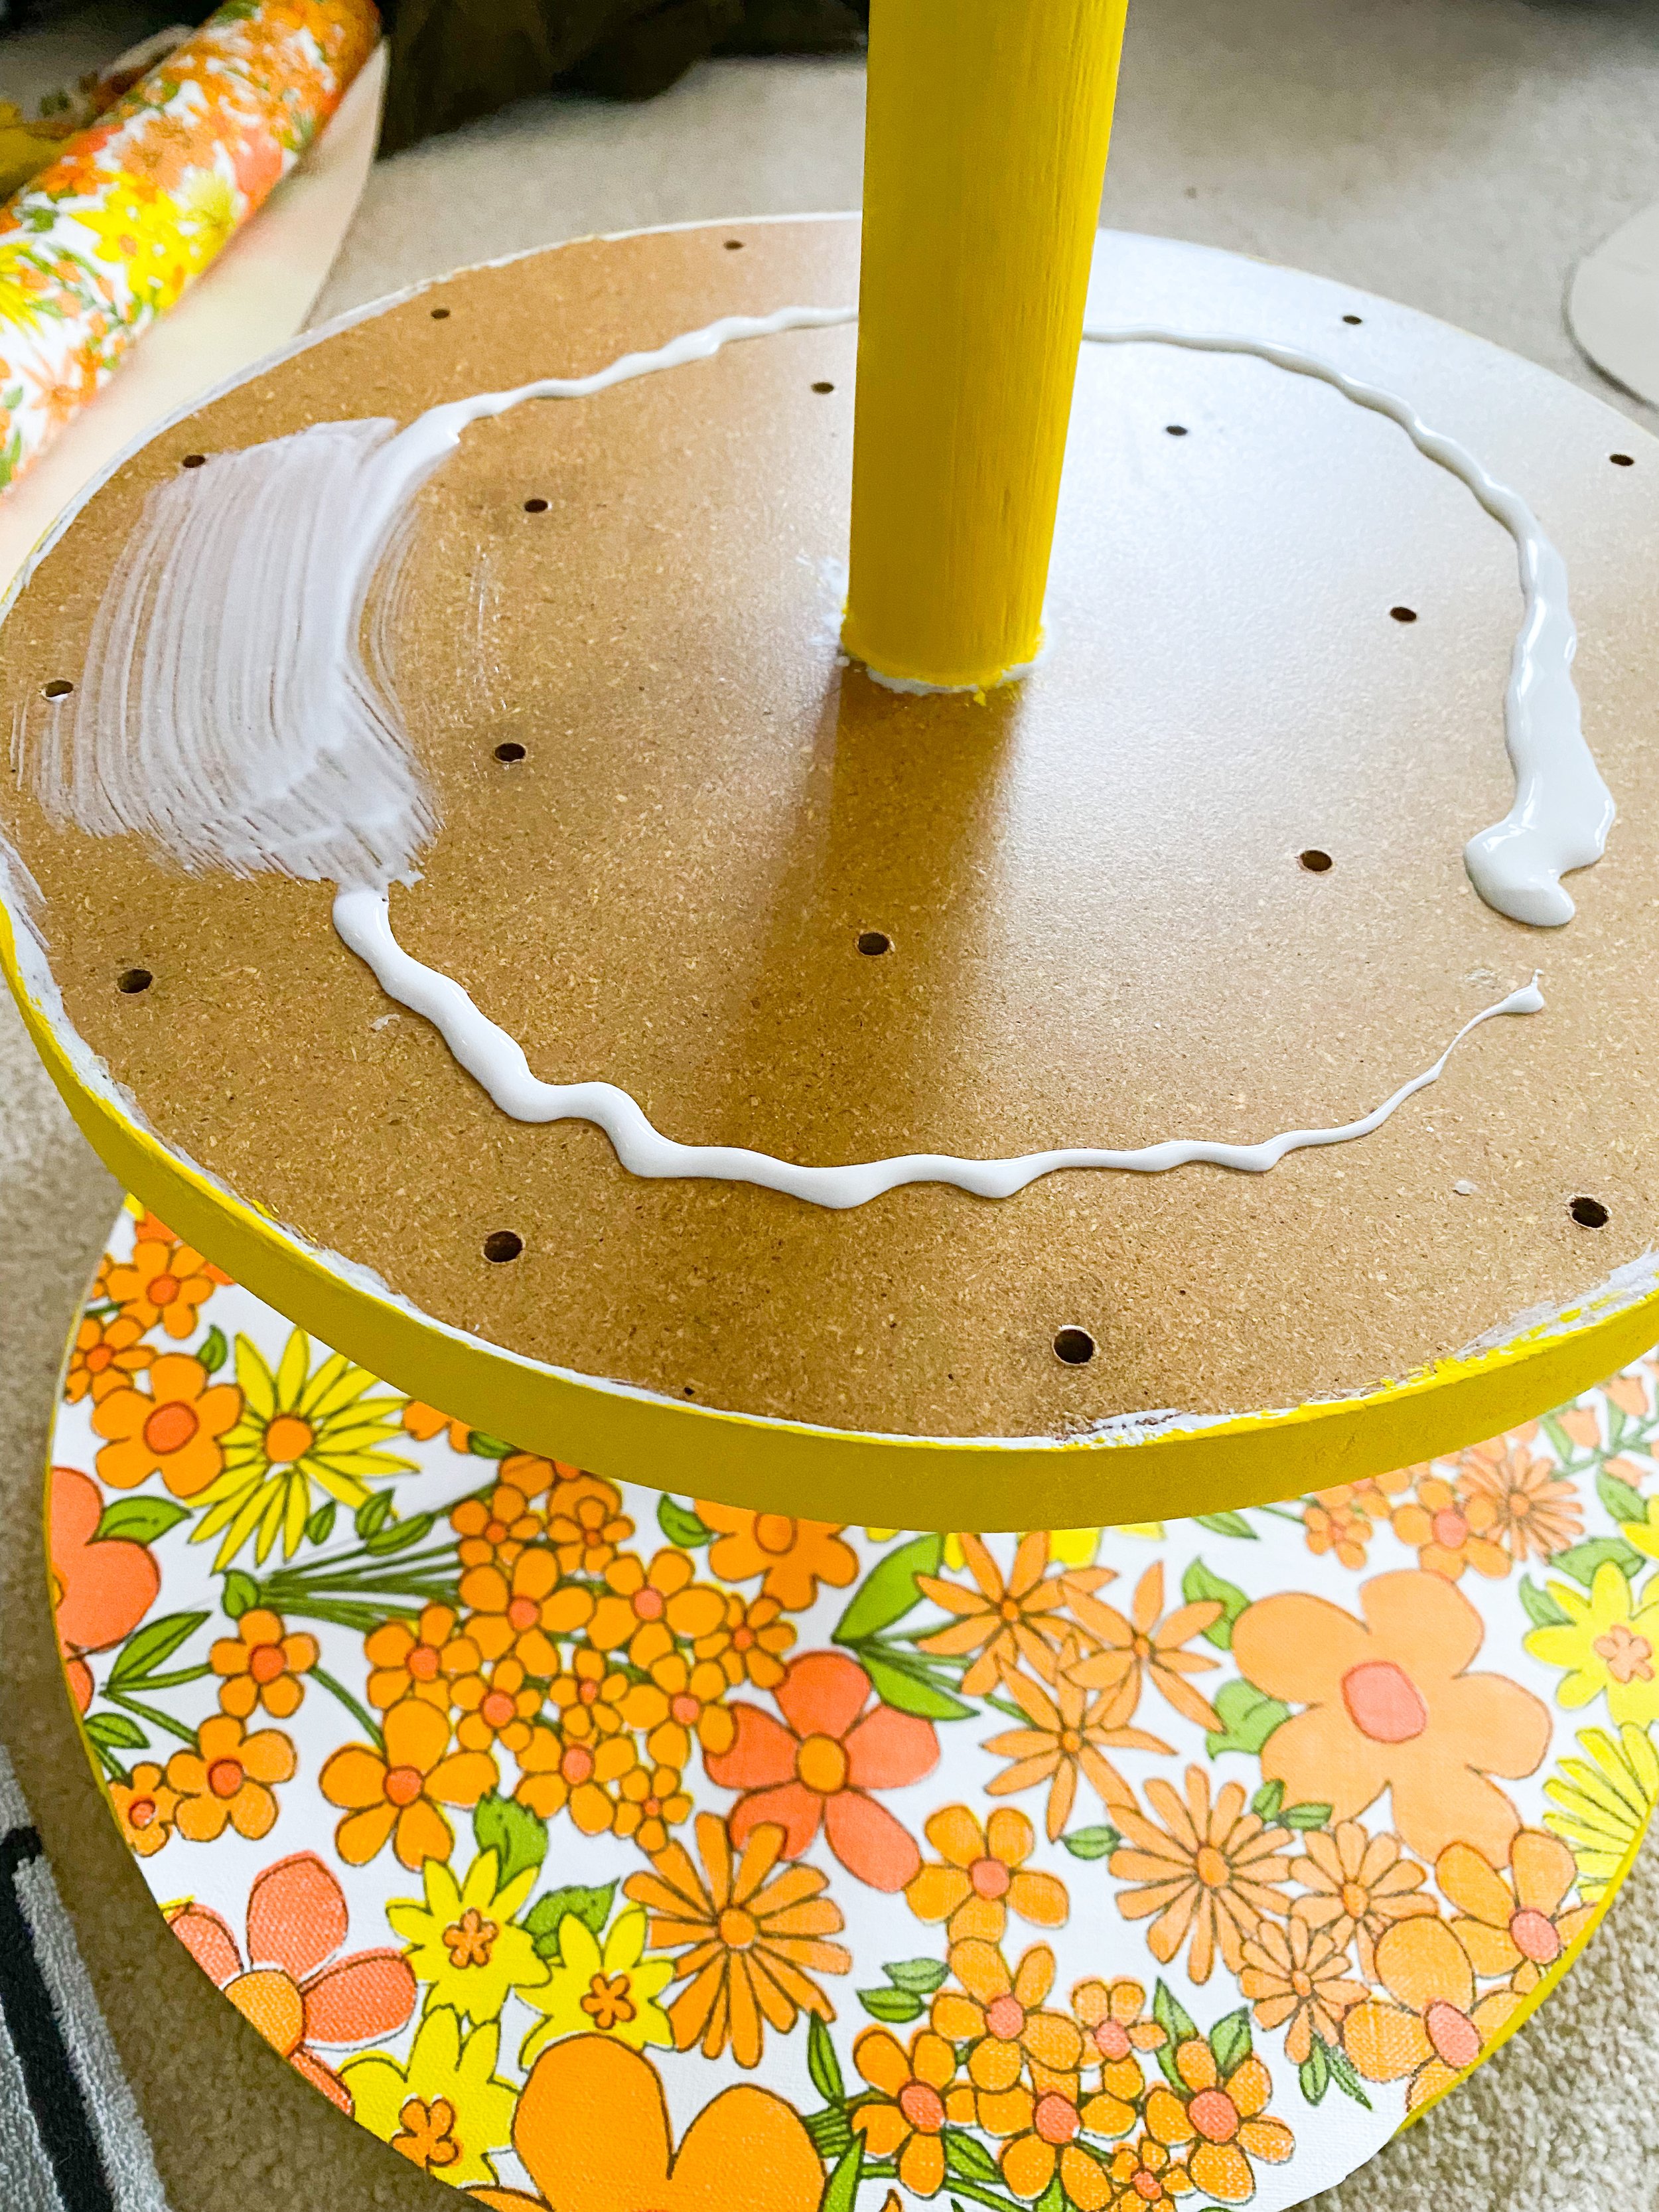
Mod Podge
Flip your wallpaper over and use your paintbrush to apply the mod podge on the underside. I also applied some on the tiers as well for extra adhesion. Flip your wallpaper over and fit in place. Apply pressure with your hands from the dowel towards the edge. That way if any bubbles or wrinkles happen you’re pushing them out towards the edge to get rid of them. Once you’re happy with the placement set some books on each level to flatten it out overnight. When you take the books off you may notice a few places that you missed mod podge on the edges. Take a smaller paint brush and add some mod podge again and place the books back.
Tip: Make sure to line up the two slits in the wallpaper to be towards the back of the stand. You don’t want the third row cut to be in the front and the second row cut in the back.
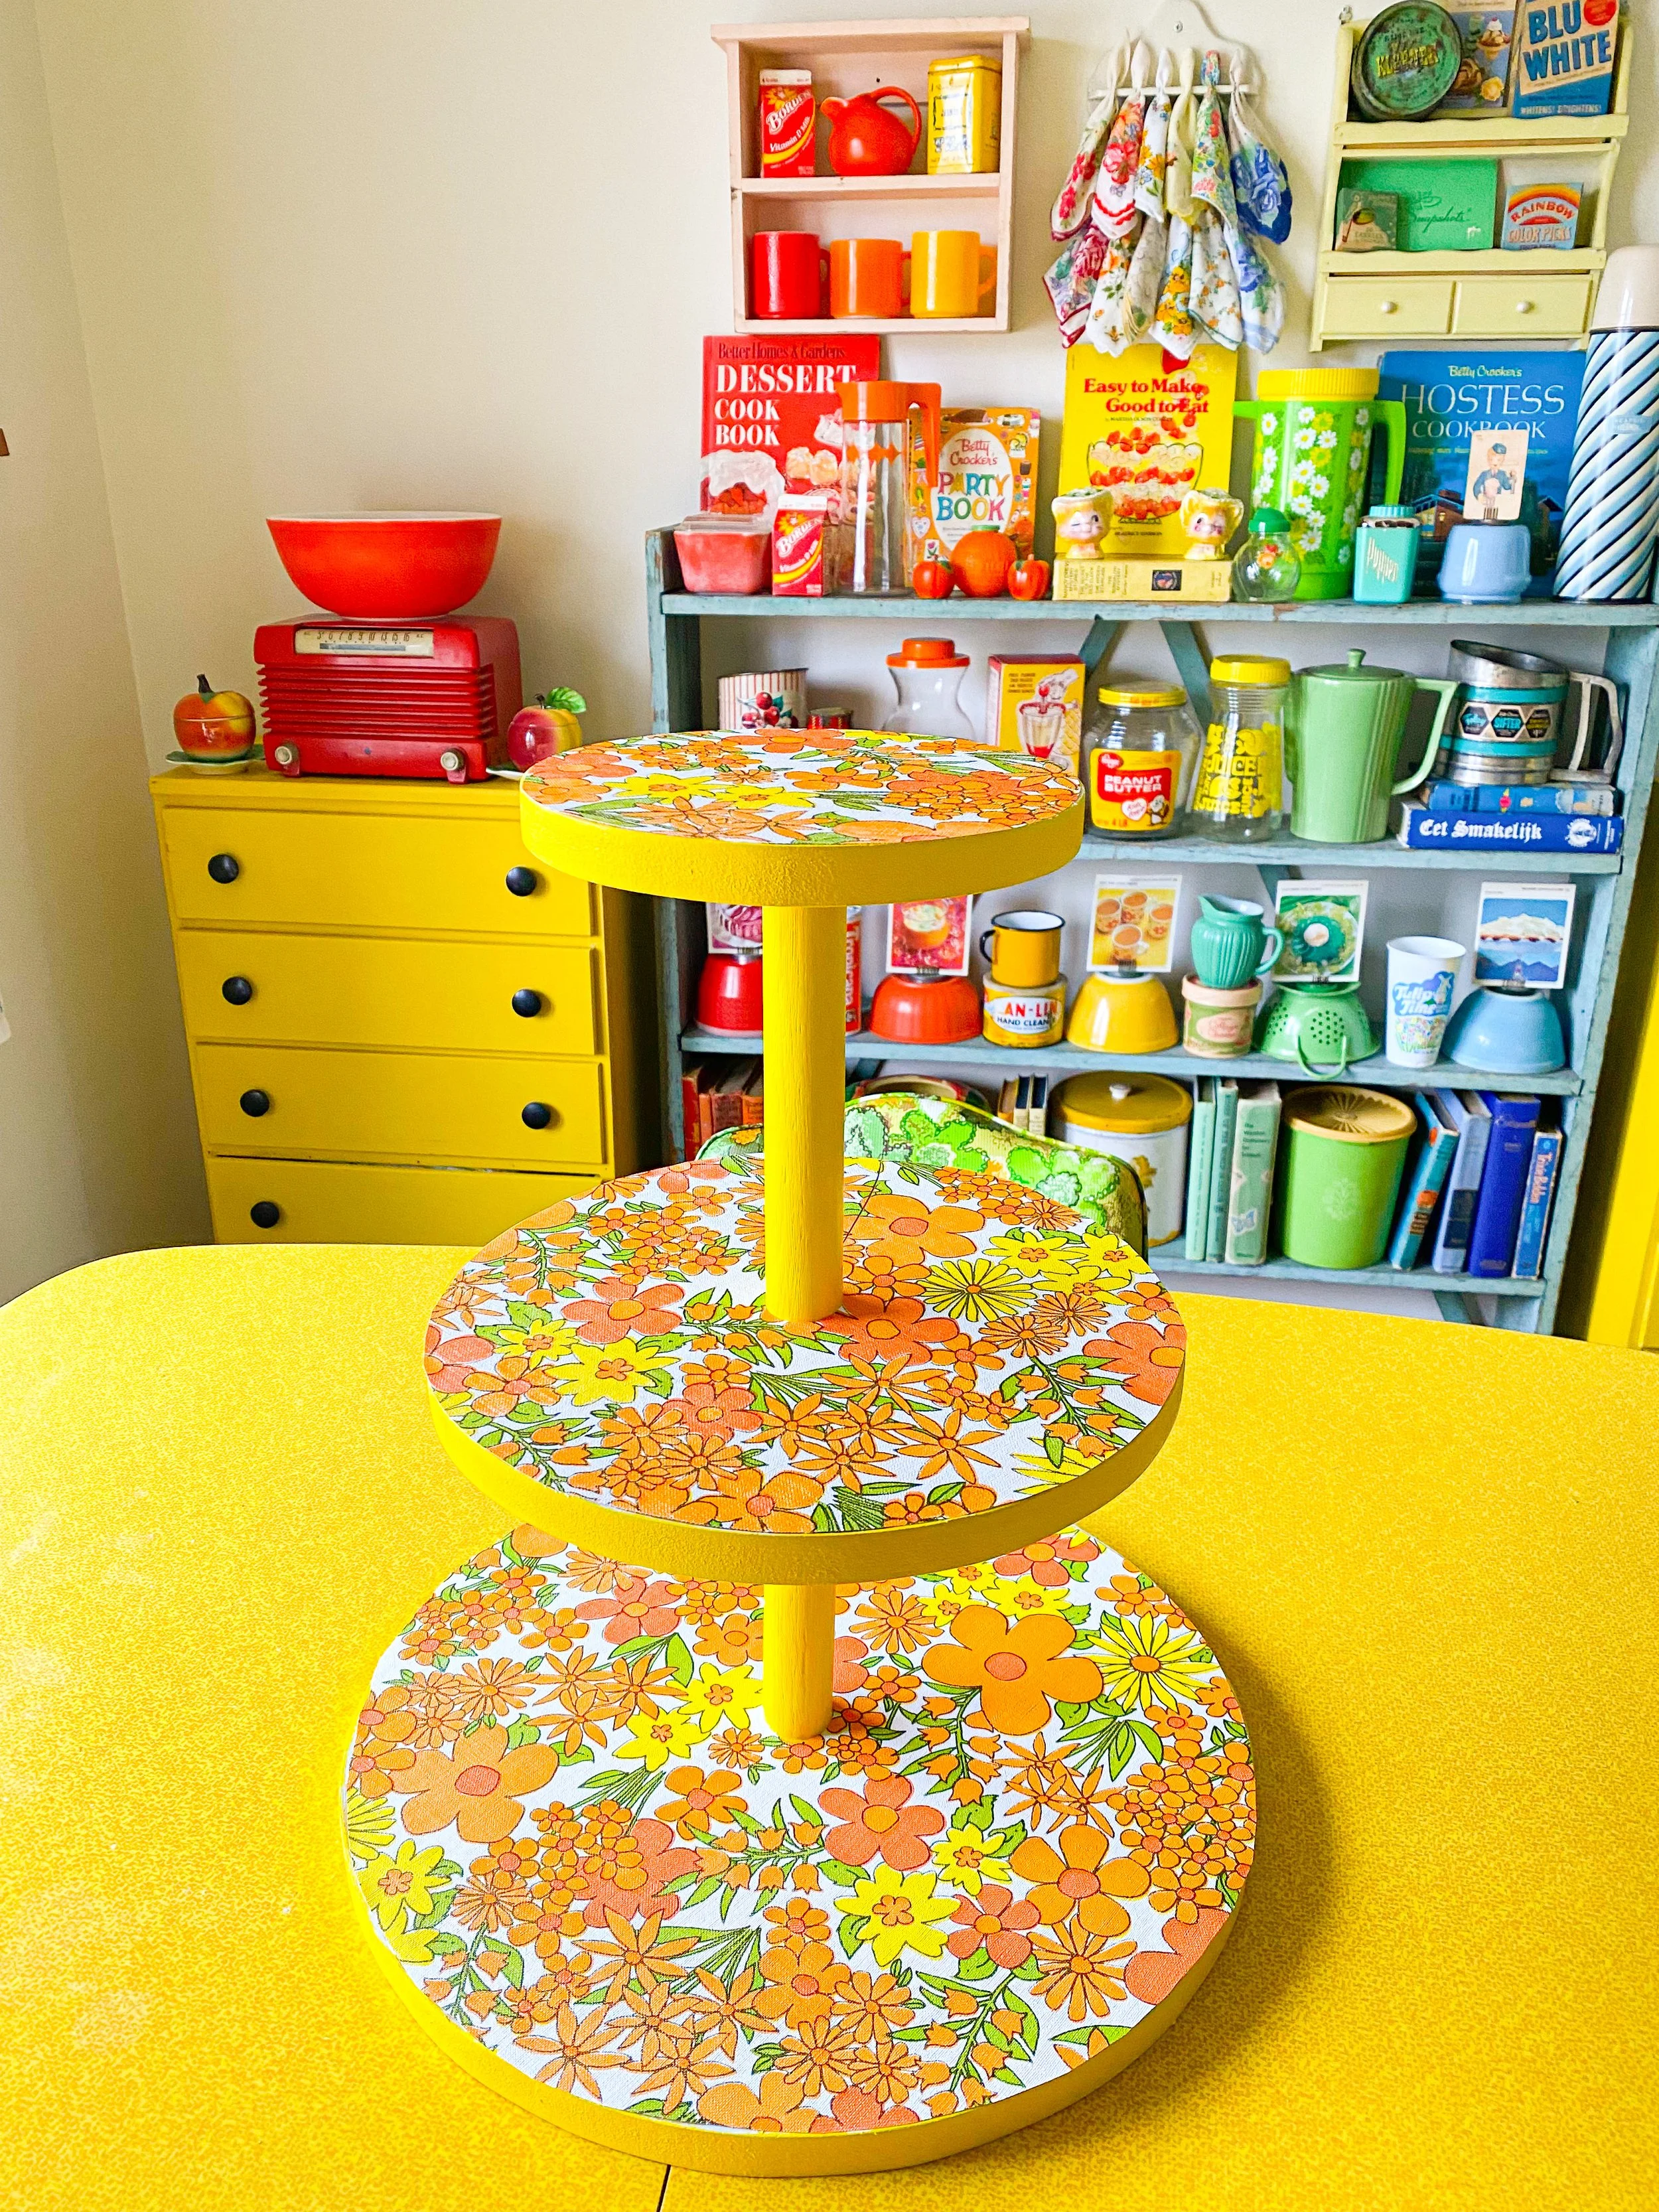
That’s it, you have a brand new custom tier stand! I’m going to use mine in the dining room and put some vintage kitchenware pieces on it. If I ever host a wedding, baby shower or party I’ll use it to hold cupcakes (Similar to the cupcake stands I made for my picnic wedding).
Let me know what you think of this craft! If you’re looking for more ways to use vintage wallpaper or wrapping paper check out my blog post on Different Ways to Use Vintage Ephemera.