DIY Wonka Bar Craft + Free Printable
This post may contain affiliate links where I earn a small commission at no additional cost to you. If you purchase anything through the linked website, you will support my blog. Thanks!
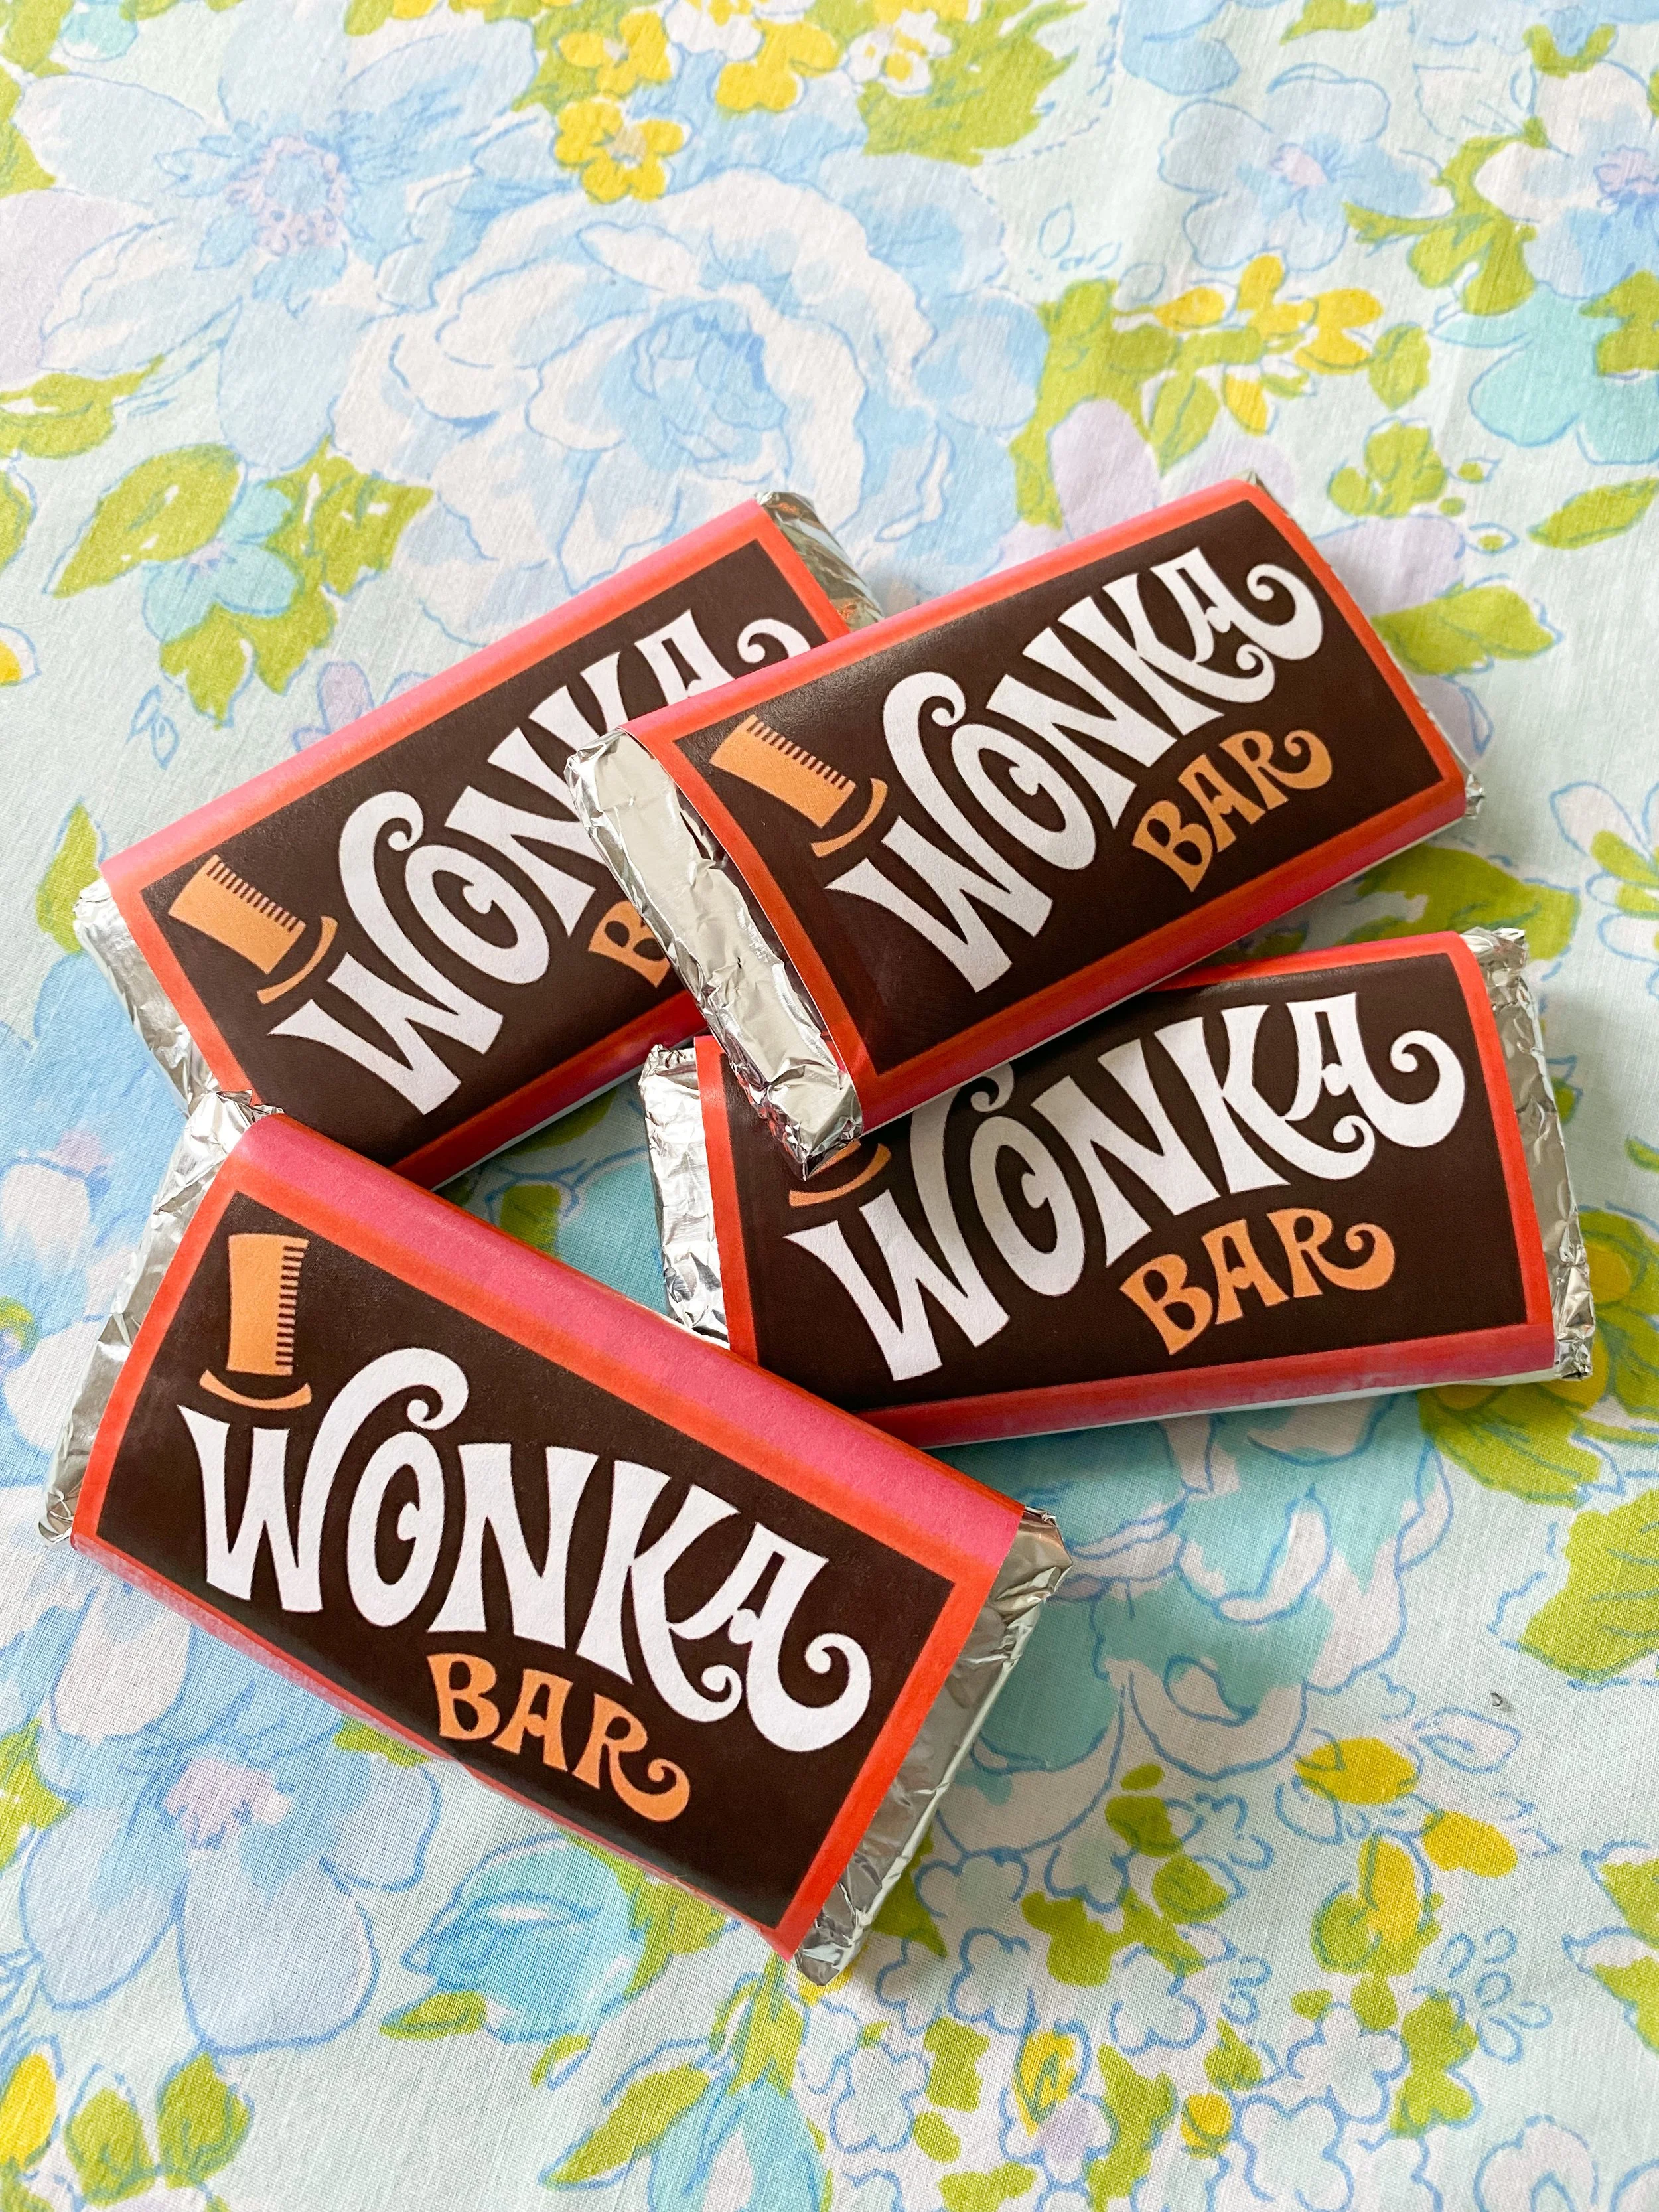
Make your own Wonka bars from the movie Willy Wonka and the Chocolate Factory with this easy DIY craft and free printable. I wanted to make my own ornaments this year and this was the perfect upcycle project!
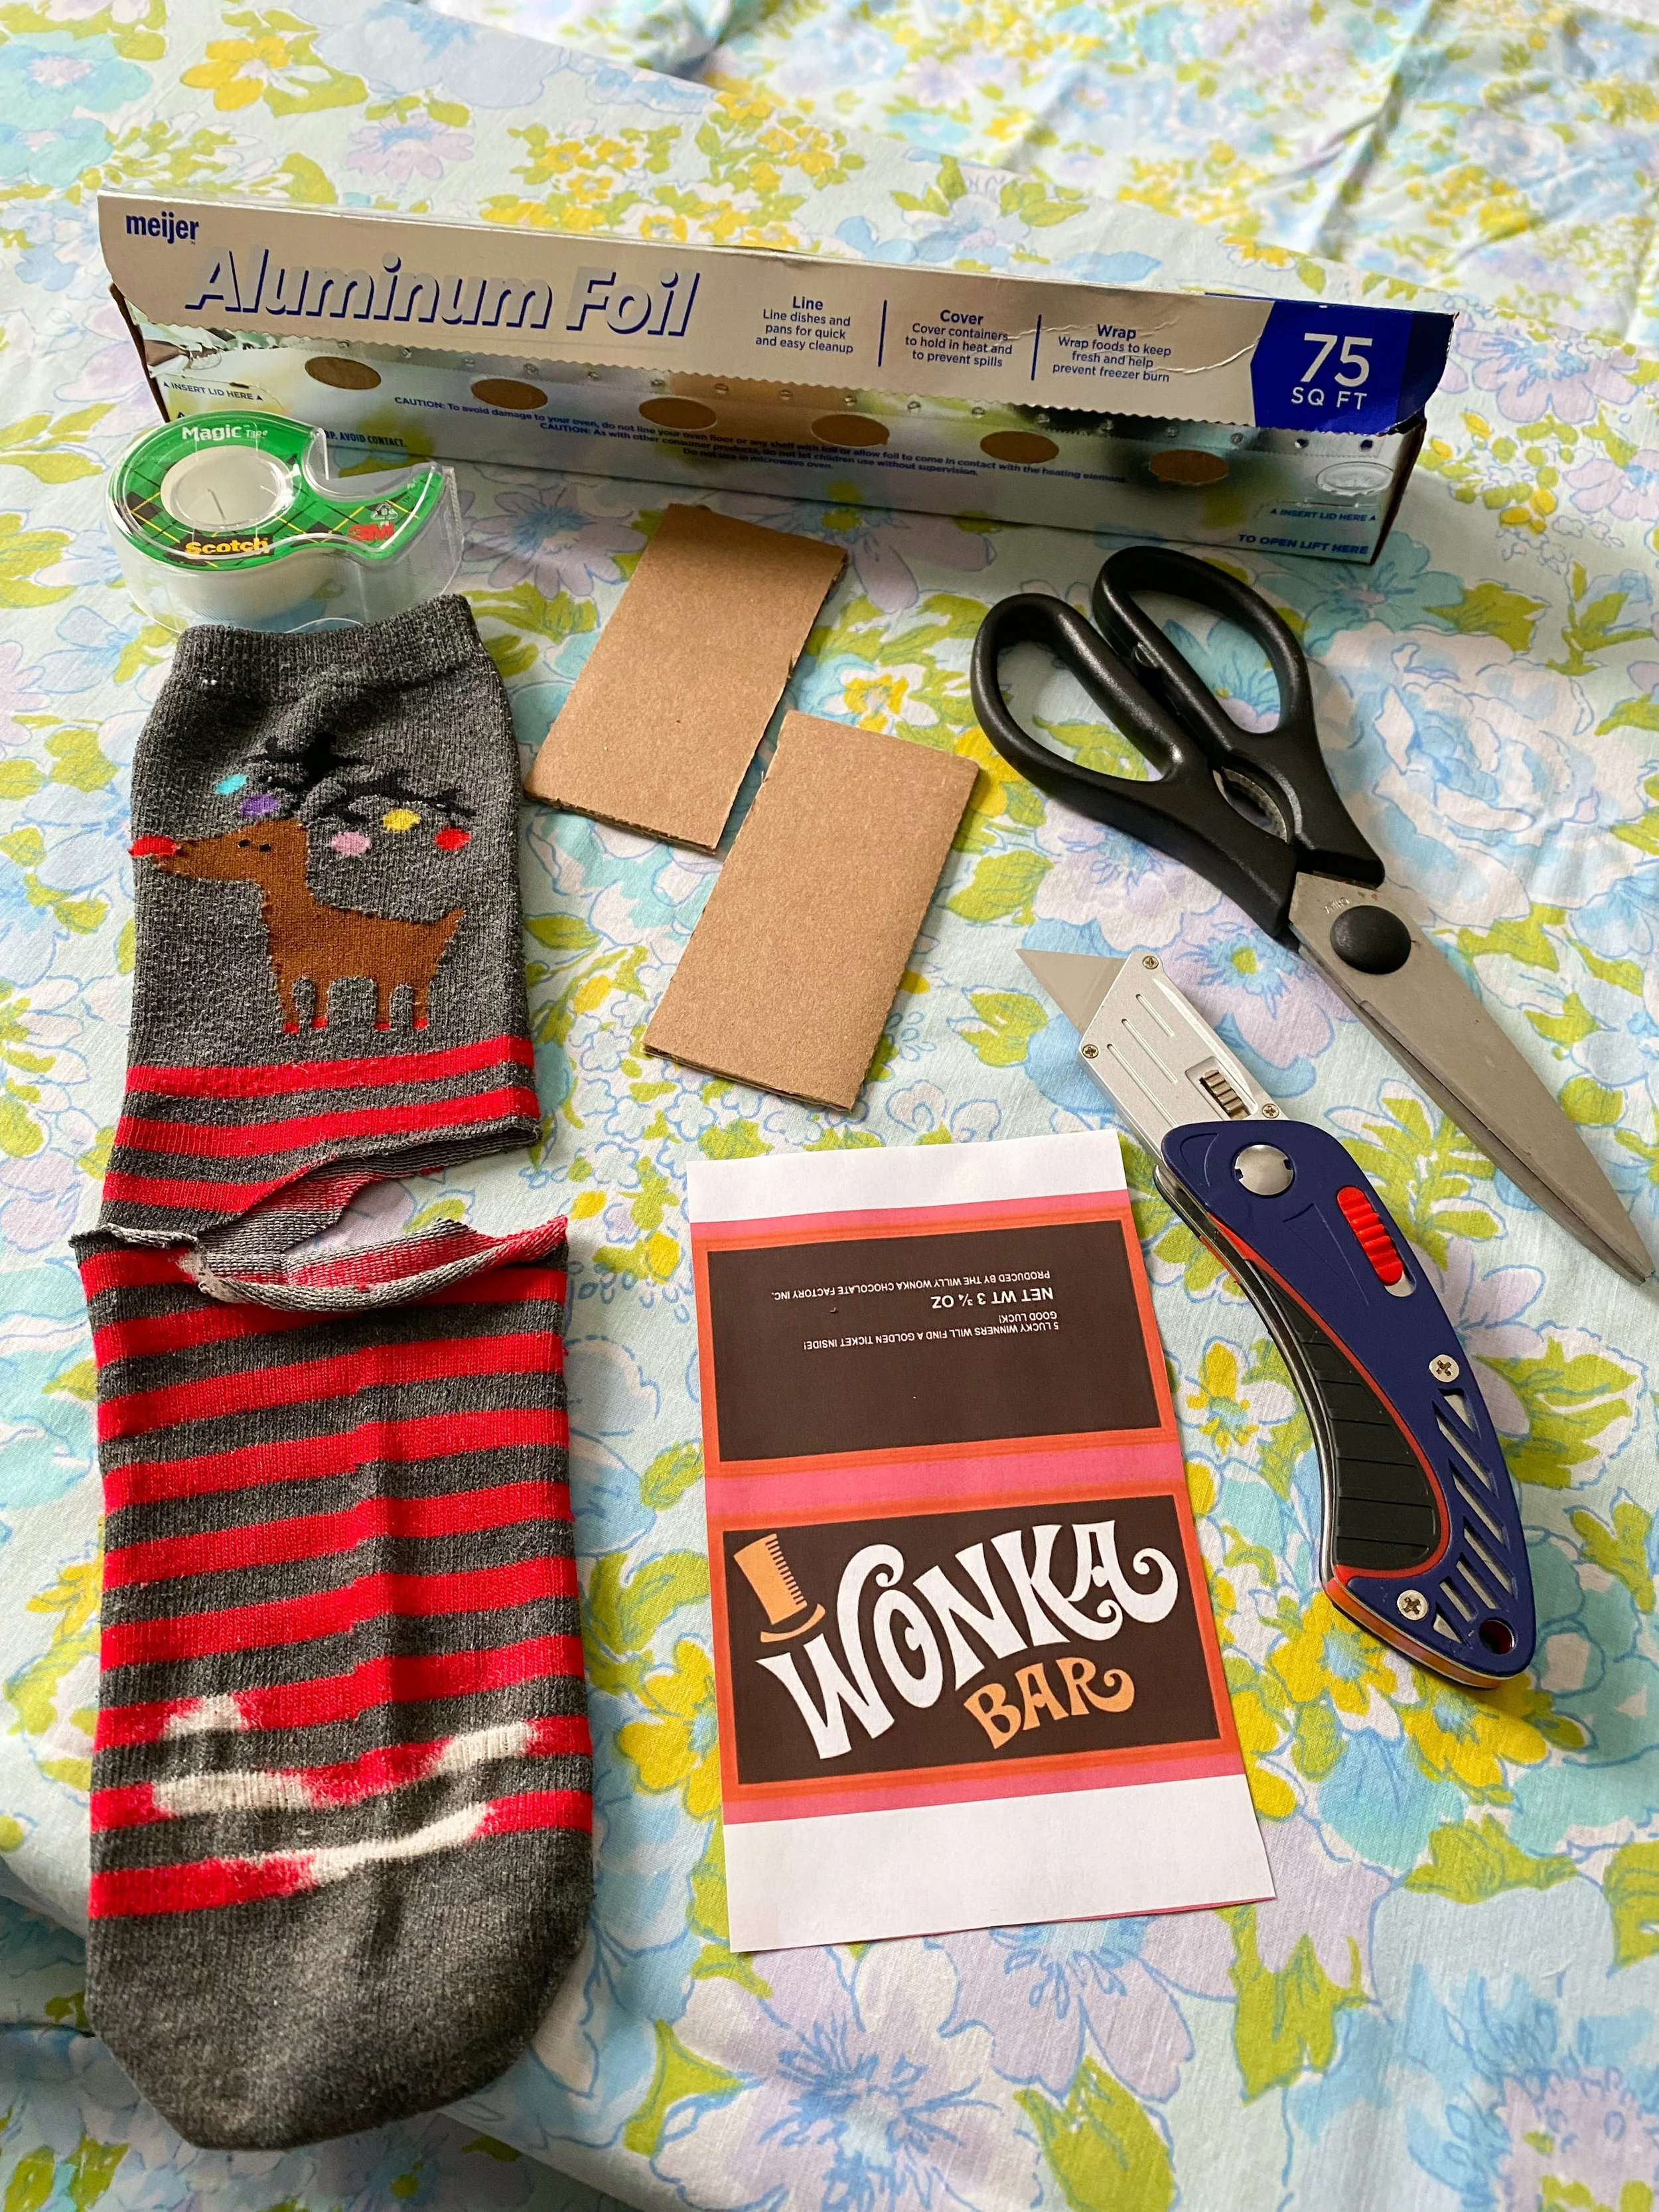
Supply List
Free Wonka bar printable (See below)
Cardboard to cut apart
Socks with holes in them (If you want to upcycle) or something soft to wrap around the cardboard
Scotch tape
Box cutter
Scissors
Aluminum foil
Step One - Cut out the template
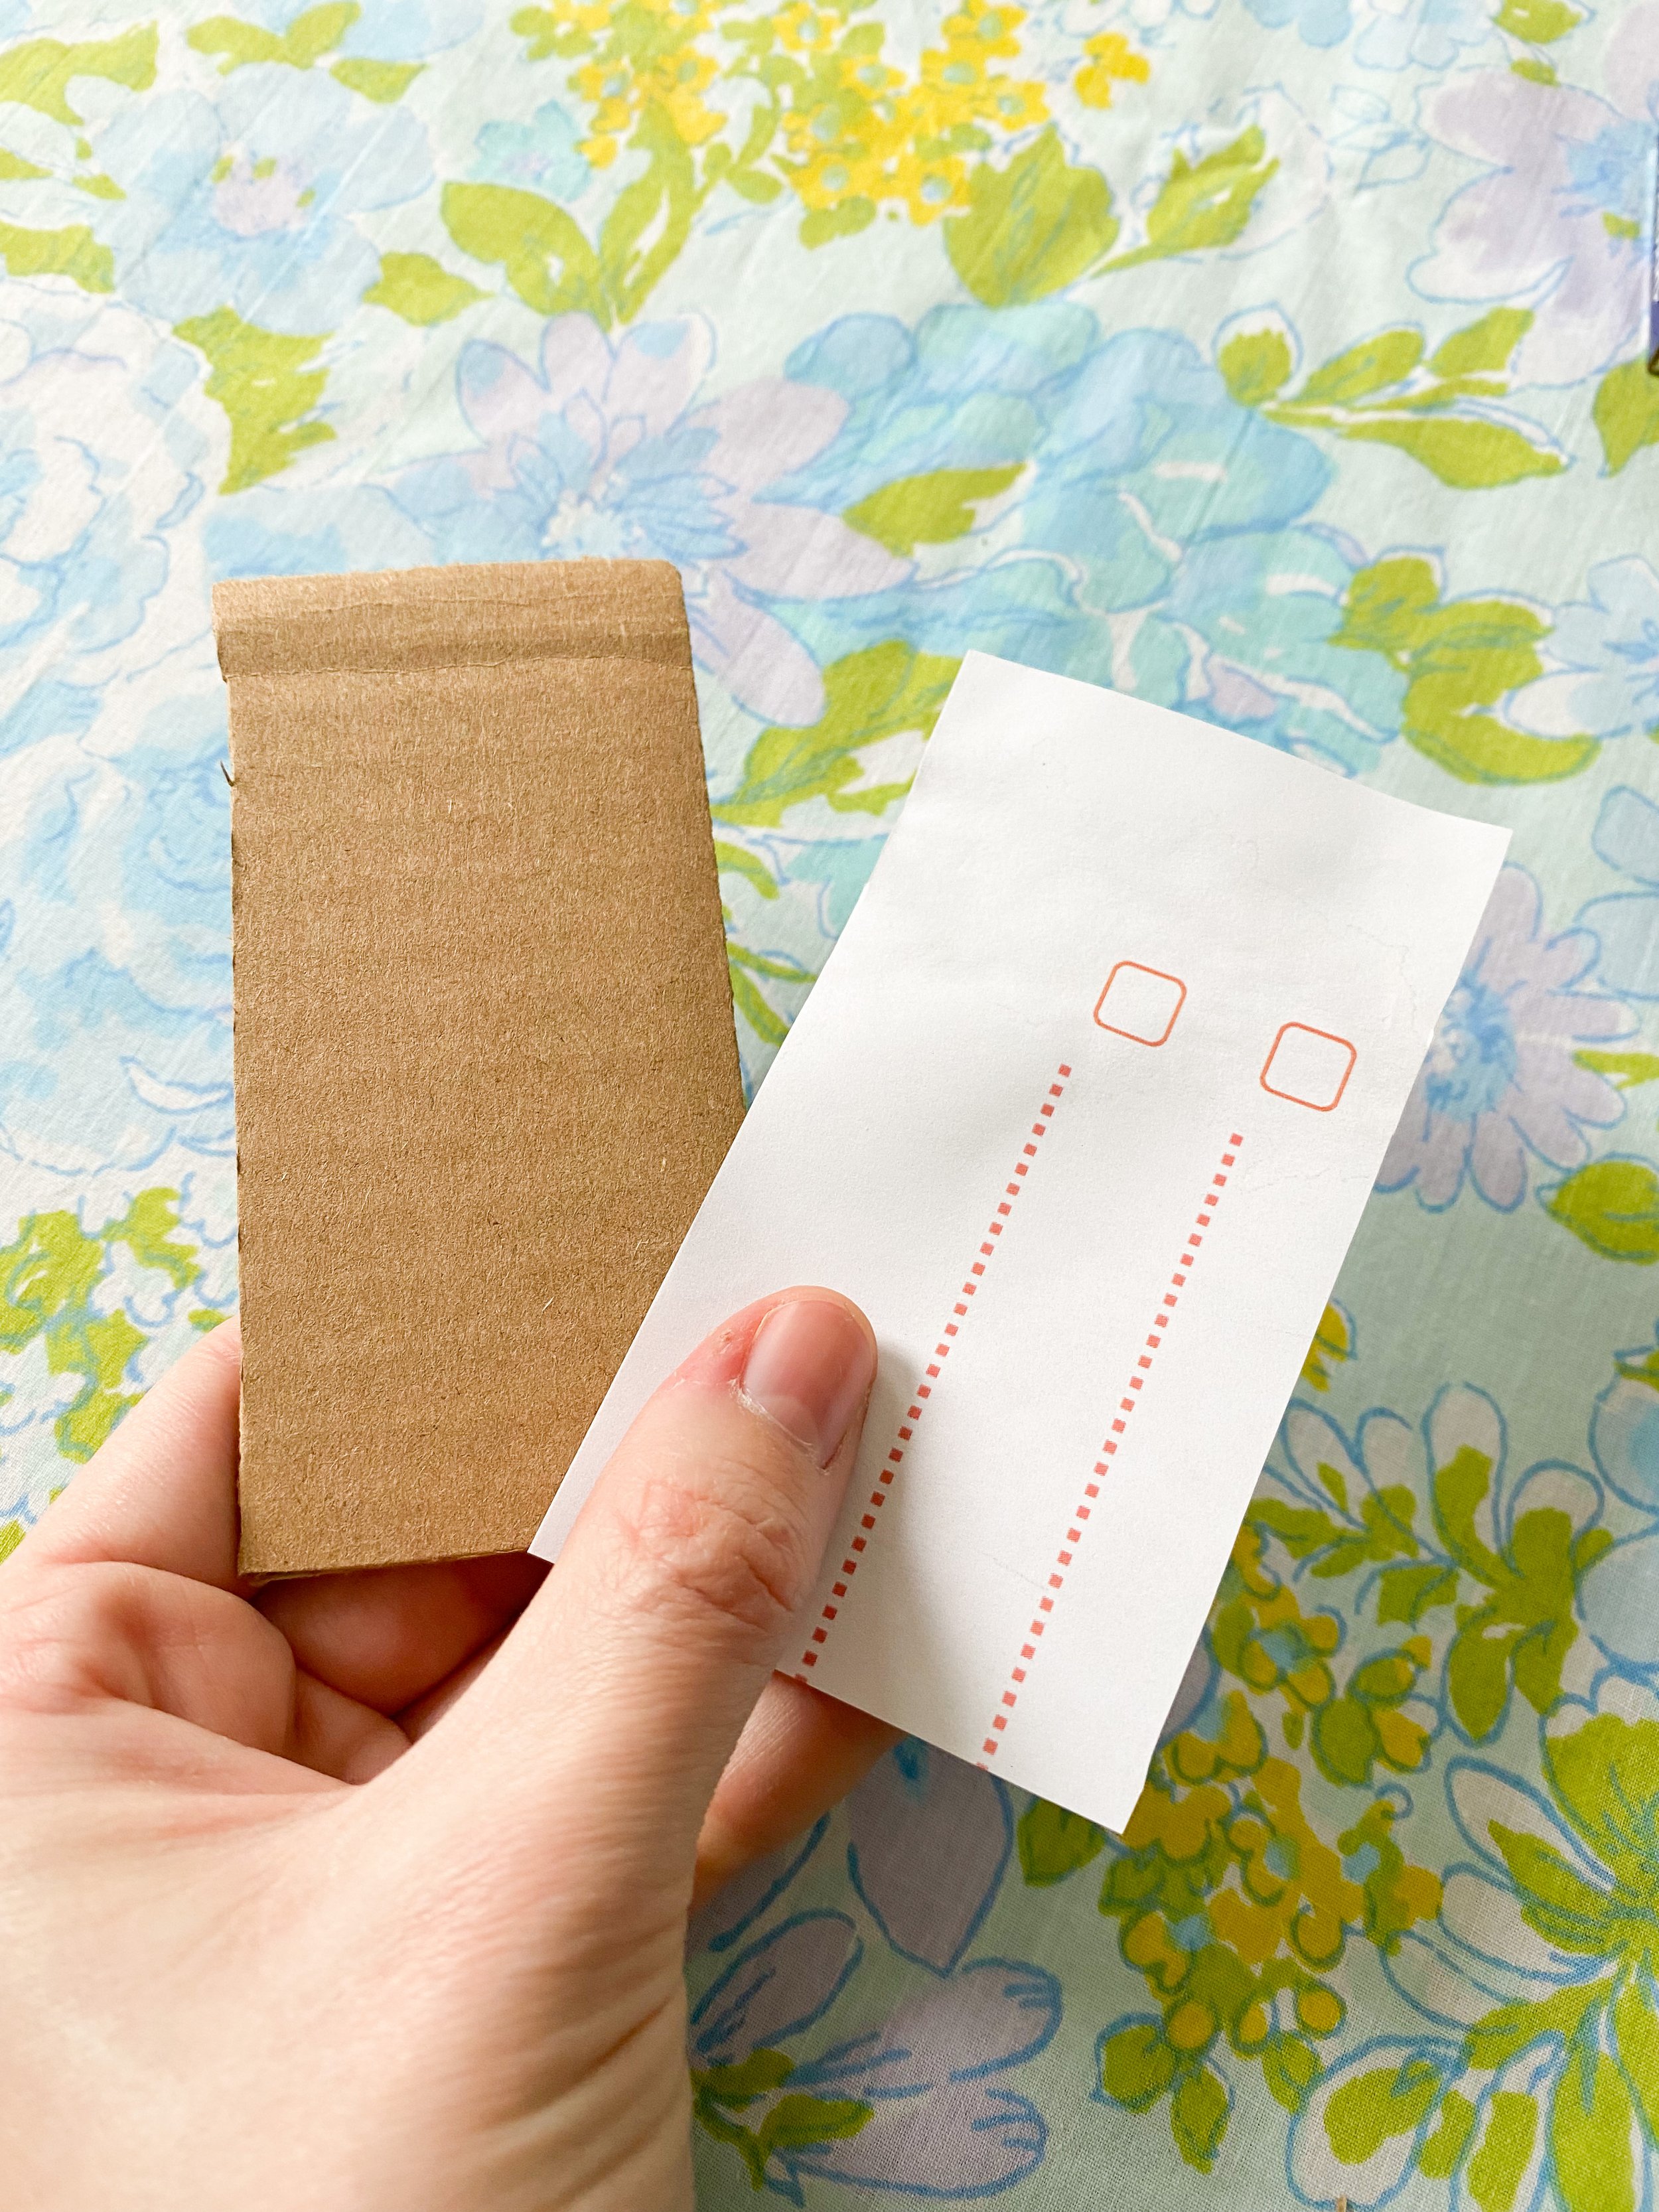
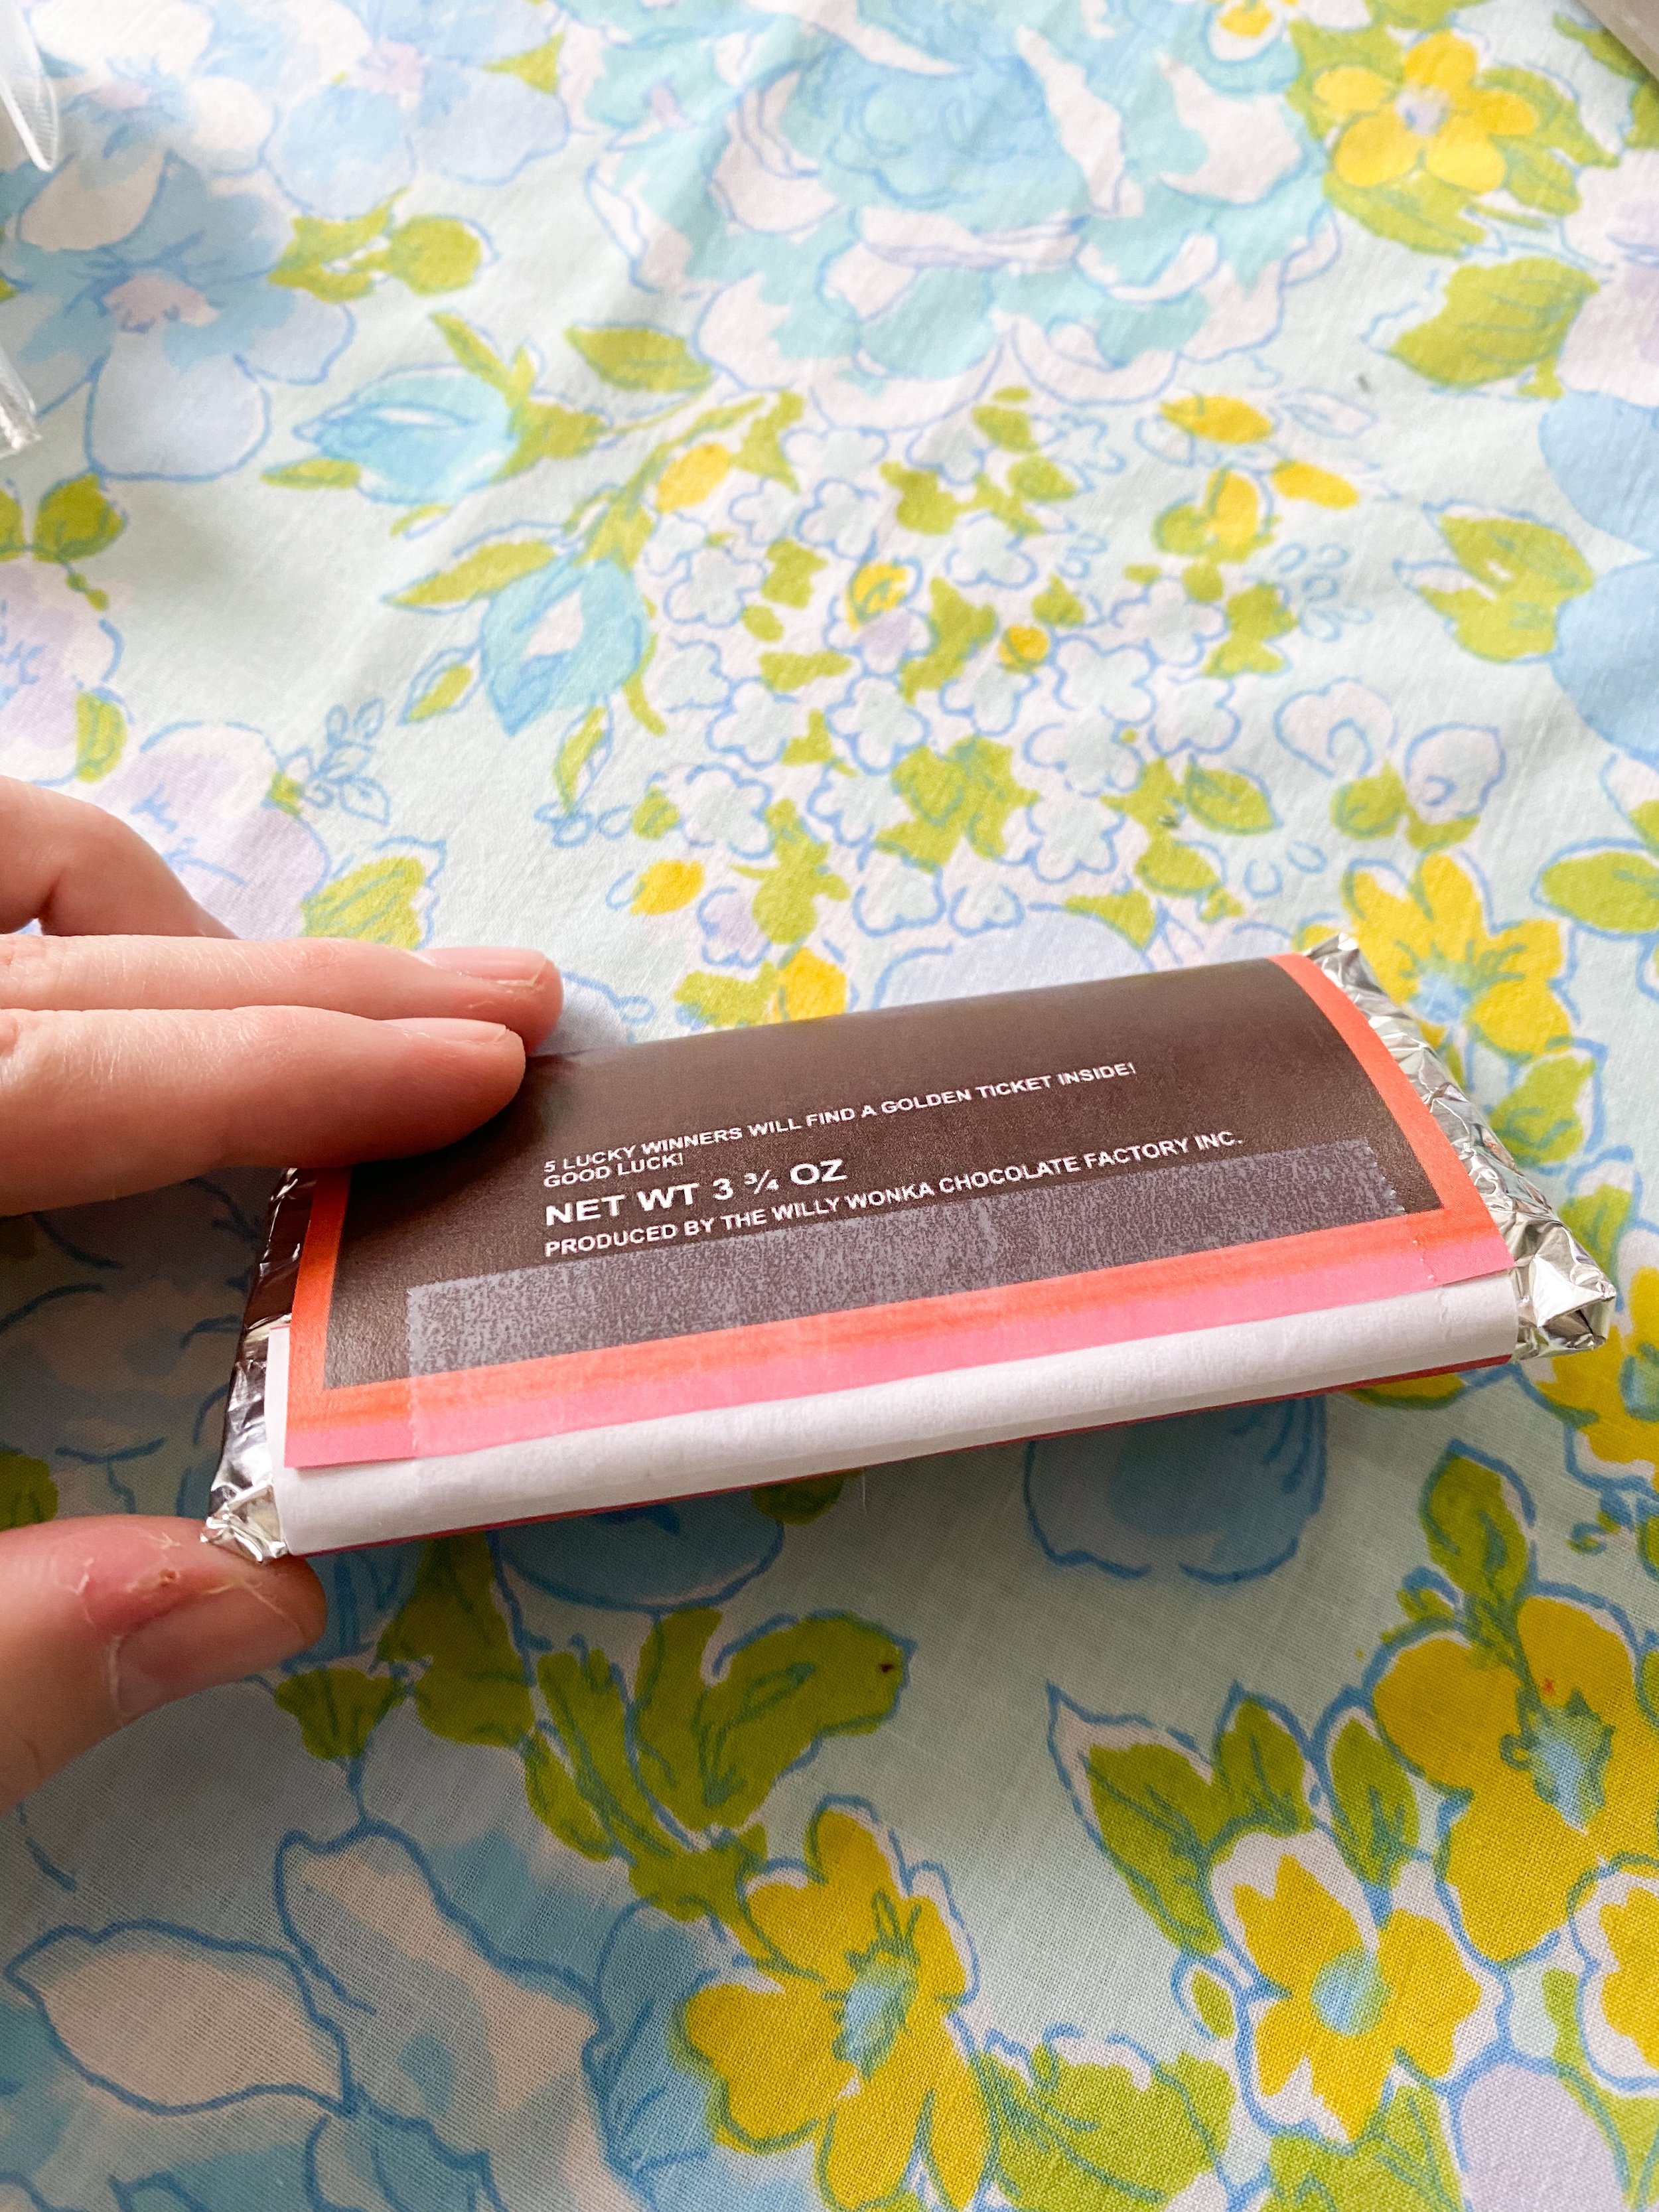
Cut out the free Wonka bar printable (see below). I left the white space on each end of the candy bar because I used that to tape the wrapper in the back of the ornament. Scroll down to see a picture of the Wonka bar wrapper with the white space attached. Also, you will want the “candy bar” portion to stick out a little from the wrapper so you can see the tin foil so make your template a bit bigger on each end.
Cut a piece of scrap paper out that is the size of half of the Wonka bar, the part of the bar that you will see. This will be used as a template to cut out your cardboard.
Cut the cardboard using a box cutter or scissors using the scrap paper template.
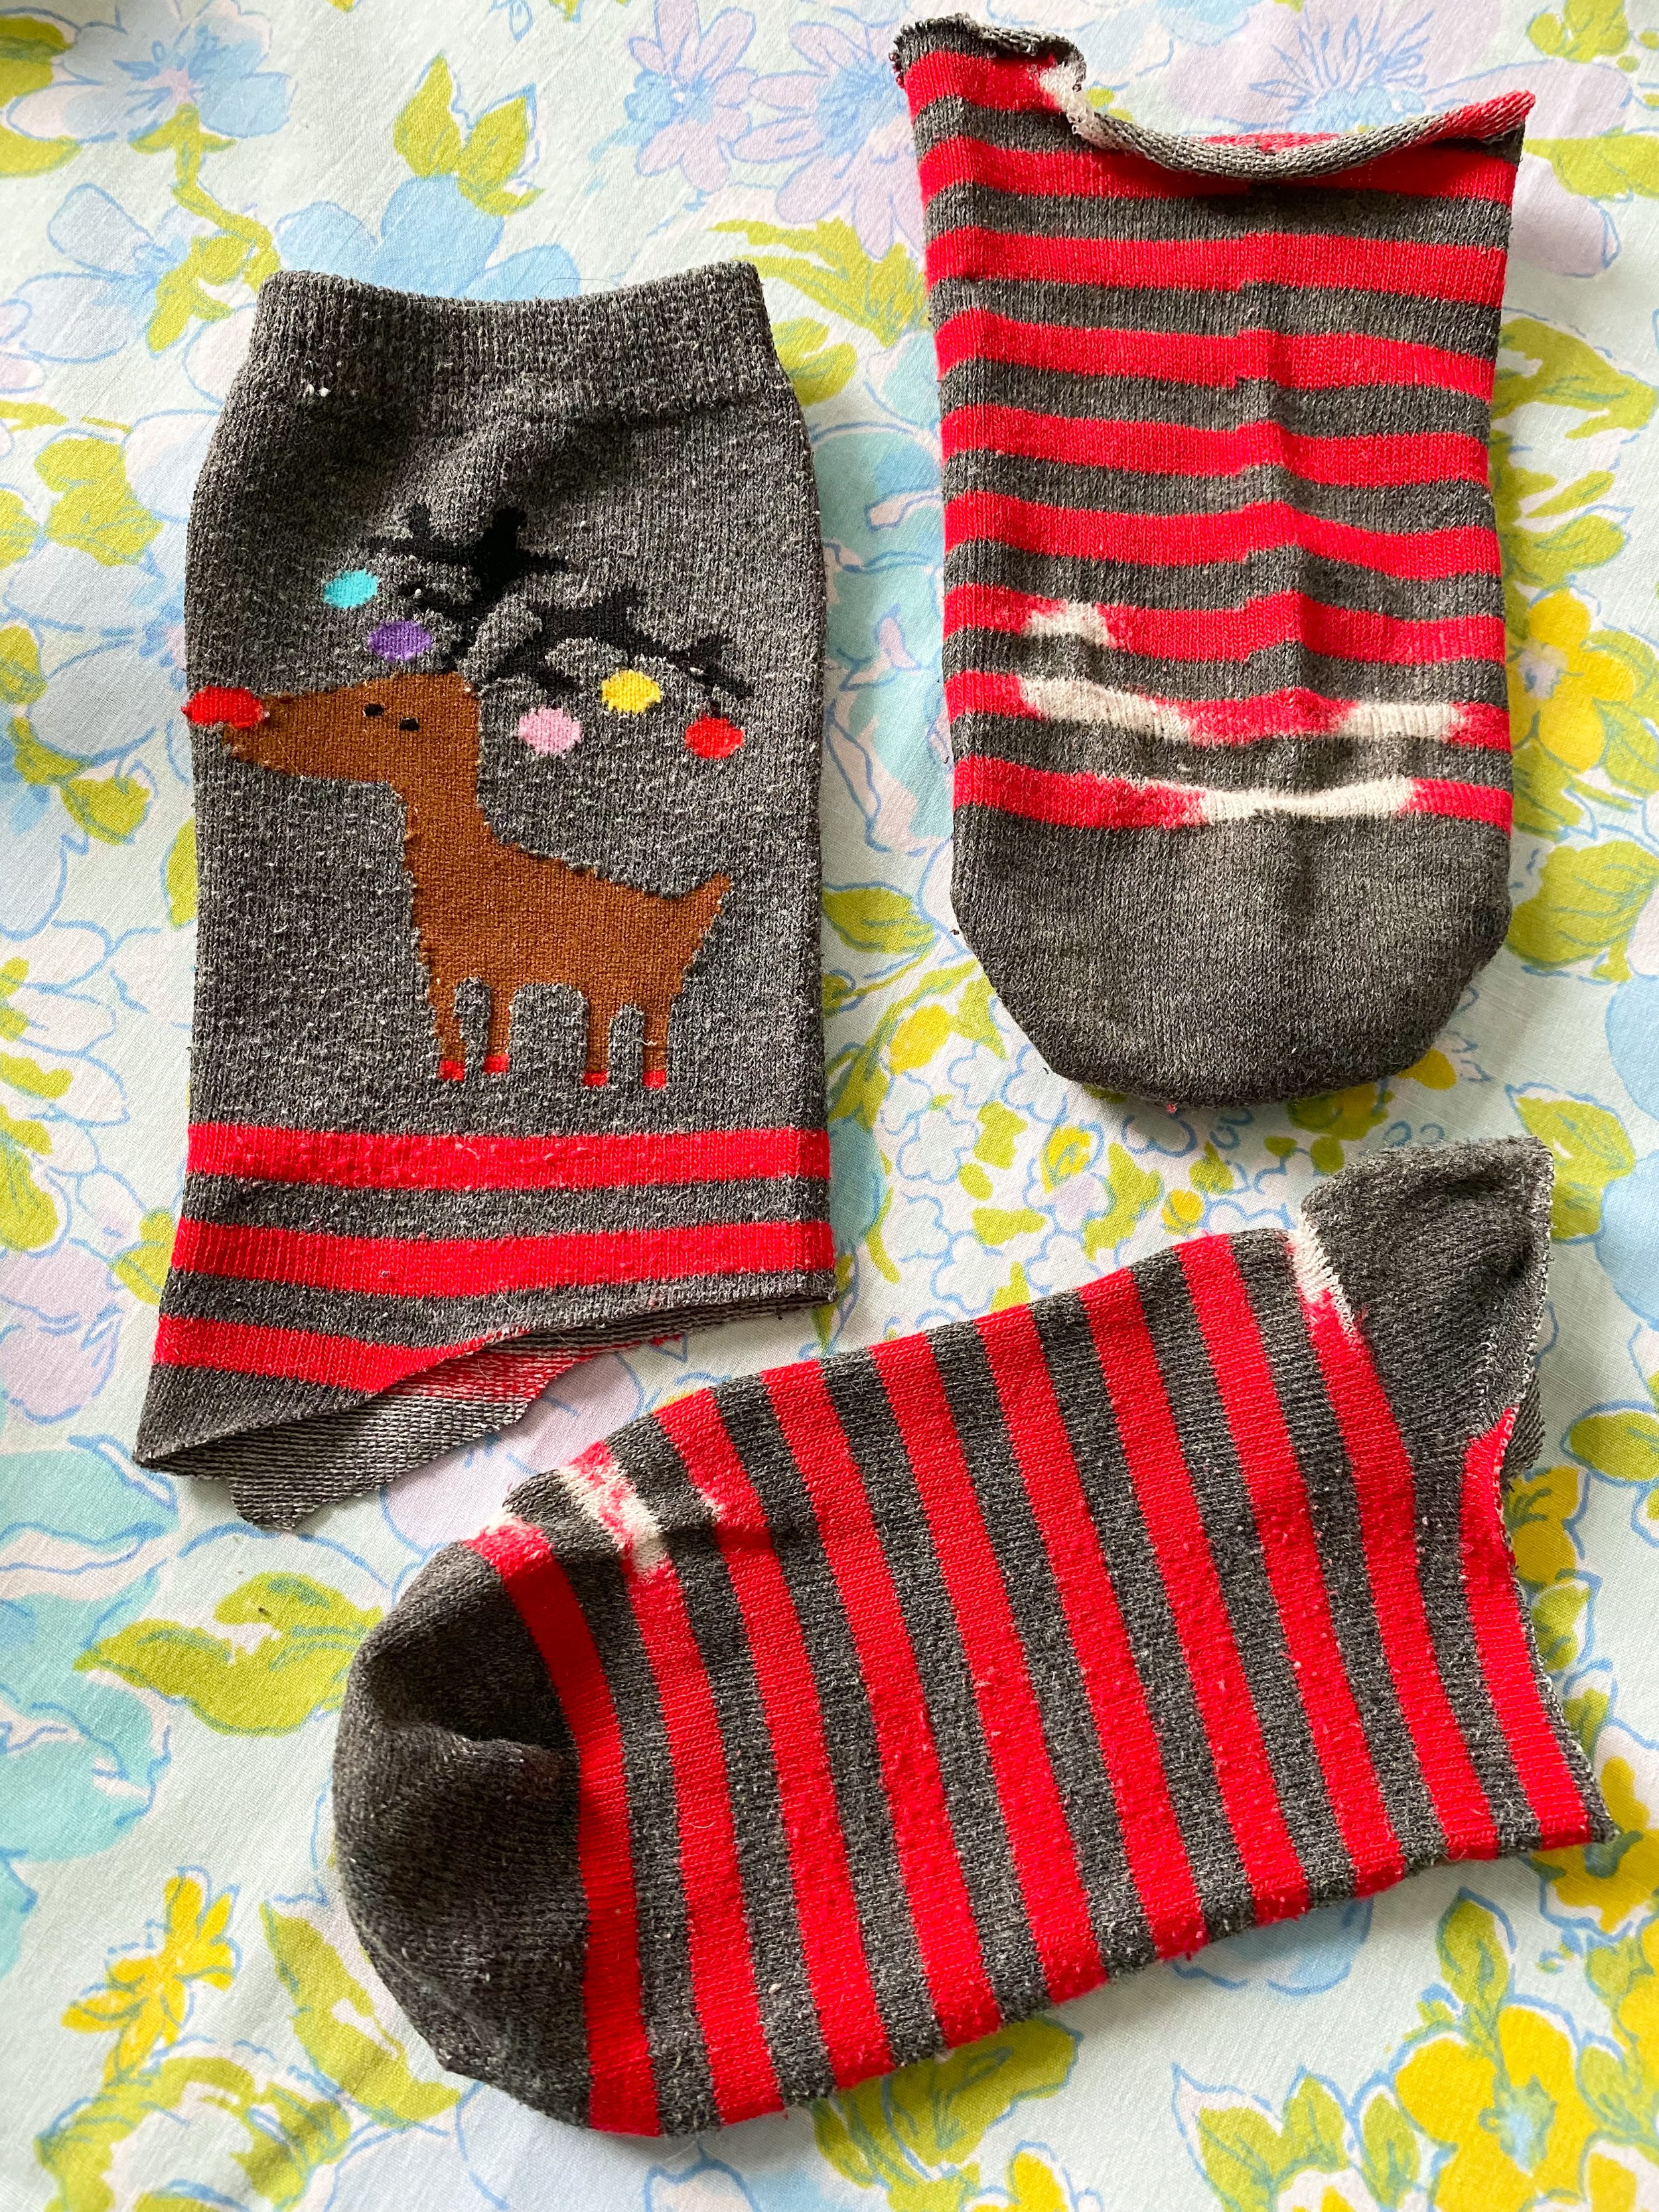
Step Two - Cut up socks that have holes
Socks are just the right size for this project to make the cardboard a bit thicker and also to soften to corners so that the cardboard doesn’t pierce the aluminum foil. I used a pair of crew neck socks that had a bunch of holes in them and I cut it in half.
Related craft content: 11 Retro Christmas Craft Ideas
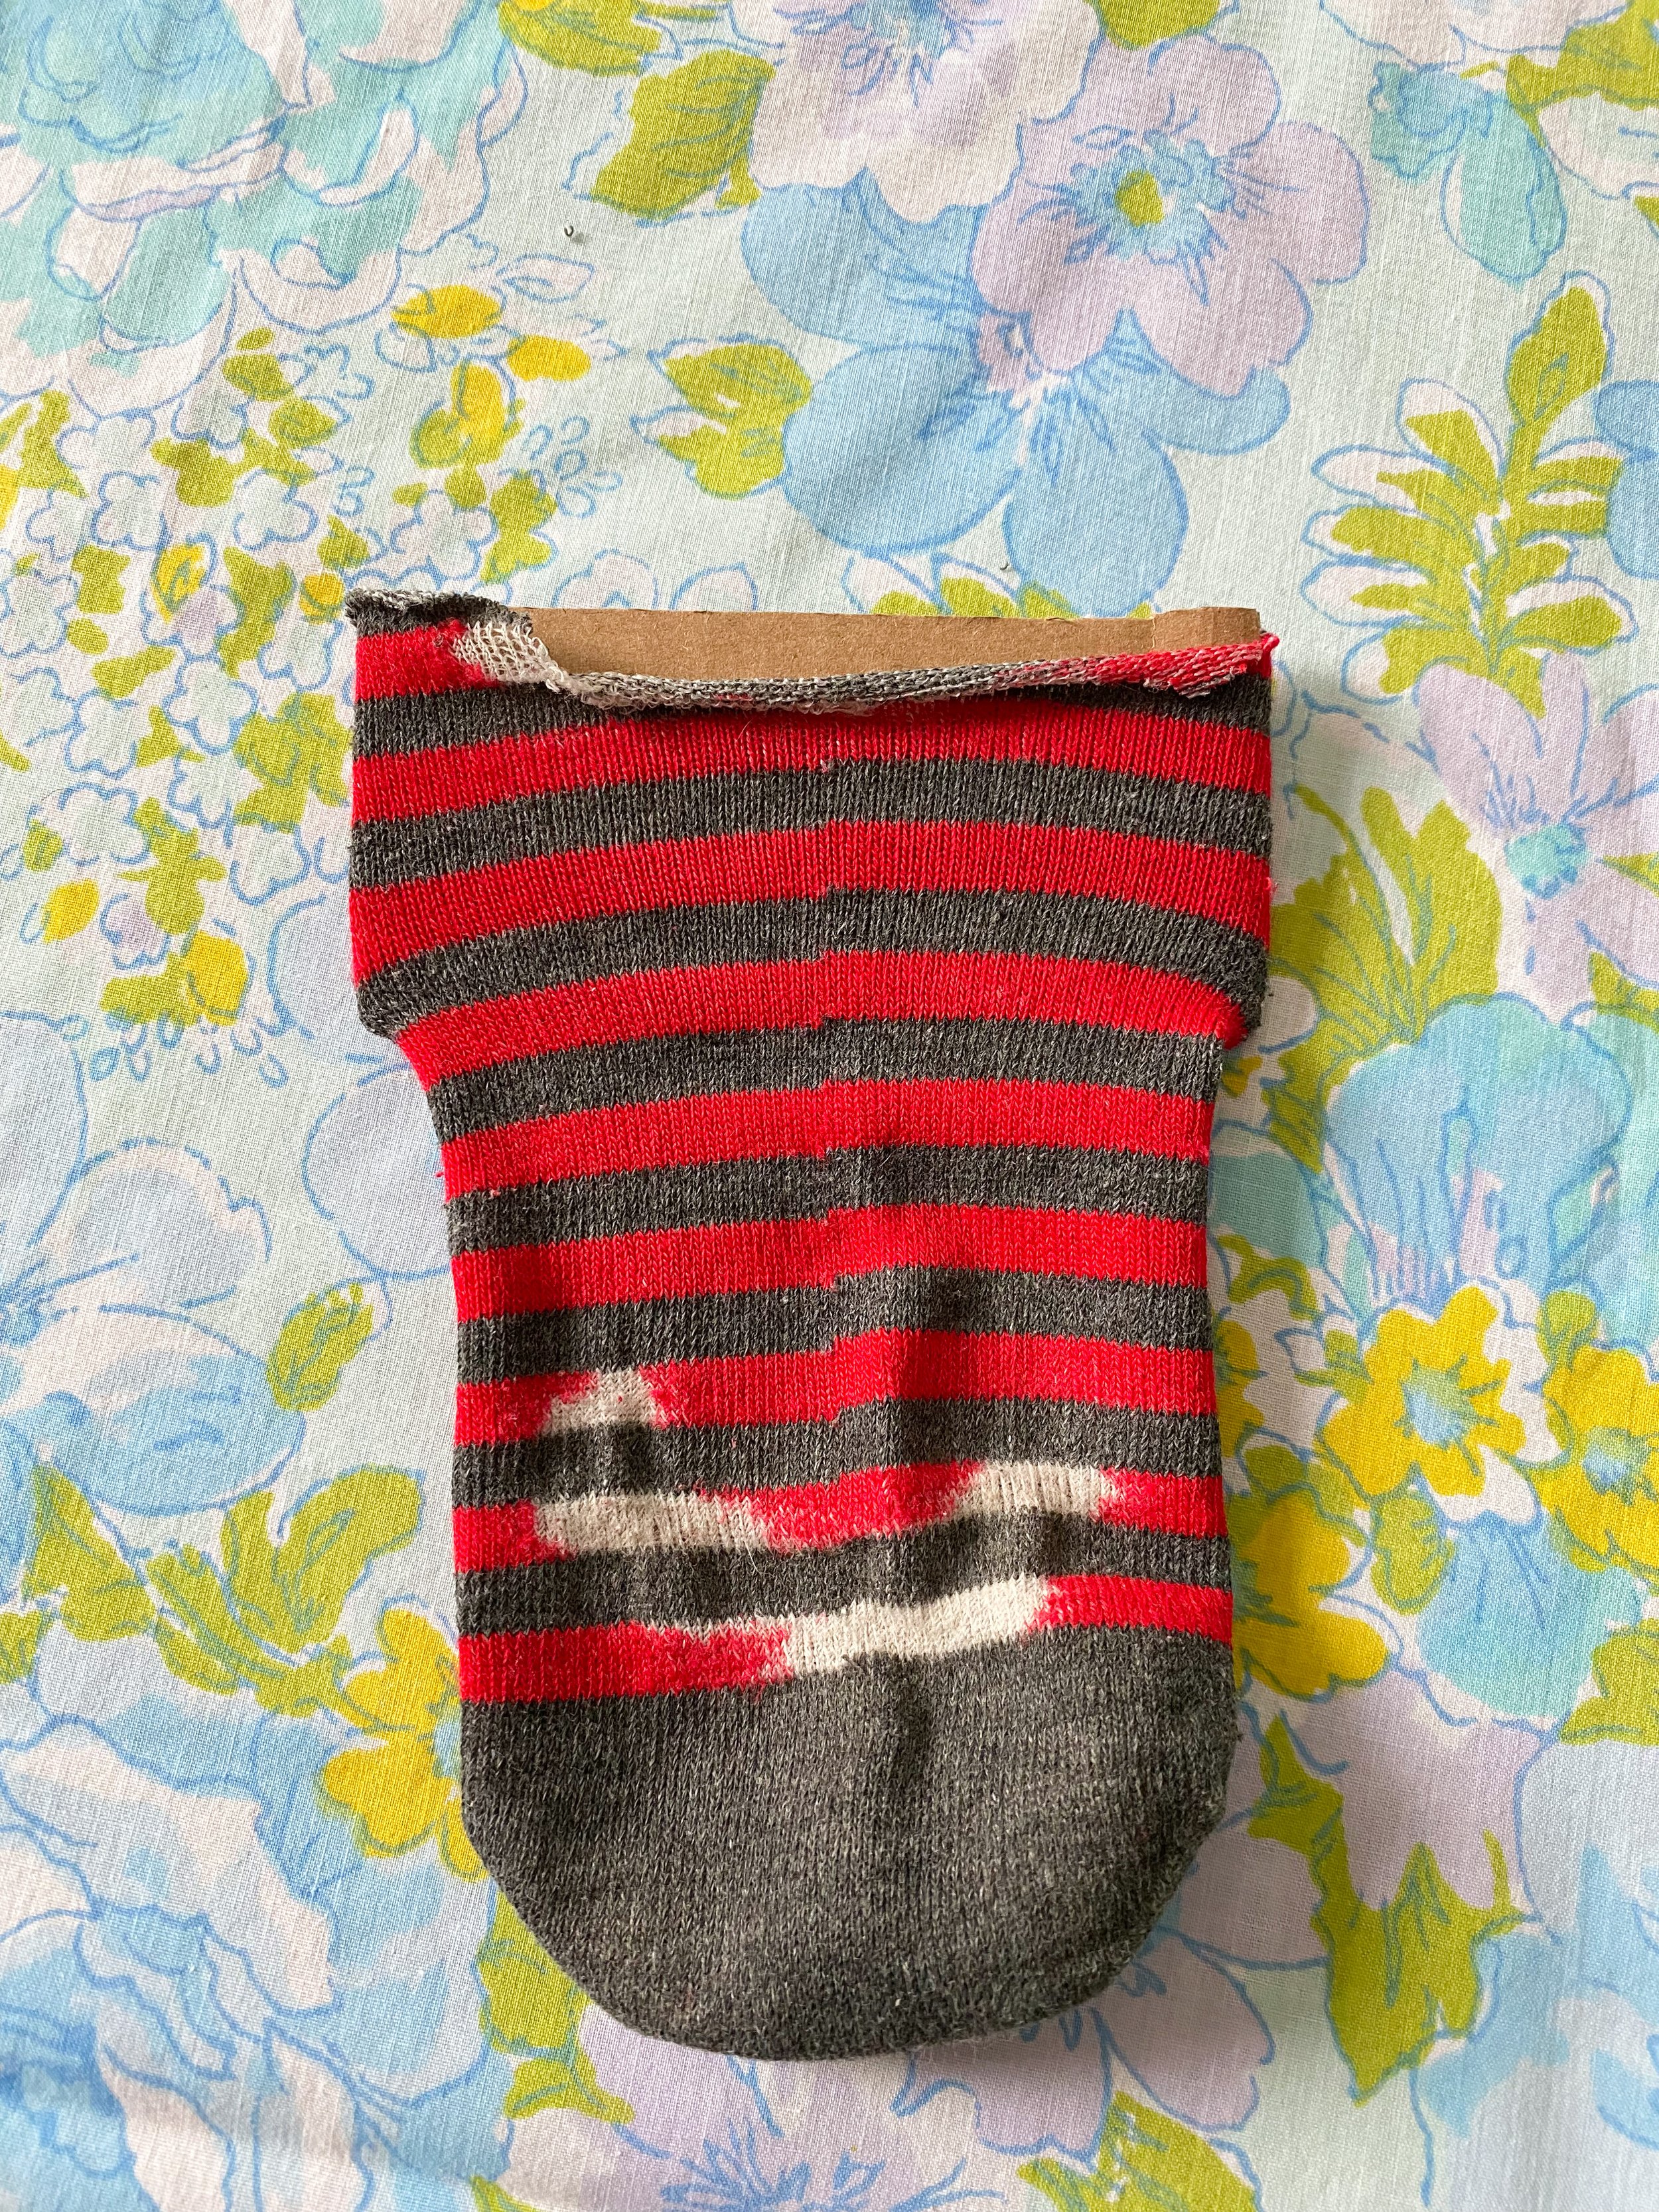
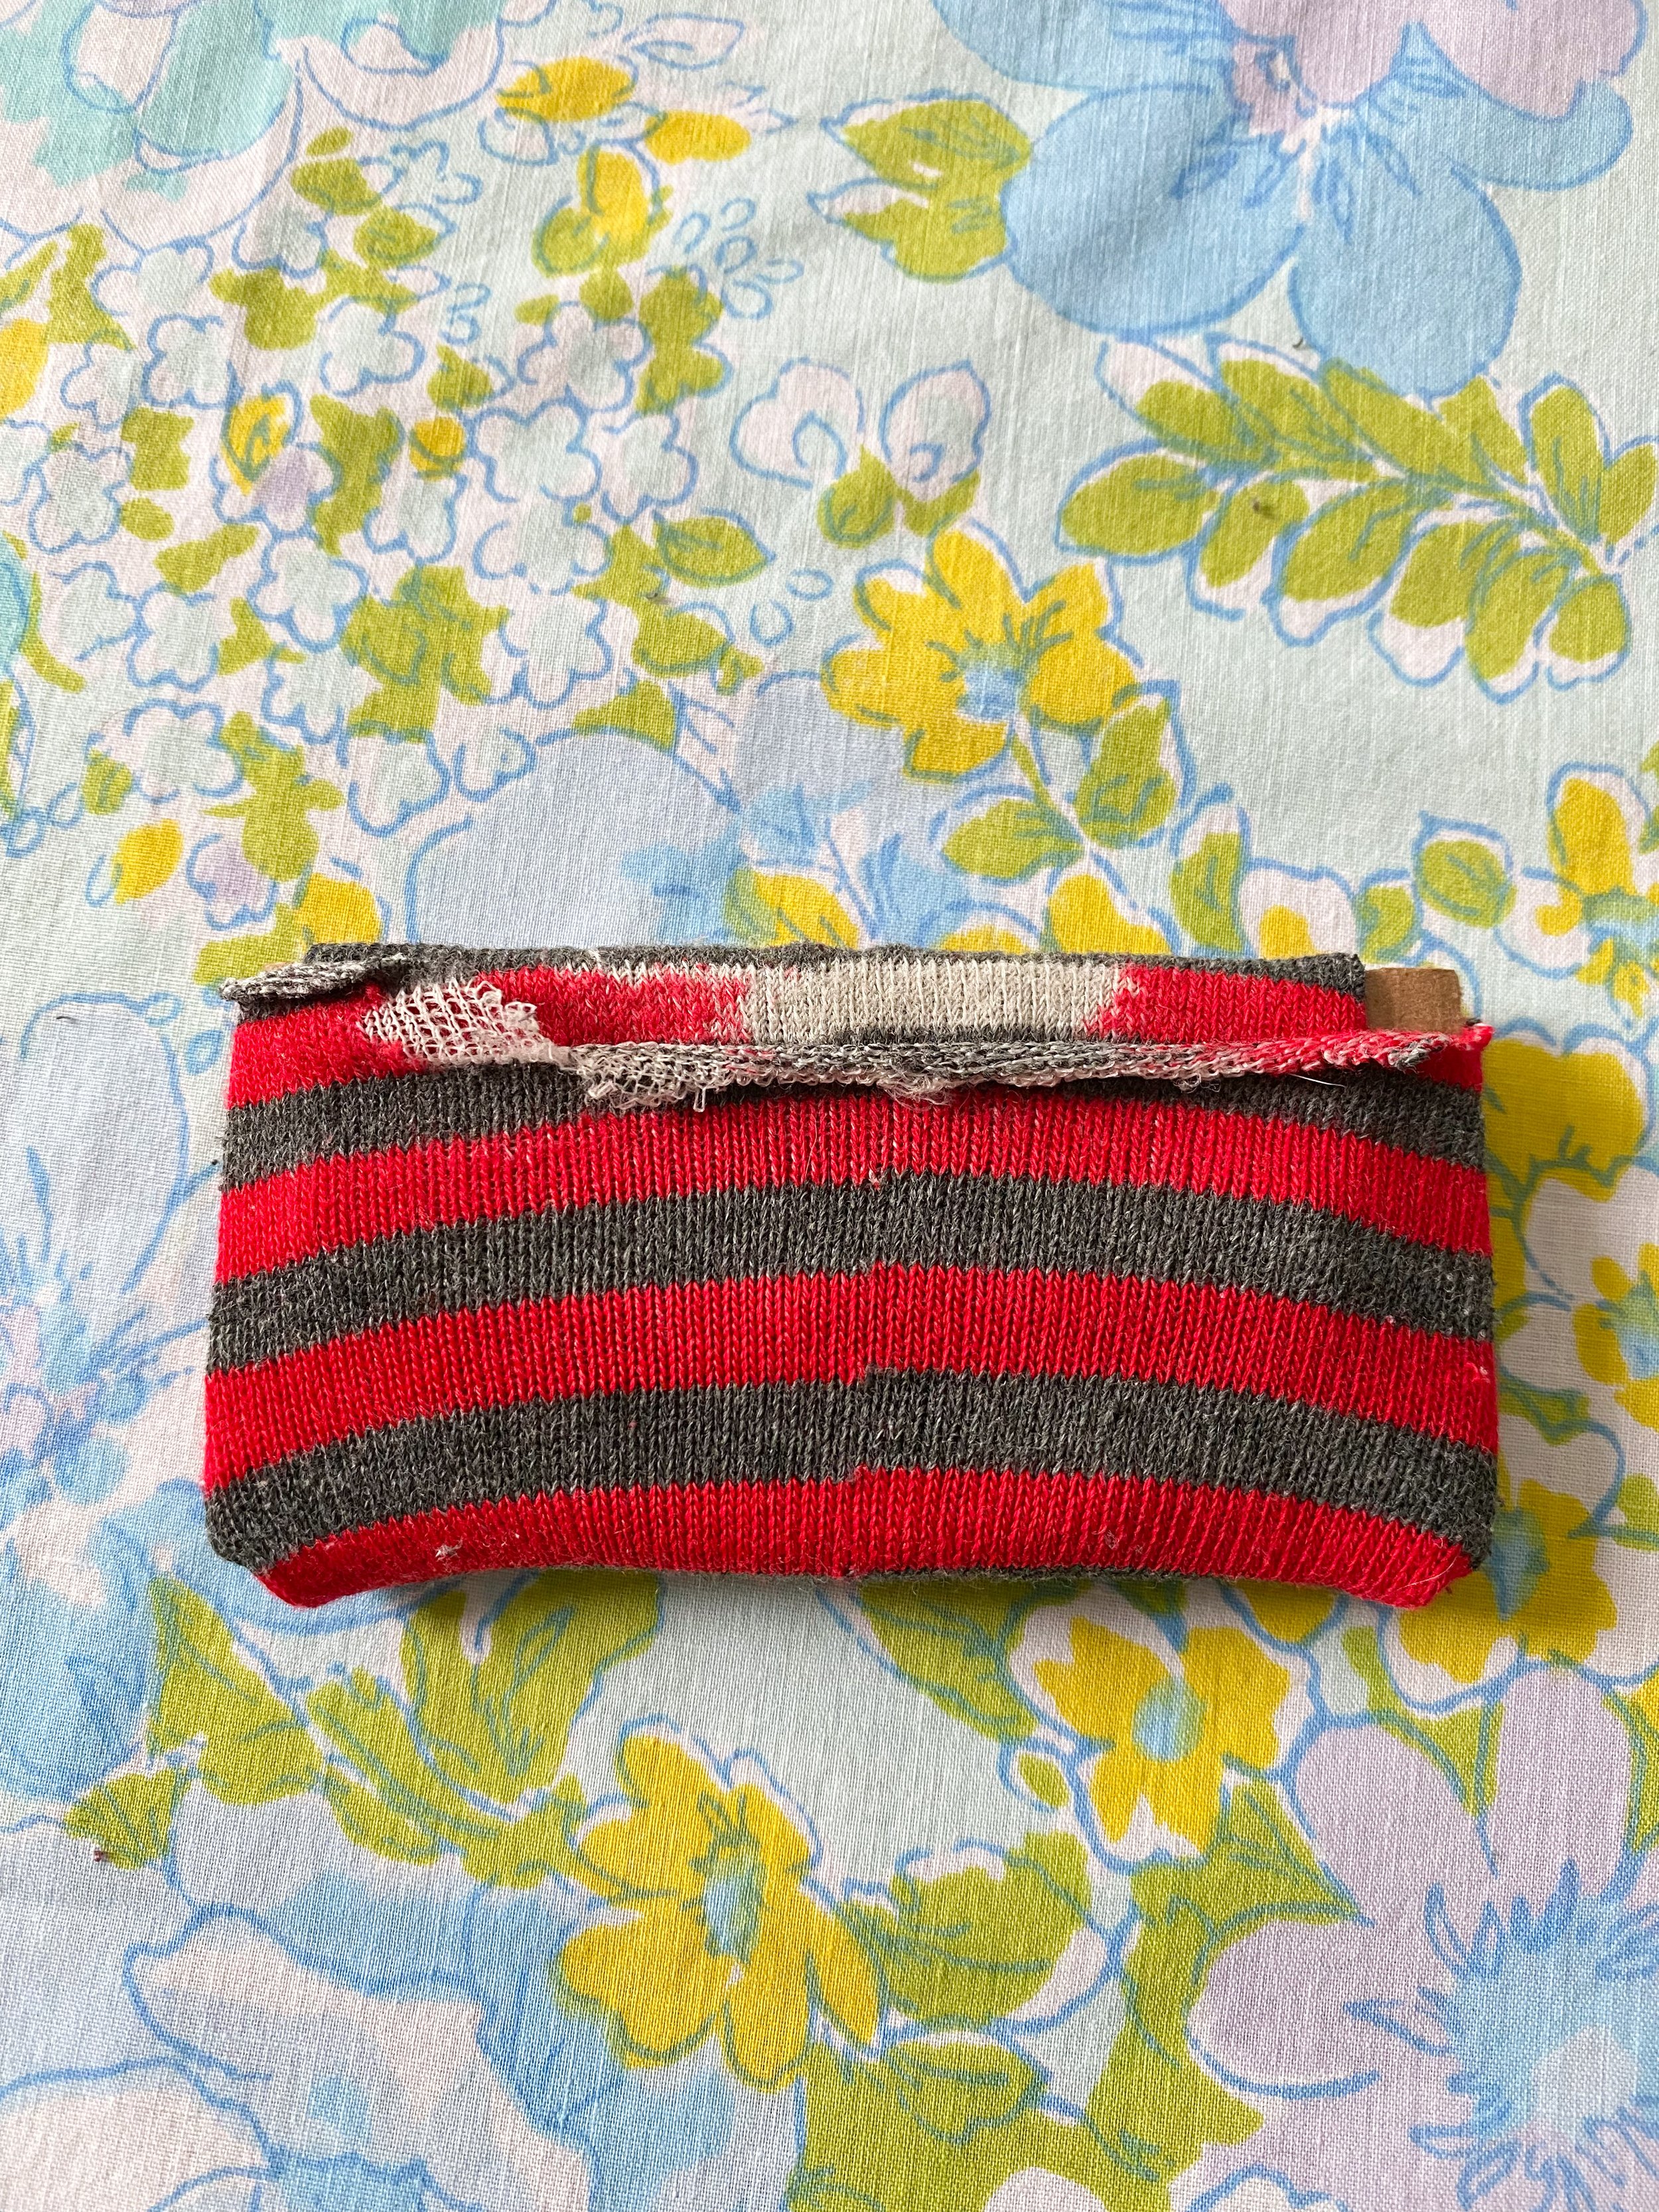
Step Three - Wrap the sock around the cardboard
Taking your cut-up sock, put the cardboard inside the sock so it’s fully covered.
Wrap the sock around the back and tuck the end into the sock opening so it’s fully enclosed.
TIP: At this point, put your Wonka wrapper on top of the sock/cardboard combo and see if it’s the right size. The sock/cardboard may be too big depending on how thick your sock is or how big the cardboard is. Just simply take the cardboard out and cut a bit of excess off and try again.
Step Four - Wrap the chocolate bar in tin foil
Now that your “chocolate bar” is assembled, rip some tin foil and cut it with scissors to be a bit larger than the candy bar.
Lay the foil shiny side down and fold the foil so it wraps around the back. Tape in place.
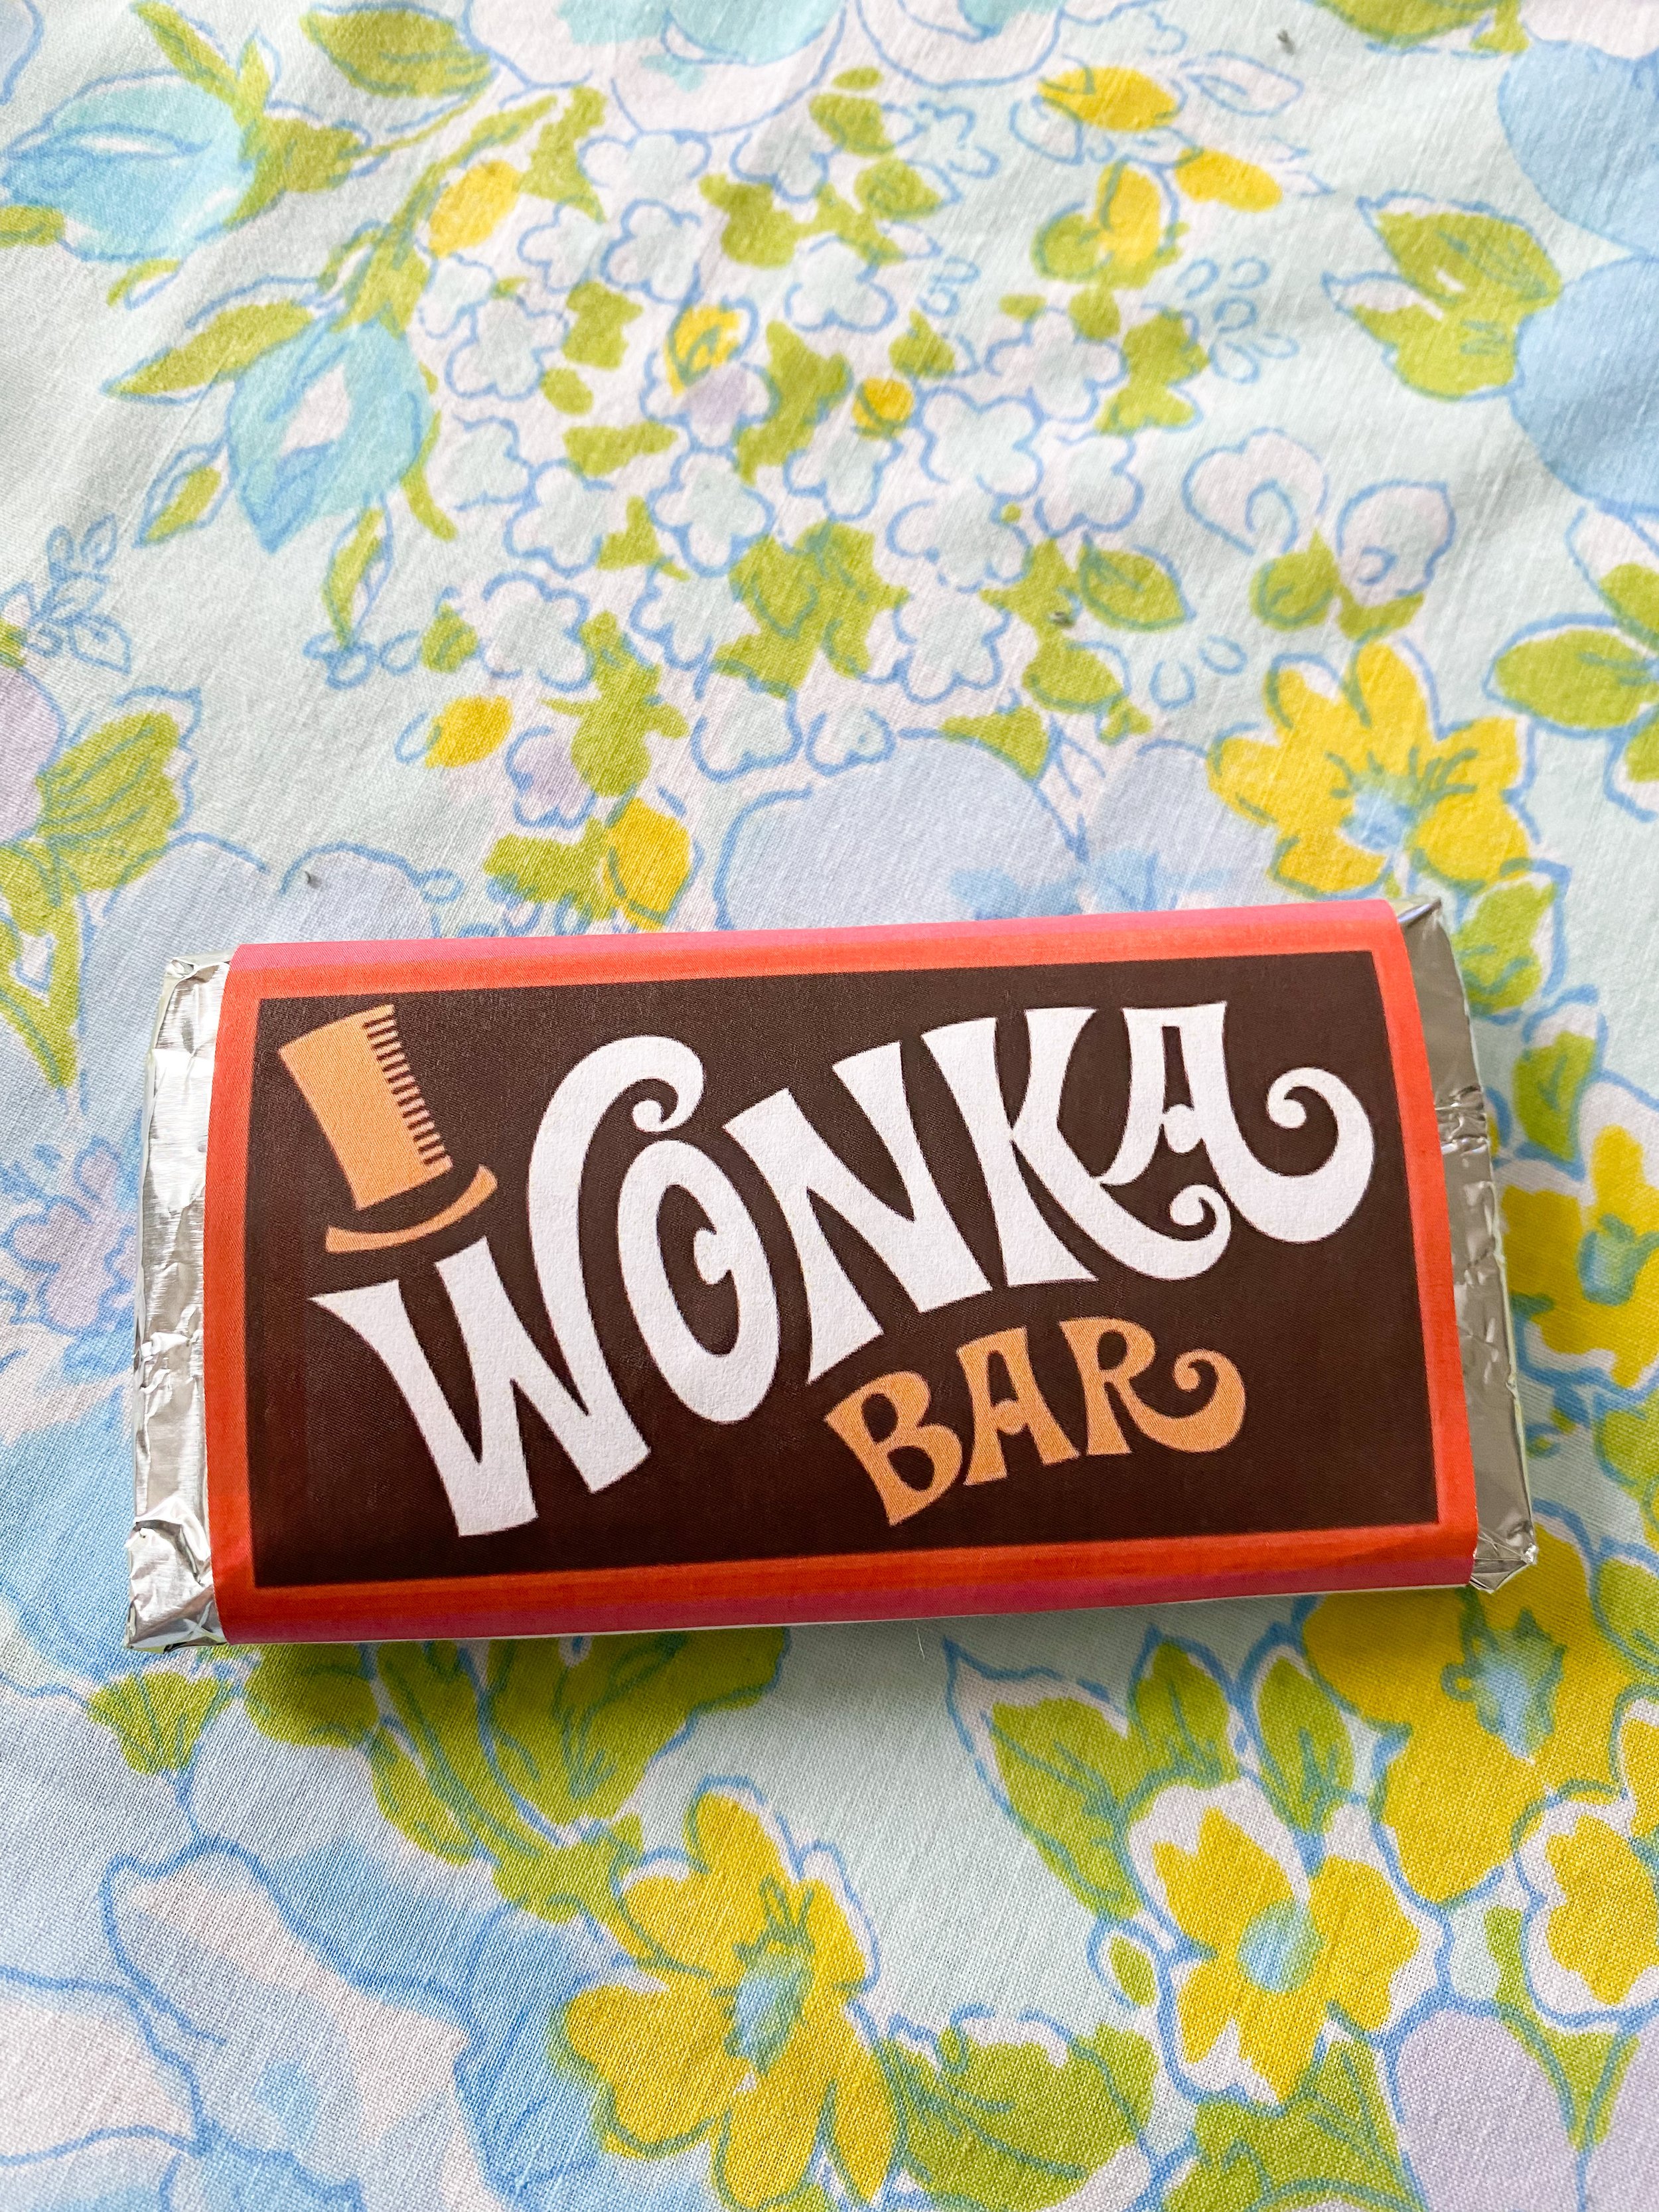
Fold the ends in towards the back. It should look like a candy bar and be the right size to wrap the Wonka wrapper around.
Step Five - Tape on the Wonka wrapper
I rolled up some tape and placed it on the front of the tin foil candy bar so the front of the wrapper would stay in place (See photo above in step four).
Wrap the Wonka wrapper around the tin foil bar and tape the white space together. You can cut off the excess white paper to make it fit properly.

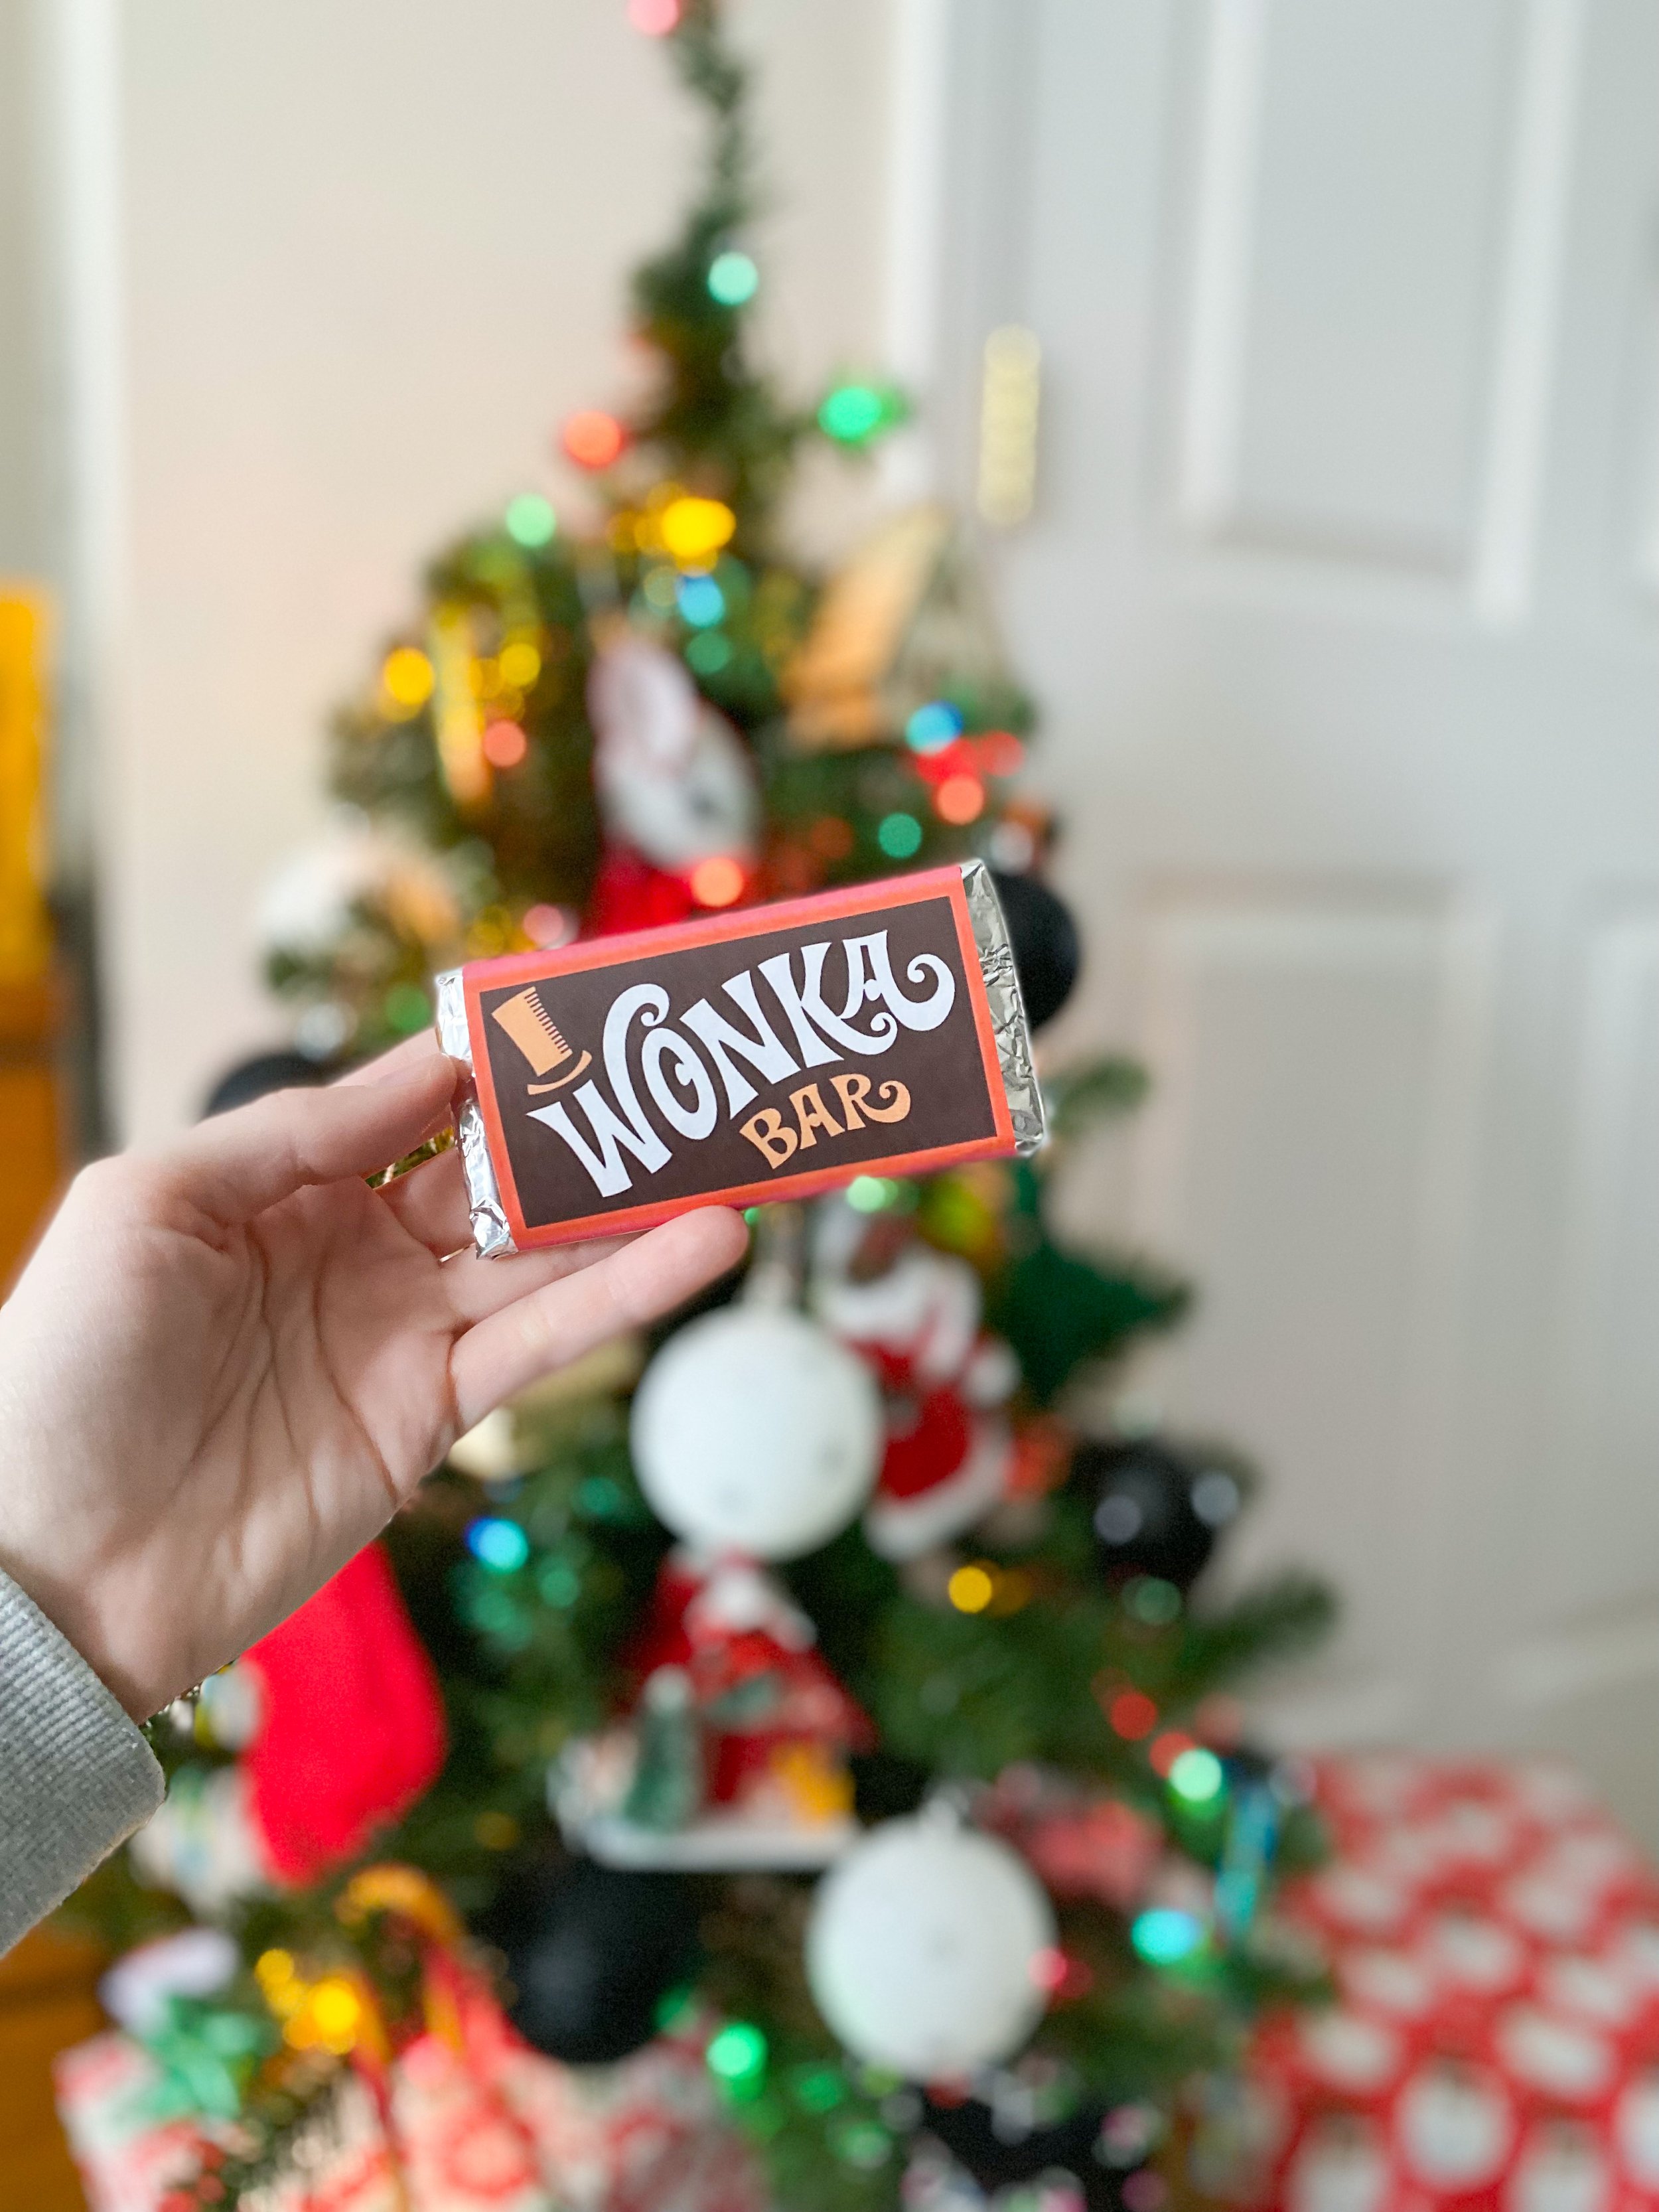
I did not attach a hook to the bar I just placed it as is in my mini tree. If you want to you could tape a loop of yarn or some wire to the back of the bar so it hangs off a tree branch.
You could use these bars as decor, as party decorations, or you could buy actual chocolate bars and wrap the label around them and give them away as gifts!
You can also blow up the size of the free printable to make real-size Wonka candy bars.
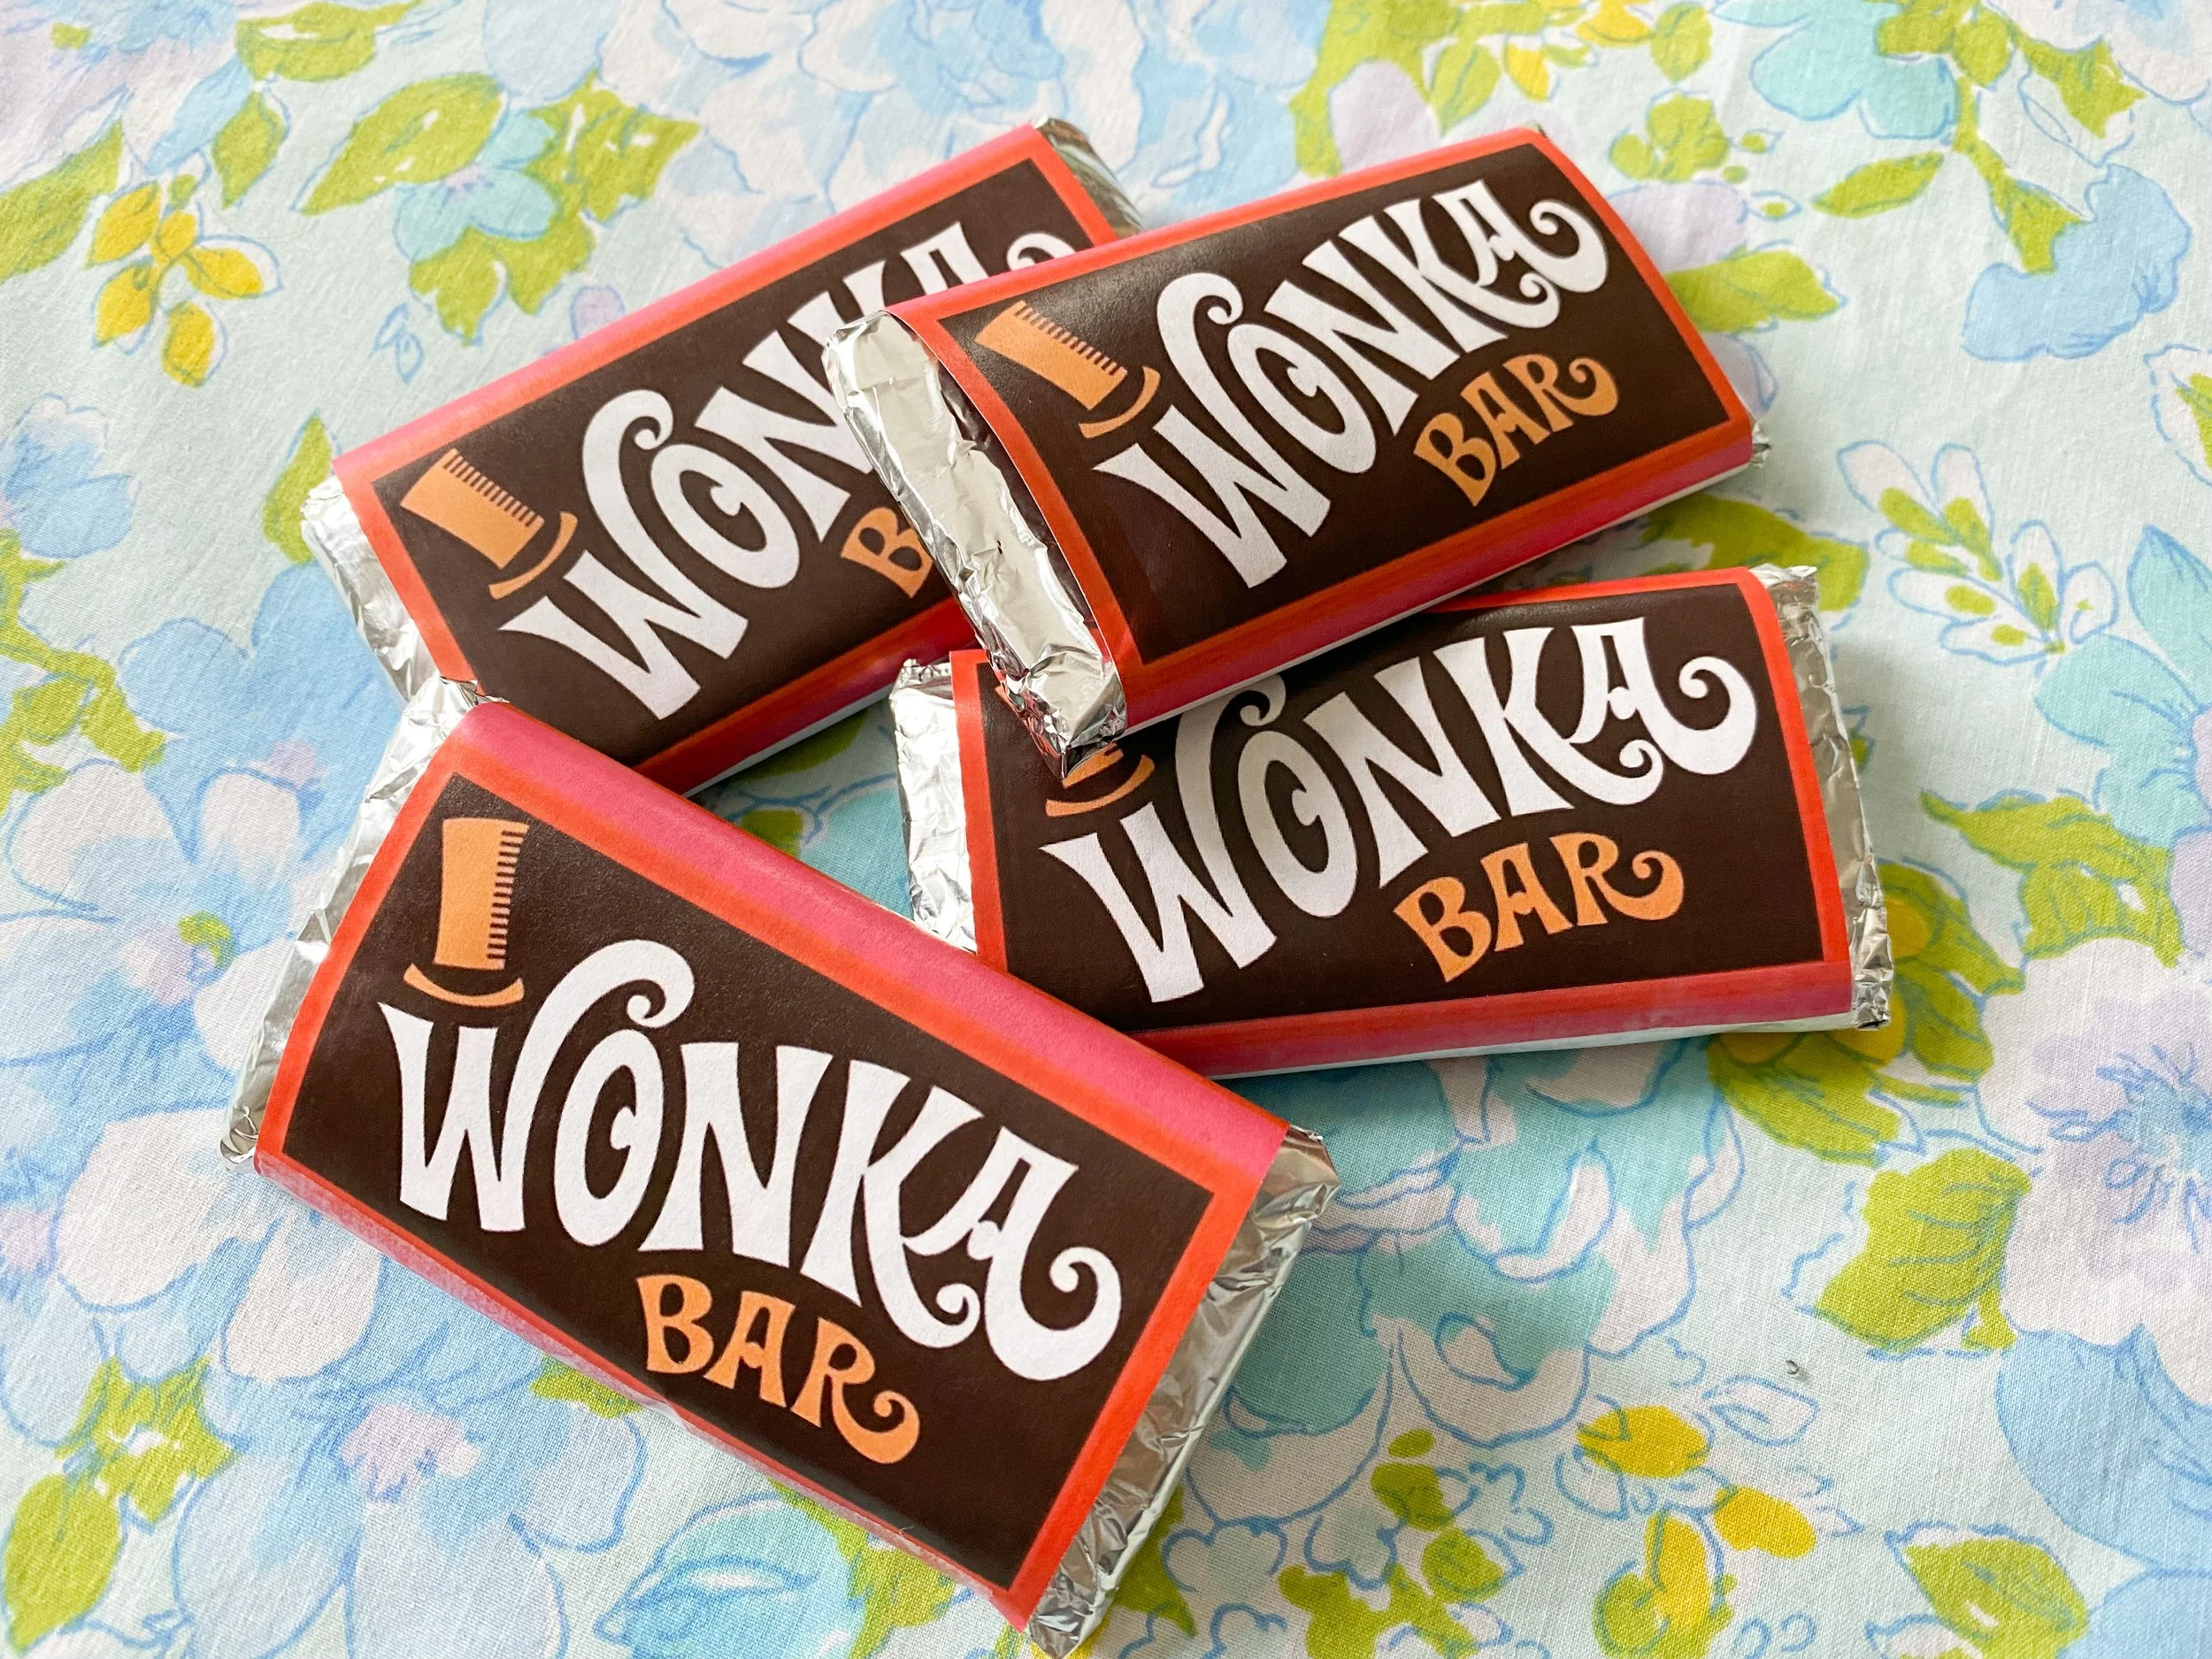
Now you have your own Wonka bars to decorate with! Watch the video below for more upcycle Christmas projects or check out these craft projects: