Recover a Lampshade With Vintage Fabric Tutorial

This post may contain affiliate links where I earn a small commission at no additional cost to you. If you purchase anything through the linked website you will be supporting my small blog. Thanks!
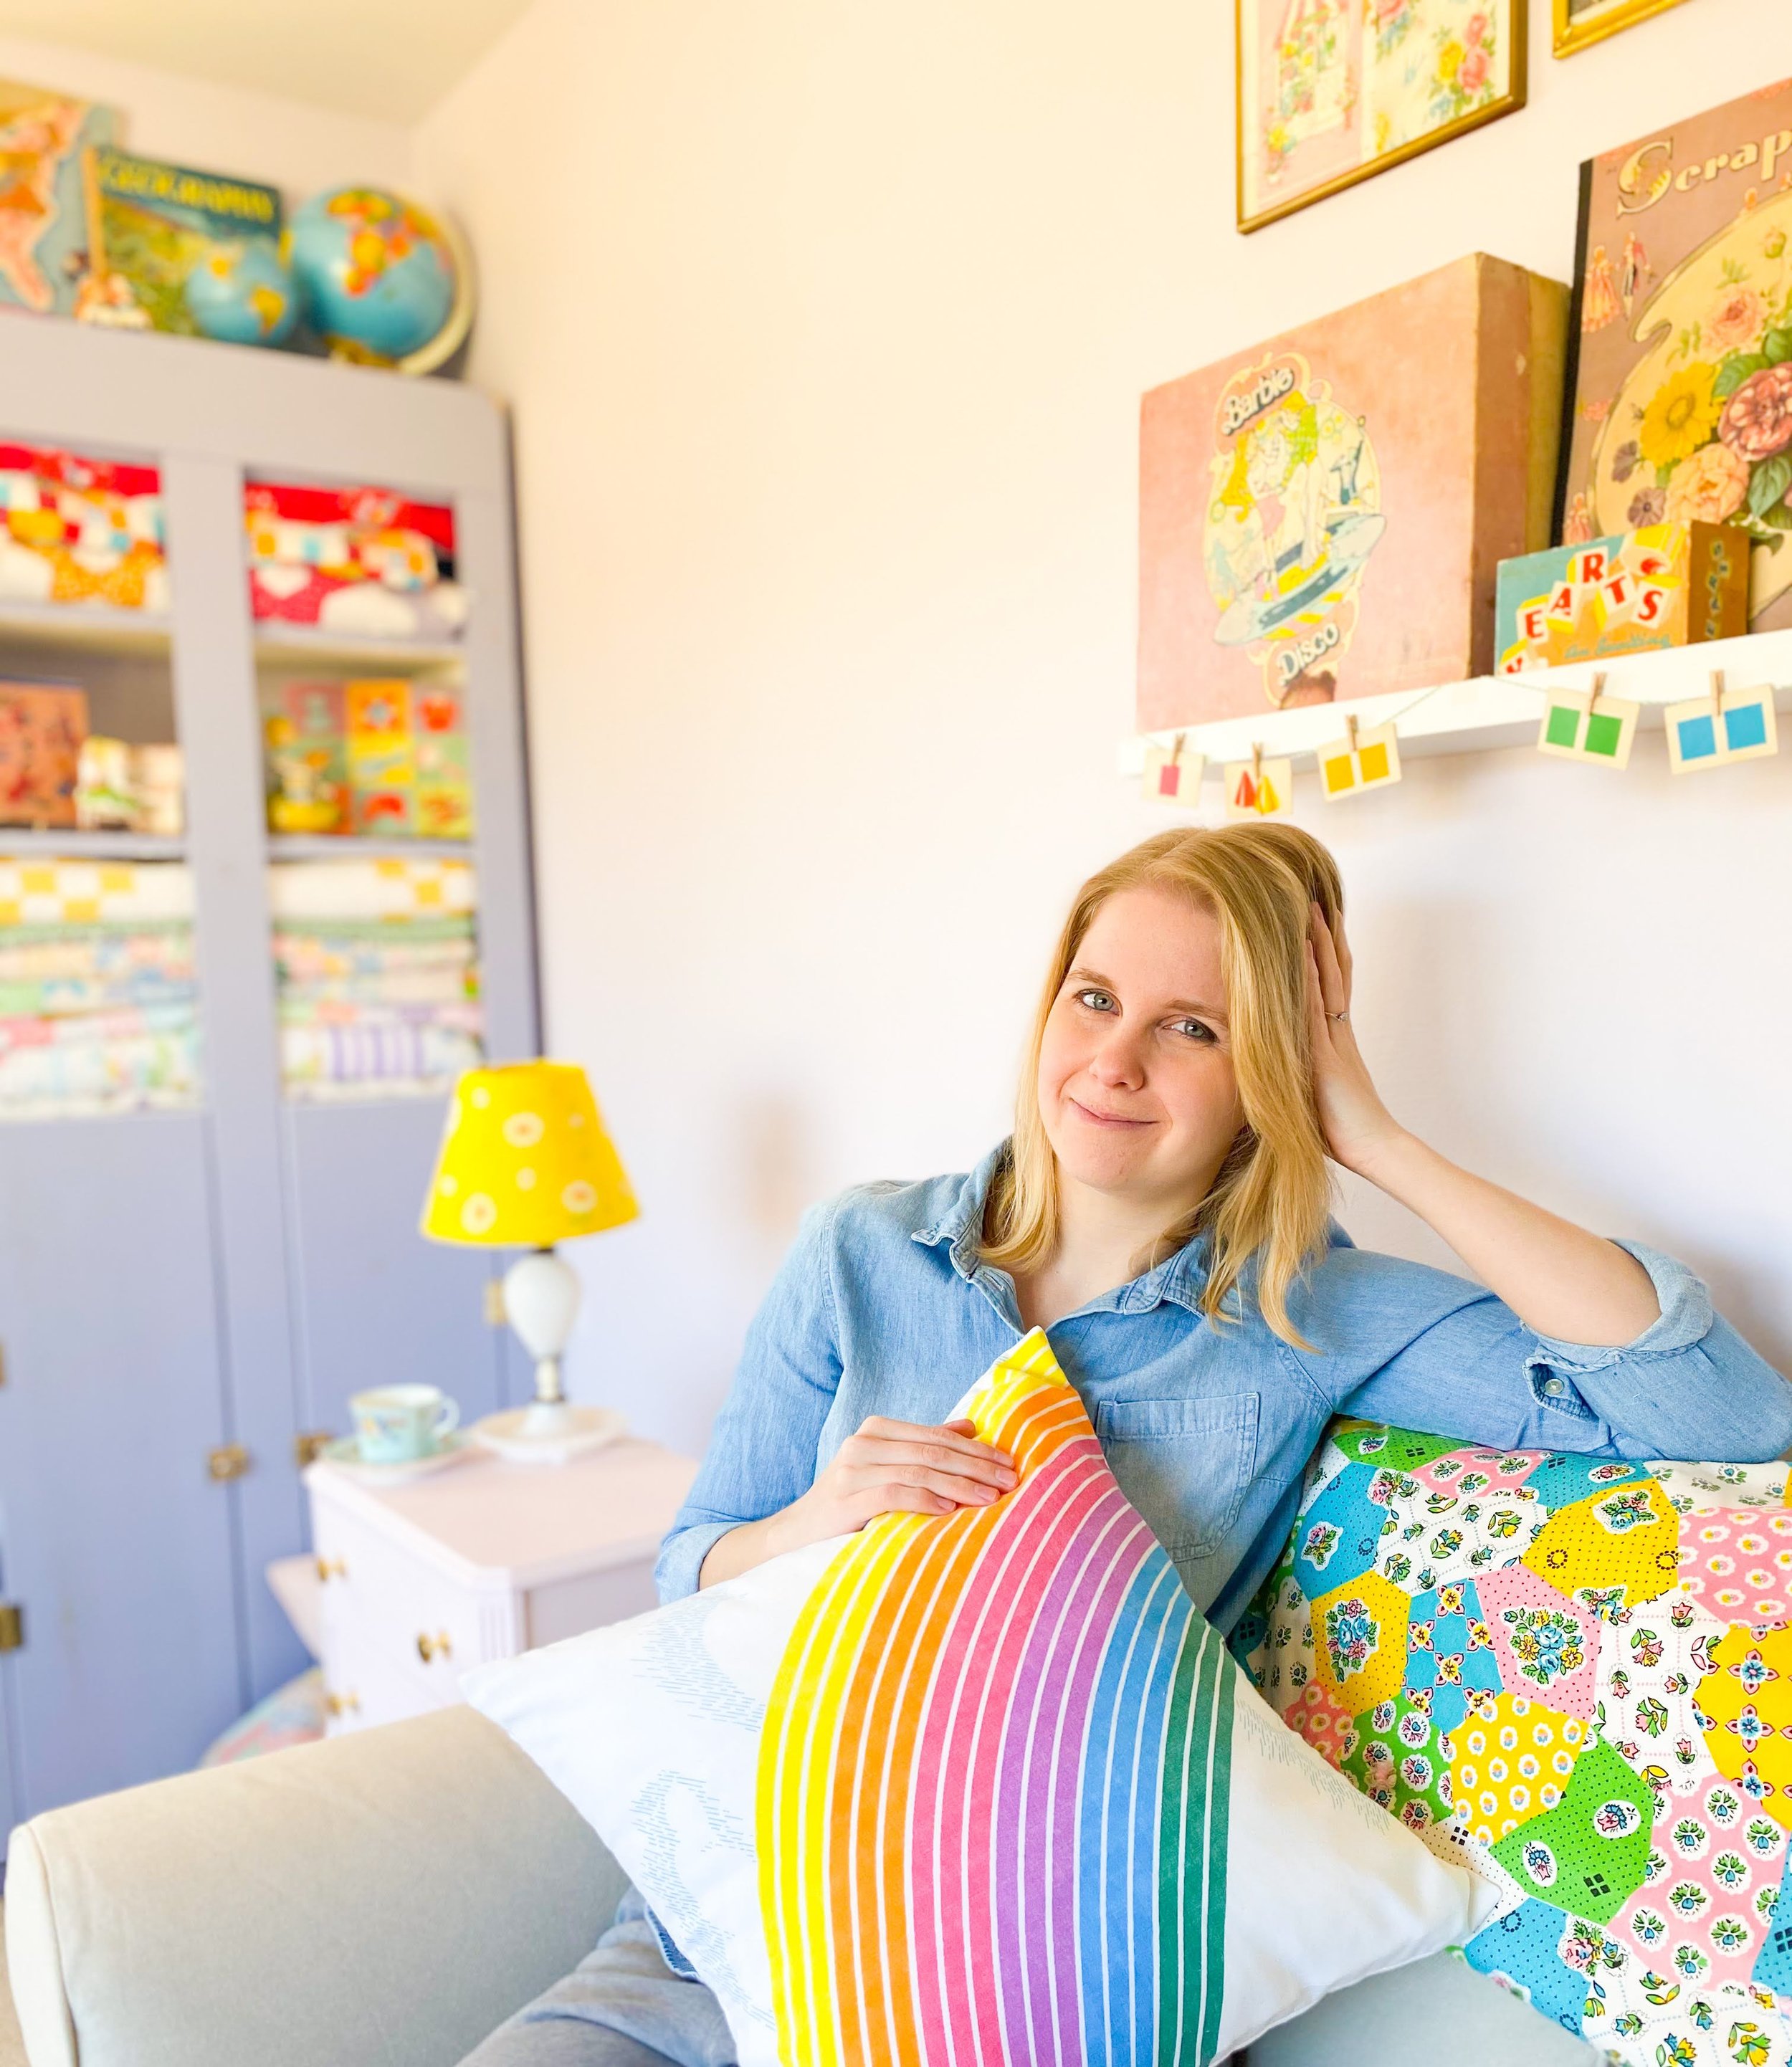
There are always a lot of lamps to choose from at thrift shops. Buying a new lamp can be an expensive purchase which is why I only buy them secondhand. But you’ll be lucky if you find a lampshade that you actually like. I haven’t had any luck so I decided to make my own lampshade out of thrifted vintage fabric.
Disclaimer: I’ve had a few people ask me about fire risk. Before I started this project I lit my lamp for multiple hours to see if the lampshade was hot. I use LED lightbulbs and my lampshade wasn’t even warm after being on all day. Test your lightbulb to see if it’s creating a lot of heat. I definitely recommend switching all your bulbs to LED anyway because you’ll save so much money doing so!

Here are the $5 thrifted lamps I started with. I love the bases but the shades were a little boring. But not for long!

Materials For Covering Your Lampshade
Scissors
Pencil
Clothespin
A measuring device - Ruler, tape measure or hem gauge.
NOT PICTURED - Paper to make a stencil. I cut up a brown paper bag but you can use newspaper or any paper that’s big enough.
Hot glue gun or Mod Podge - This will depend on your lampshade. My thrifted lampshades were made with fabric so they wouldn’t hold mod podge. If you have paper lampshades you can try Mod Podge but I found that a hot glue gun held everything in place better.
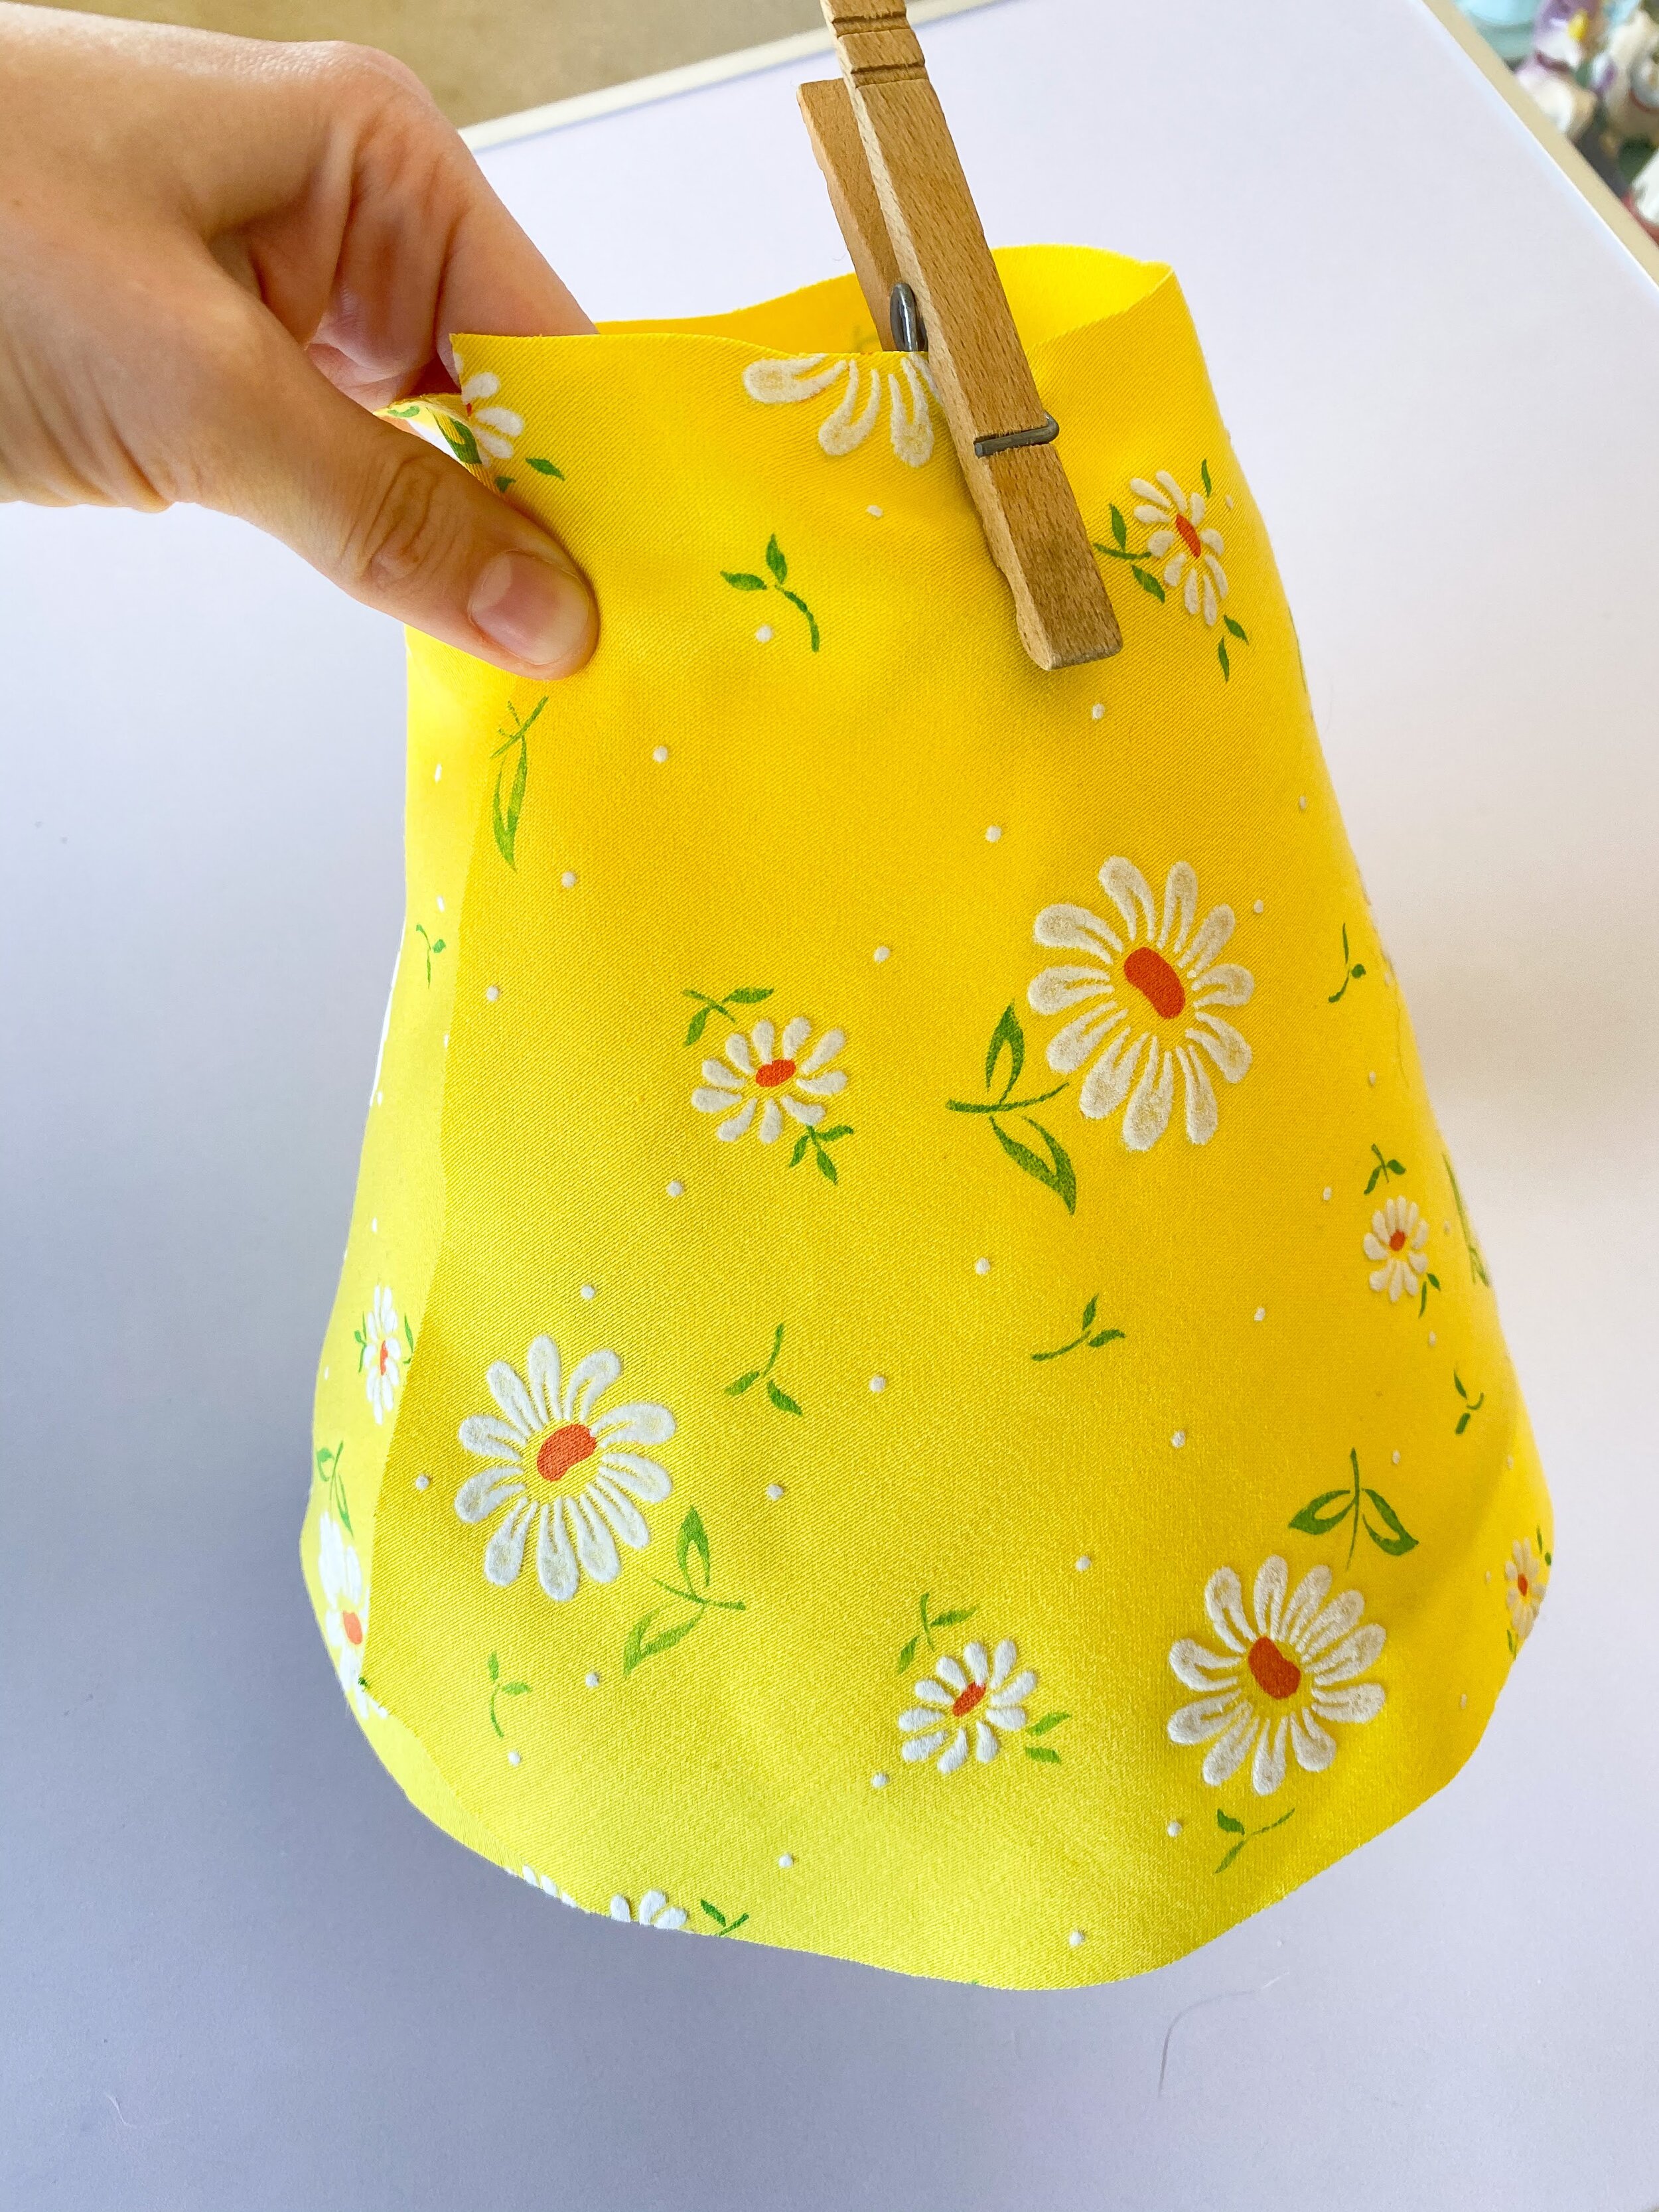
Fabric - I used $2 thrifted vintage fabric but you can use any fabric you want. I suggest taking the fabric you want to use and hold it up to your lit lamp before you start the project. That way you can see how well the light shines through the fabric or if you can see the old lampshade pattern through the fabric.

Trace the Shape of Your Lampshade to Make a Template
You’ll need to take the lampshade you are redoing and create a stencil out of it. Lay the shade on its side and slowly rotate it over your paper, tracing the shape it creates with a pencil. Then cut out your template. If you’re a visual person like me, you can see the video of how I made my lampshade on my Instagram.

Pin the Stencil Onto Your Fabric and Cut
Pin your stencil into your fabric and cut an extra 3/4 inch of fabric around the stencil. Cut out the fabric and iron if needed. This will give you extra fabric to fold over so there aren’t any raw edges.
Start Gluing Your Fabric on the Shade
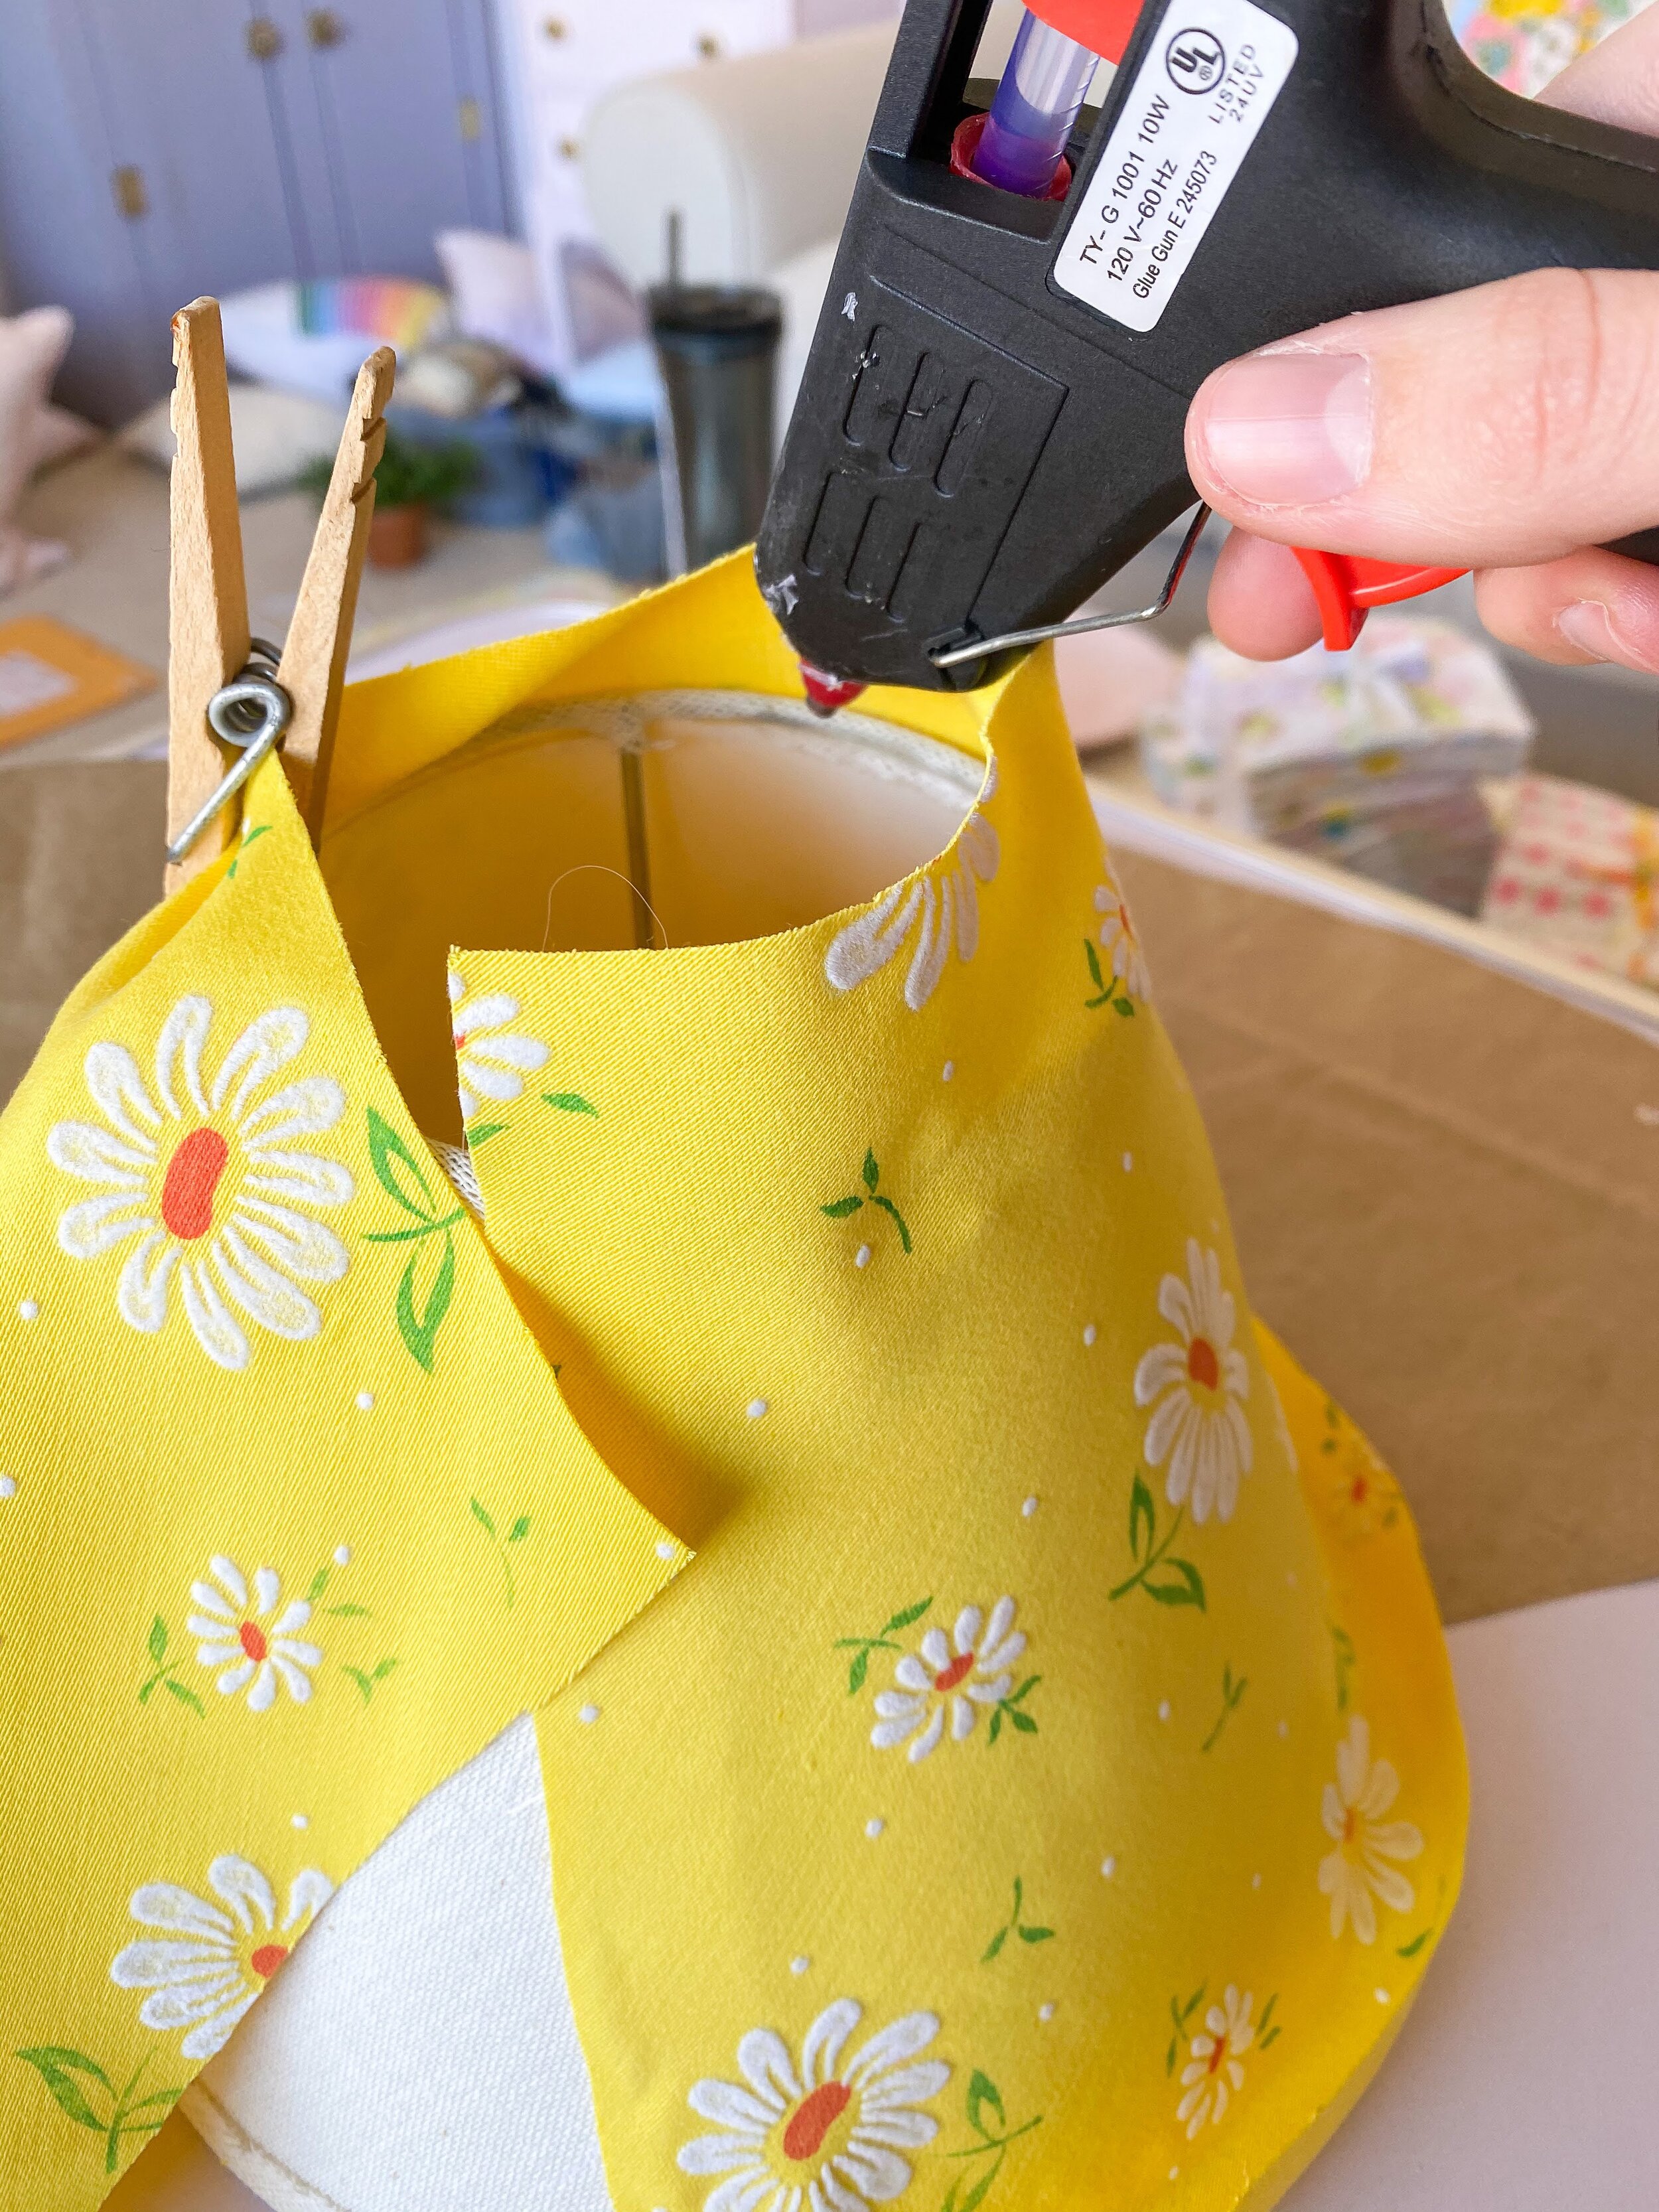
First, wrap your fabric around the shade to make sure you have the extra fabric evenly spaced around the top and bottom of the lampshade. I put the two ends of fabric towards the back of the shade where there is already a seam. When you have your fabric in the right position, use a clothespin to hold half of it in place.
Then begin gluing your fabric, start by creating a line of glue from the top of the shade to the bottom to secure one end of your fabric. I sporadically place light dots and lines of glue on the edges of the shade to hold the fabric in place. If you glob on too much glue you’ll be able to see it and it will make the shade look lumpy. You don’t need to use a lot of glue because you’ll also be gluing on the top and bottom when you’re folding over the fabric. Pull the fabric tight when you are gluing to prevent wrinkles or bubbles of excess fabric. Once you have glued around the lampshade, take the remaining end and fold it over onto itself (About 1/4-1/2 inch) to create a hem. Glue the hem together and then glue the end onto the shade. This will encase the raw edge so that the fabric won’t fray.

Finish the Lampshade By Gluing the Top and Bottom in Place
At this point, you’ll have some extra fabric on the top and bottom of the lampshade. Maybe you did a perfect job and you have exactly 3/4 of an inch on each end. If you do, then fold the raw edge over onto itself and glue in place to create a hem. Then glue that hem down inside the lampshade. If (like me) you did not do a perfect job and you have an uneven amount of fabric on the top and bottom, just do your best! Because you have to pull the fabric tight I had too much fabric on the top so I was able to do a hem like normal. On the bottom, I didn’t have enough fabric so I just glued the raw edge onto the inside of the lampshade. The glue will prevent fraying so no big deal.

You Have a New Lamp!
Wow, I love my lamps SO much more now! I hope you’ll give this tutorial a try and let me know how it went in the comments or on Instagram. If you have any questions feel free to reach out! For more ways to use vintage fabric be sure to check out my post on 15 Ways to Upcycle, Repurpose and Use Vintage Sheets.