Spring Garden Mantel with DIY Toadstool Garland

This post may contain affiliate links where I earn a small commission at no additional cost to you. If you purchase anything through the linked website you will be supporting my small blog. Thanks!
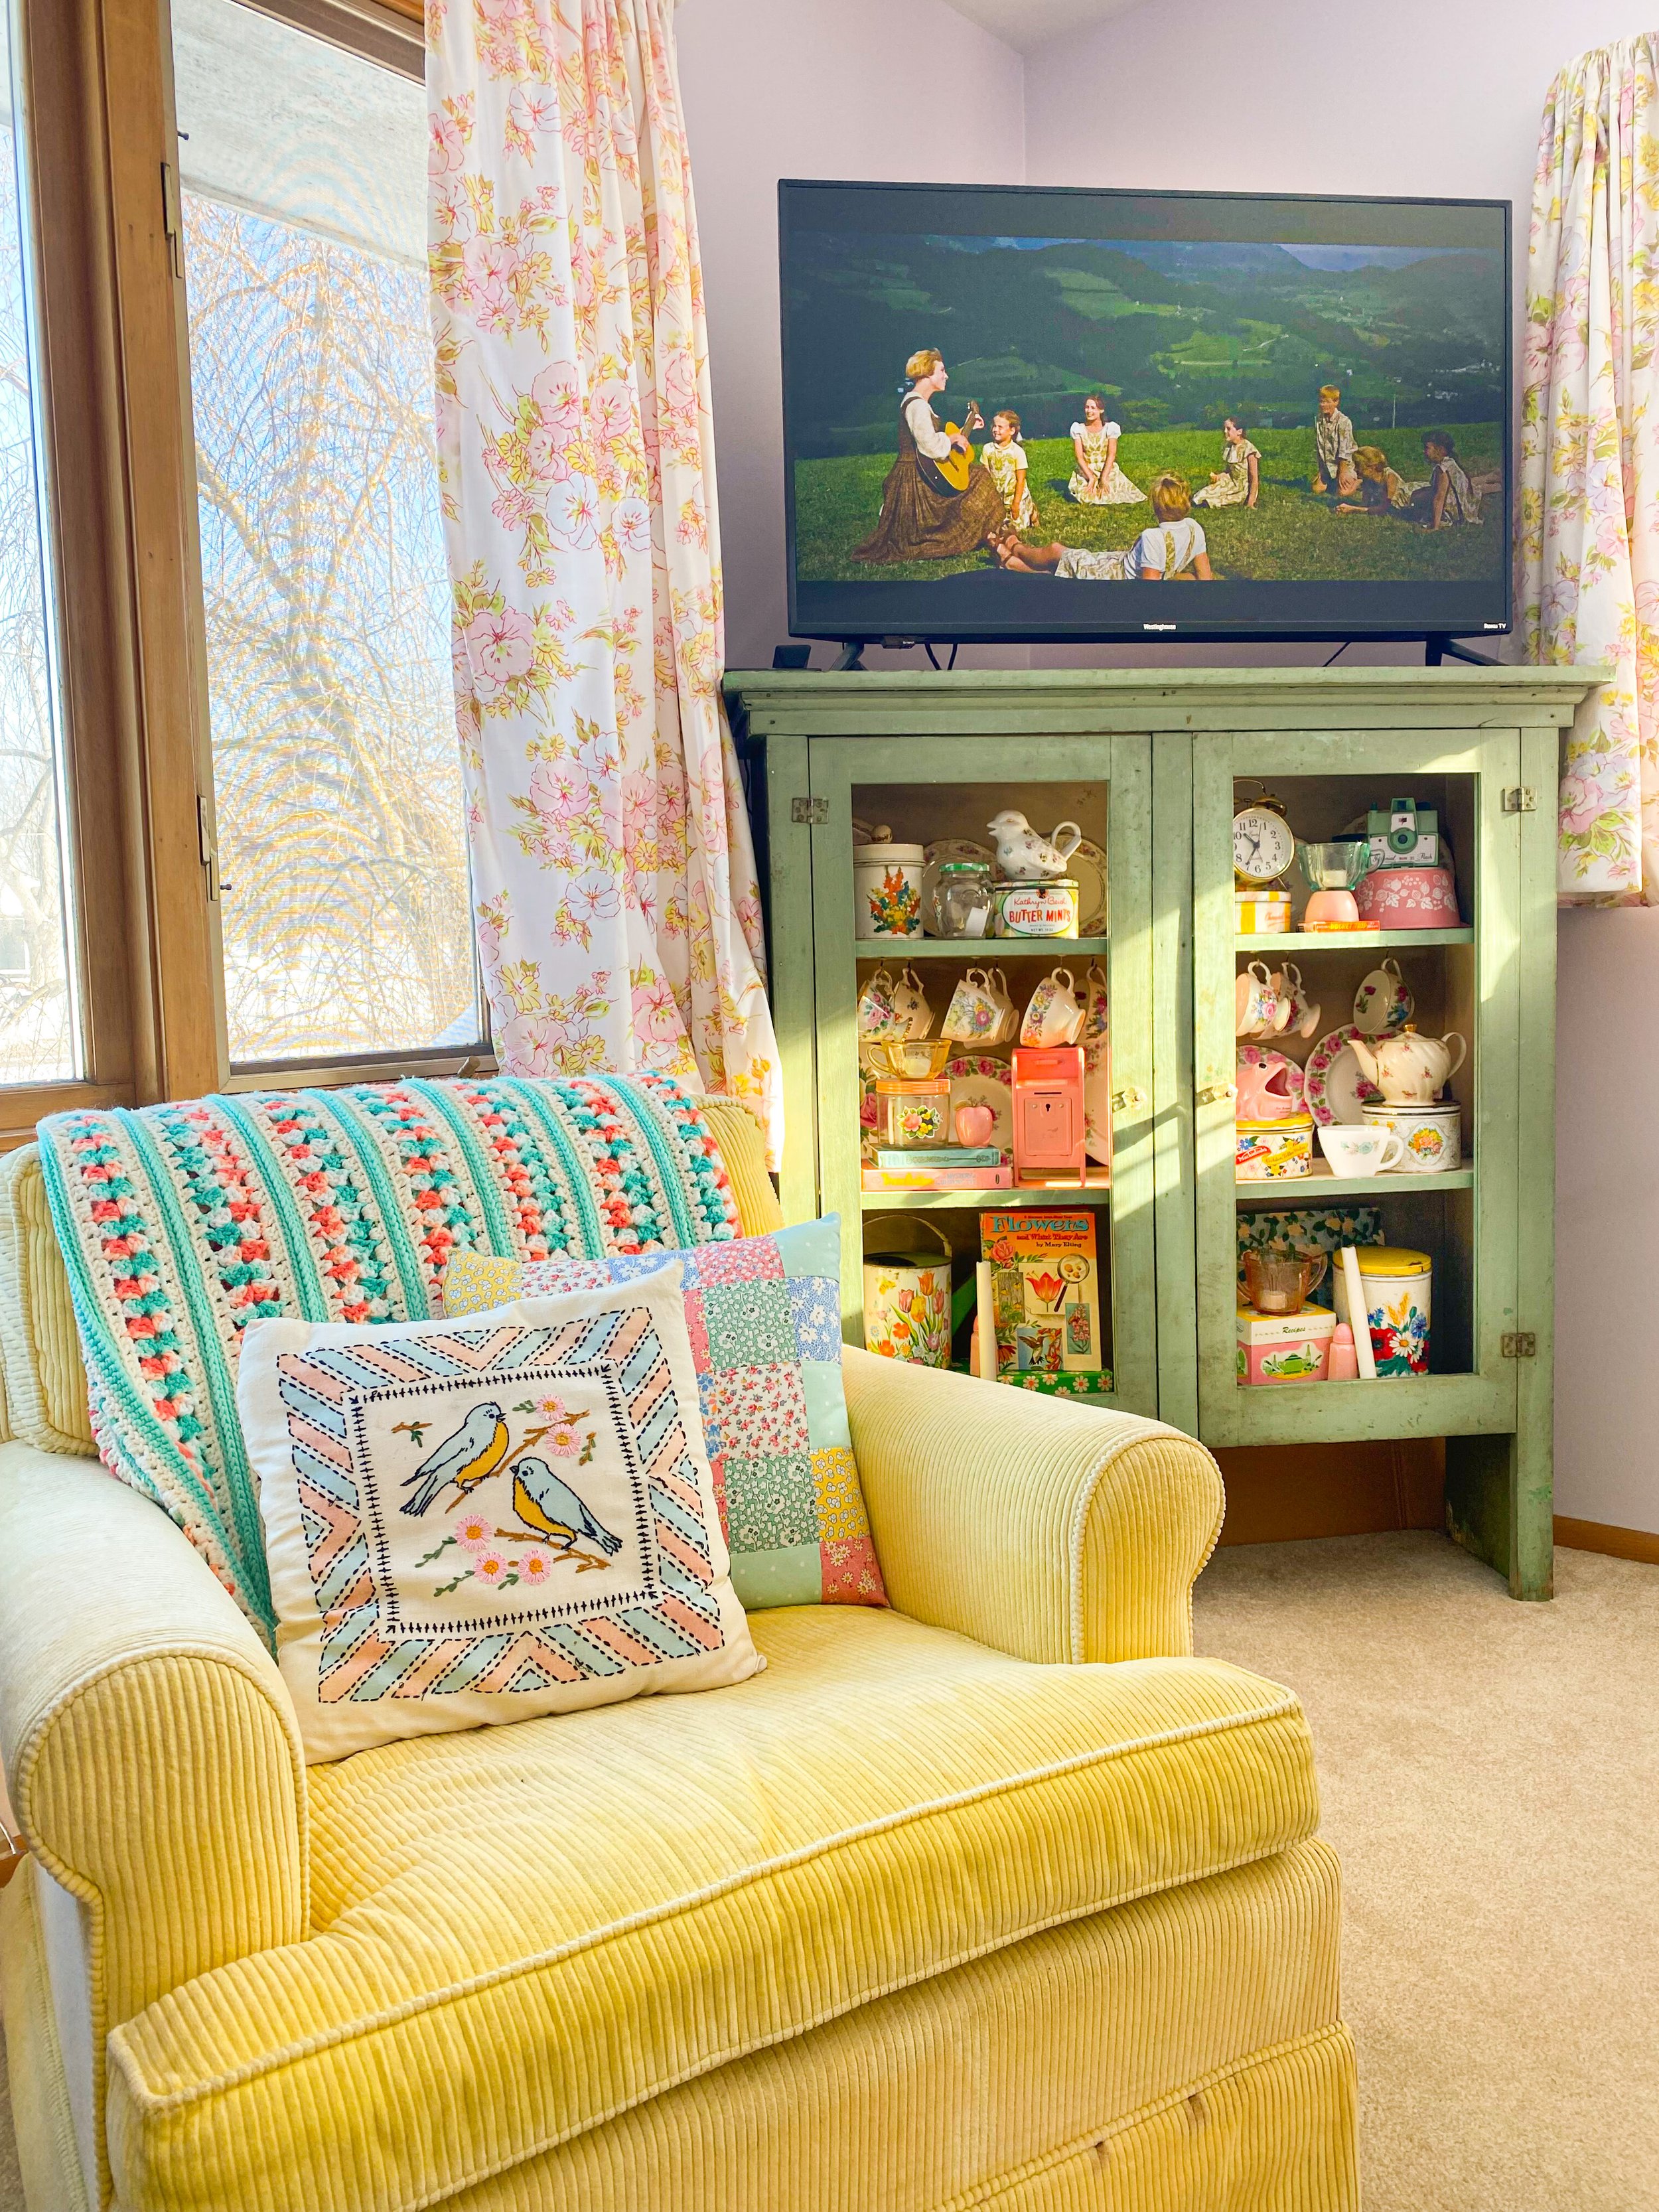
My Gnome and Toadstool Mantel
You never know when inspiration will hit you! I’ve been struggling with how to decorate my electric fireplace since taking Christmas down. When I get stuck and hit a decorating block I stop everything. I don’t want to force the design process so I let my knick-knacks sit on the floor for a few days while I ponder.
A couple of weeks go by and I was getting ready for bed when I walked past my gnomes sitting in a bin on the floor. I knew I had to display them! I stayed up way past my bedtime styling my mantel.

The fireplace looked a little bare and I looked around for something I could use as a garland. I had a box of 6 plush toadstool IKEA ornaments that I had received as a Christmas gift. I have WAY too many ornaments for my Christmas tree so I never put them up. I knew they would make an adorable garland for my gnome garden mantel.

DIY Toadstool Garland
You can make this garland out of any plush ornaments that you have. I happen to have toadstools but I also have plush Russian dolls that I found at Target, vintage quilted ornaments and even plush gnome ornaments. This DIY will work for any soft ornaments and will take only 5 minutes to make. Or you can make your own custom ornaments out of felt.
Supplies
-Scissors (I use these fabric scissors for sewing but any scissors will work fine)

From Ornaments to Garland
-Cut off the ornament loops. Measure your mantel and cut a large amount of embroidery floss. Make sure to add extra so it droops.
-Thread embroidery floss through a large sewing needle. Do not knot the end of the floss.
-Push the needle through the ornament. Be sure the “good” side of each ornament is facing all the same direction.
-Pull the embroidery floss through the ornament but not all the way. Thread all the ornaments on. Be sure to leave tails on either side so you can secure your garland to the mantel. I didn’t knot anywhere because the ornaments stayed in place on their own.
-Secure your garland to the mantel. I put the embroidery floss tails under vintage books that I have on display.

An Easy 5 Minute Garland
This is probably the easiest project I’ve ever done. You barely use any sewing skills to make it which is awesome! Now I’m going to keep my eyes peeled for plush ornaments at thrift stores so I can make more garlands! I’m especially excited about my string of toadstools because they will look really cute at Christmas time too.

Whenever I want to start a new project I always look at what I have around the house first. I knew I would find a use for these adorable mushrooms someday so I’m glad I held onto them. They really complete the happy gnome home.

If you ever get stuck trying to style a space know you are not alone! Take your time and cut yourself some slack. I have really high expectations for my designs and I’m the first to get frustrated with myself. But sometimes patience and time are what you need to create something fantastic.

I hope you find my garden display inspiring! Or that you give this garland a try if you have some ornaments to use up. For more garland ideas check out my blog post 10 Easy DIY Garland Ideas.